How cute are these candy jars full of faux Peeps?
And they are easy to make too, check out how:
********
Disclosure - This post may contain affiliate links. If a purchase is made through an affiliate link then (at no additional cost to you) I will receive a commission. You can read more about affiliate links here
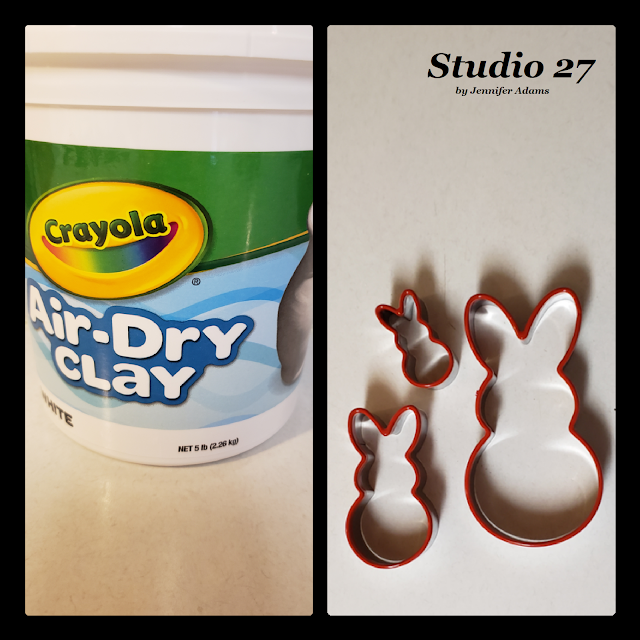
To make my faux Peep candies I used Crayola brand air-dry clay and a set of bunny cookie cutters, both found on Amazon. Though the cookie cutter set is currently no longer available, I can tell you that the cutters measure in 2, 3 and 5 inches. The 2 inch size is the one that I used for the faux Peeps.
(Here Is a similar set of bunny cutters)
Using a sheet of parchment paper as a base, I rolled out a ball of clay like it was cookie dough and then cut out my shapes. While I did use all three sizes of my cutters (I made faux cookies too 😃), only the smallest size were used for the candy jars in this post.
After pressing the cutter into the clay, I gently jiggled it back and forth a bit to loosen the bunny shape from the remaining 'dough'. Usually the clay shape came out stuck inside of the cutter and had to be pulled out, but sometimes it was stuck to the parchment. No problem, just pull up the parchment and carefully peel it away from your clay shape. You may need to reshape your bunnies a little, but it's no biggie 😊
Here are my bunny shapes after cutting them out. Although actual marshmallow Peeps are thick, I made these faux ones on the thin side. This is because I wanted them to dry faster and to use less clay, but you could certainly go for thicker if you wanted. At this thickness it took my bunnies about 2 days to dry thoroughly.
Once the clay had cured I painted my bunnies front and back before sprinkling them with a bit of glitter. A permanent marker works perfectly for adding their simplistic eyes and mouths.
Here are the Dollar Tree jars that I used for this project.
\This particular style features a glass bottom with a screw-on plastic lid.
(You can click here to browse Dollar Tree's online selection)
While waiting for my bunnies to dry I got to work on the jars.
After running them through the dishwasher to remove any dust, I spray painted the lids in gold. This gave the jars a little bit more definition and elevated the overall look.
Tip: Don't skip the washing. Even if the jars look clean from the store, you will be amazed at how sparkly they look afterward!
To fill the jars I first created a bed of foam covered in basket filler grass. This created an nice little cushion for the Peeps, helped to keep them from rolling all around and meant that it took fewer Peeps to fill each jar.
Tip: Don't be afraid to hit your foam with a bit of hot glue before adding the grass to keep it more secure 😉
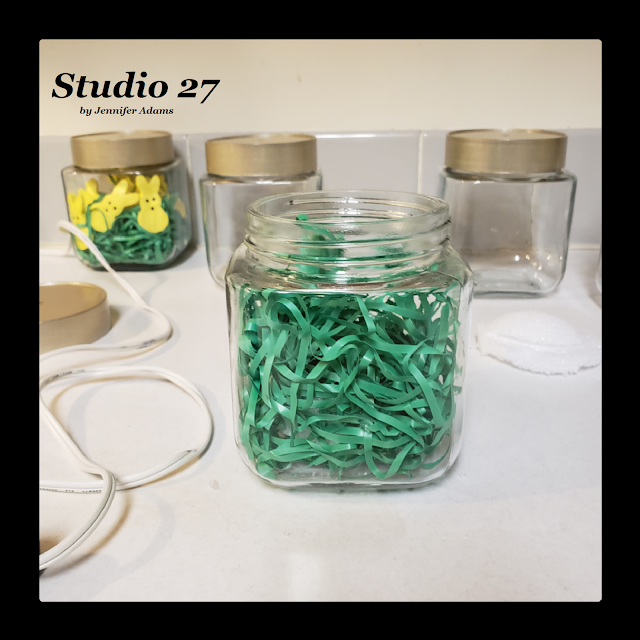
Here you can see the grass covered foam. Be generous will your filler grass here, the more that you add the better your composition will stay in place.
Note: You can see in the background that the weight of the yellow Peeps compressed the grass, even though I used the same amount as the jar in the foreground.
Once you have your grass ready, go ahead and add in your faux Peeps candies. You can add as few or as many as you would like, mix and match or keep the colors the same. I decided to use 10 Peeps of the same size and color for each jar.
And here are all five of my jars completed.
I love how they turned out and can't wait to slip them in with the rest of my Easter decor!
**********
Want more Easter fun? Check out these links:
**********
I hope you enjoyed this Easter decor post, thanks for stopping by!
-Jennifer
© Studio 27 by Jennifer Adams 2021
**********
This post was added to the following link parties:
Wonderful Wednesday (Oh My Heartsie Girl)
Wonderful Wednesday (Penny's Passion)


Adorable! Thank you for sharing at Party In Your PJ's.
ReplyDeleteThank you!
Delete