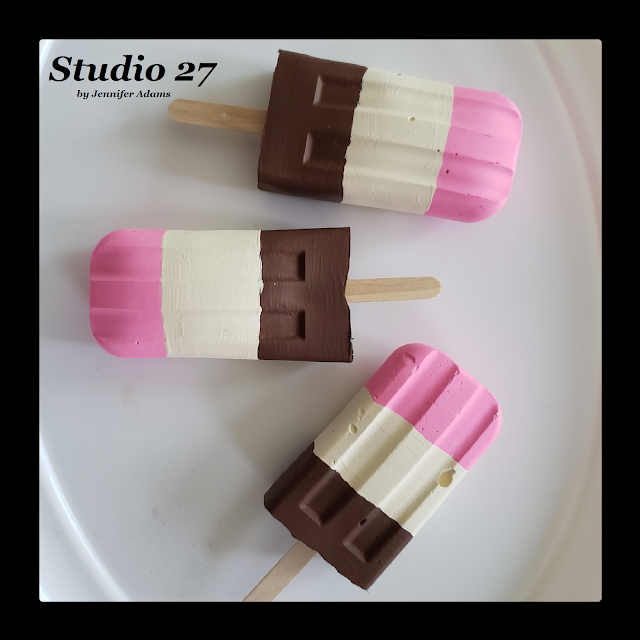
You might remember these neapolitan popsicles from my thrifted fabric turned ice cream tray post. Today I'm sharing how easy it is for you to make your own:
**********
Disclosure - This post may contain affiliate links. If a purchase is made through an affiliate link then (at no additional cost to you) I will receive a commission. You can read more about affiliate links here
When working with silicone molds I have used cut up hot glue sticks, clay and now Plaster of Paris. Clay is by far the easiest to work with and least expensive, but I didn't think that the shape of this particular mold was going to allow me to get a clay form out without ruining it. Because plaster sets up quickly into a hardened form, I decided to give it a go. It was easy to mix and pour- just follow the directions on the box- and I made sure to use an old plastic bin for mixing so as not to ruin any kitchenware.
You can find this popsicle mold from the photo here.
Once the plaster had set up within the molds (I waited 24 hours), I was able to remove the popsicles. Not wanting to crack or chip the designs, I chose to bend and pull at the silicone mold instead of the popsicles themselves. Silicone molds are super tough, so don't be afraid to give them a work out 😉
The cylinder and star shaped popsicles came out really well, but the ice cream bar style was a little thicker in the middle. The weight of the plaster pushed out the sides of the mold a bit, giving a bit of a distorted shape to the finished product. If you could find a way to support the mold during the drying time (maybe rubber bands?) then they should turn out better.
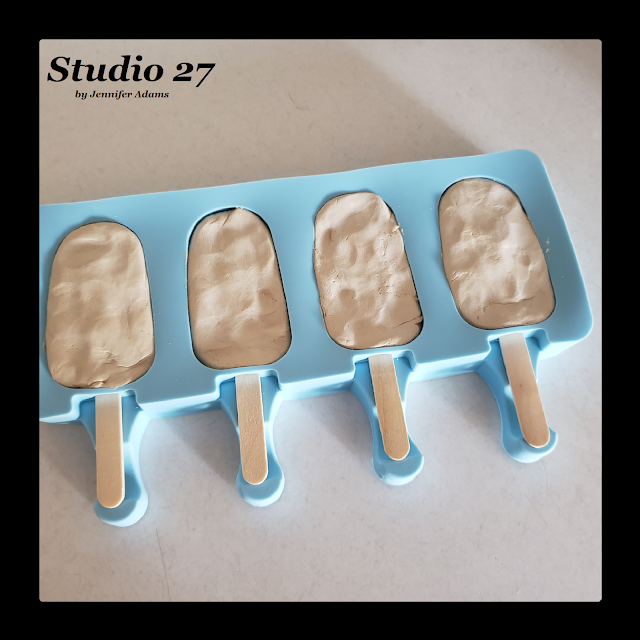
I also made some using clay in this mold. I found it easiest to add the clay to the mold first, then carefully push in the popsicle stick. Try to keep the stick as straight as possible and if the clay is disturbed just smooth it back out. Stick the mold into the freezer and let the clay harden before trying to remove the popsicles from the mold. It won't be dry at this point, but you'll be able to get it out of the mold without smushing your shape. I took mine out by bending the silicone away from the popsicles and pulling the clay from the mold. If you try to pull by the stick you will end up just pulling out the stick only. Also, if your designs do get a little mussed, you can gently reshape them as they start to thaw.
You can find this popsicle mold here.
I like to let my clay sit out for a few days to completely dry before painting.
**********
Once all of my popsicles were completely dry I got to begin painting:
Fruits
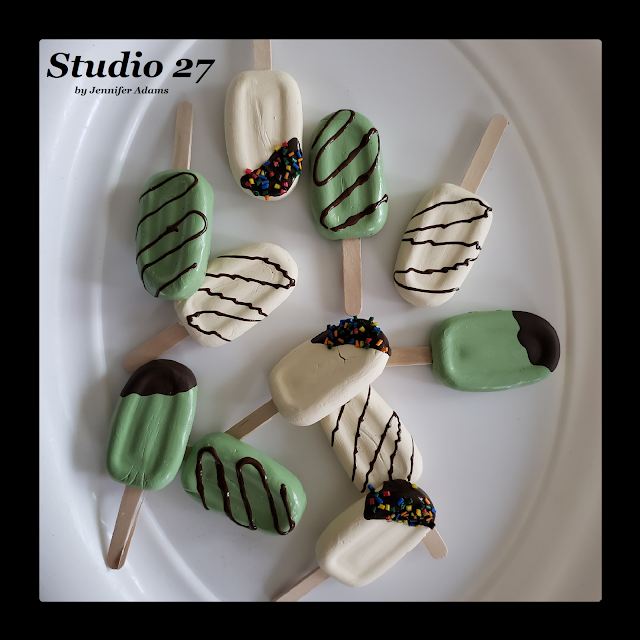
Mints & Sprinkles
Watermelon & Strawberry Chocolate
Assorted Chocolates
Patriotic
Neapolitan
And that's how easy it is to make your own faux popsicles.
I hope you enjoyed this how-to post, thanks for stopping by!
**********
Want more fake bake fun?
Check out the following links:
-Jennifer
© Studio 27 by Jennifer Adams 2021
**********
This post was added to the following link parties:
Wonderful Wednesday (Oh My Heartsie Girl)
Wonderful Wednesday (Penny's Passion)


Those are so so cute!
ReplyDeleteThank you Joanne!
DeleteWhat kind of clay?
ReplyDeleteAny brand of air dry clay should do, but my favorite is Crayola.
DeleteThese are so cute! What a fun craft.
ReplyDeleteThanks so much for sharing with #MMBC. :)
Thank you, Jayne!
Delete