Pages

Friday, May 31, 2024

Furniture Repurpose: Laundry Hamper to Fireplace Caddy

When I needed storage for fireplace accessories I recycled a vintage wooden laundry hamper to do the job, check it out:


**********


Disclosure - This post may contain affiliate links.  If a purchase is made through an affiliate link then (at no additional cost to you) I will receive a commission.  You can read more about affiliate links here


**********


Vintage Furniture Upcycle

Our home has a double sided fireplace that opens into both the dining and family rooms.  It was designed as a gas burning fireplace (complete with fake logs that always stayed clean and free of ash), but was soooooo expensive to use.  Because my husband is a certified pipefitter/ welder with the United Association  he was able to safely shut off the gas line and convert the unit into one that can burn logs himself.  Now we are able to enjoy the warmth of the fireplace without the extreme cost!  

It does take more work though, with wood cutting and keeping the fireplace clean.  And it also means that certain accessories like fire starter, gloves and cleaning brushes need to be kept on hand.  I wanted a container to keep these items nearby the fireplace that looked neat and tidy so when I found a vintage laundry hamper for $10 while thrifting I was thrilled!  It's sturdy, has a lid and the woven front allows air flow to keep the fire starter nice and dry. 

Note:  Please do not attempt to modify any gas lines in your home if you are not yourself a certified professional.


Vintage Furniture Upcycle

I sanded the piece down and gave it a cleaning before painting the wood in white and the woven front in gold.  And there you have it, a fireplace caddy that stores all the accessories while fitting into our home decor!

You can click here if you want to see more of the furniture pieces that I have worked on.


Friday, May 24, 2024

Giant Faux Cookie Decor

Fake Bake Tiered Tray Decor

After finding a set of ceramic tart pans for a couple of dollars at the thrift store, I decided to make up a few giant faux cookies.  Read on to see how you can do it yourself:


**********

Disclosure - This post may contain affiliate links.  If a purchase is made through an affiliate link then (at no additional cost to you) I will receive a commission.  You can read more about affiliate links here


**********

Fake Bake Tiered Tray Decor

Here are the dishes as I found them, eight in total.  I decided to use four of them for the giant cookies in this post and the remaining four were made into faux pizzas.  
I'll share the pizza project in a future post 😉


Fake Bake Tiered Tray Decor

After mixing up some salt dough like in this post, I filled in the dishes and then baked until the dough was nice and dry.


Fake Bake Tiered Tray Decor

I then used acrylic paint mixed with water to crate a wash for the finished dough.  The colors I went with were Apple Barrel Chocolate Sprinkle, Beachcomber Beige and Real Brown.


Fake Bake Tiered Tray Decor

I lightly brushed on the paint water mix and here are how the cookies were looking partway through.  The Real Brown was looking kind of streaky so I just kept brushing until I liked how it looked.


Fake Bake Tiered Tray Decor

When the paint was dry I used craft sand as sugar for the sugar cookie, and applied it with spray adhesive.  The chocolate chips and icing are made with puffy paint.  Then it was time for my favorite part - adding each cookie to my cookie cabinet!

Here are how they look in their new home:


Fake Bake Tiered Tray Decor

And that's how I made my giant faux cookies!


**********


Do you like the convenience of crafting with instantly available digital downloads?
Check out this week's features from my Etsy shop:


Fake Bake Tiered Tray Decor

**********
Cookie Baking SVG Cricut Crafting


Friday, May 17, 2024

Fake Bake Decor: Strawberry Lemonade

Summer Tiered Tray

Once summer arrives I like to switch up my fake bake displays every few weeks. Come in and take a look at my strawberry lemonade collection:


**********

Disclosure - This post may contain affiliate links.  If a purchase is made through an affiliate link then (at no additional cost to you) I will receive a commission.  You can read more about affiliate links here


**********


Summer Tiered Tray
Summer Tiered Tray
Summer Tiered Tray
Sumer Tiered Tray
Summer Tiered Tray
 
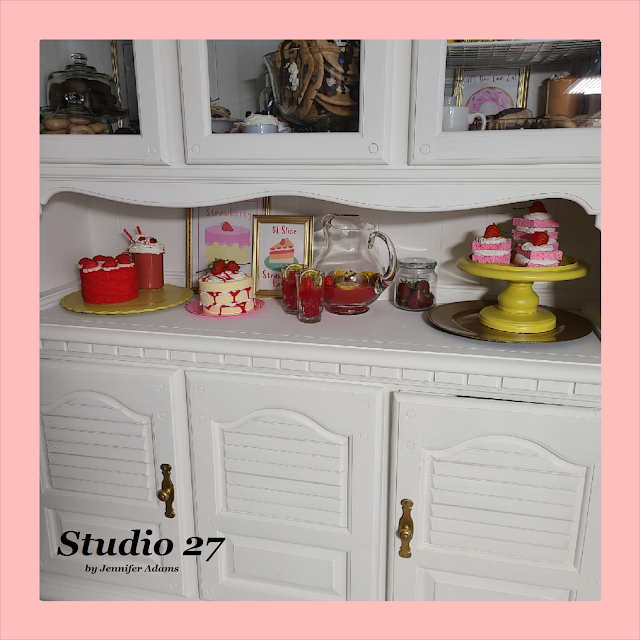
This series of photos are going from left to right on the breakfast room cabinet.  

The two round cakes are made with Dollar Tree foam rounds and painted in acrylic.  The red cake I glued the rounds together and coated with light weight spackle before painting.  For the layer cake I painted the rounds first and then sandwiched together with light weight spackle.  The dripping red sauce is also acrylic paint.  The berries on top of the red cake are clay, made in a mold then painted (like this), while the plastic berries on top of the layer cake can be found here.

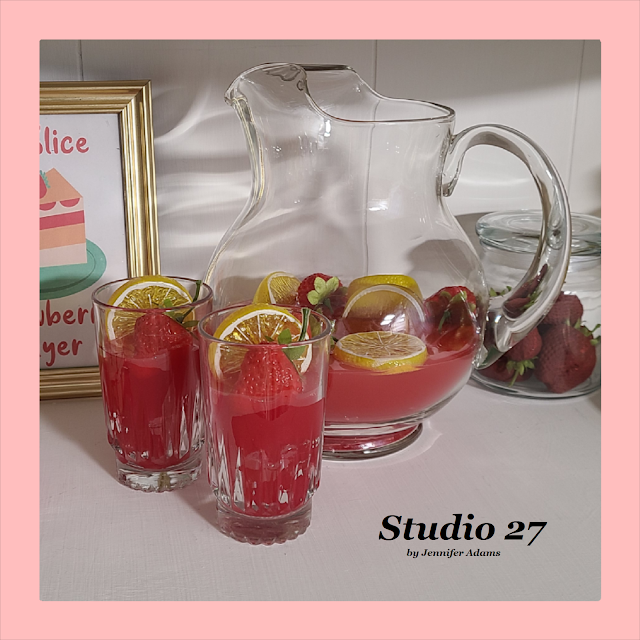
The mug drink was made like this and I have this tutorial for the strawberry lemonade.  The jar of faux strawberries are some that I found while thrifting.  They were pretty faded so I repainted them and put them in an old candle jar.  The sponge cakes are made from colorful sponges that I cut and then stacked with light weight spackle in between each layer.

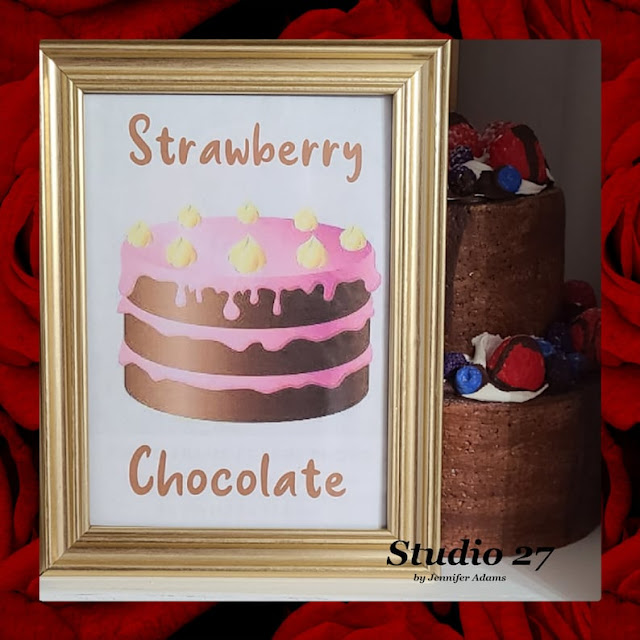
The strawberry shortcake printable is no longer available but you can find the strawberry layer printable here.


Summer Tiered Tray
Summer Tiered Tray
Summer Tiered Tray
Summer Tiered Tray
Summer Tiered Tray
Summer Tiered Tray
Summer Tiered Tray
 
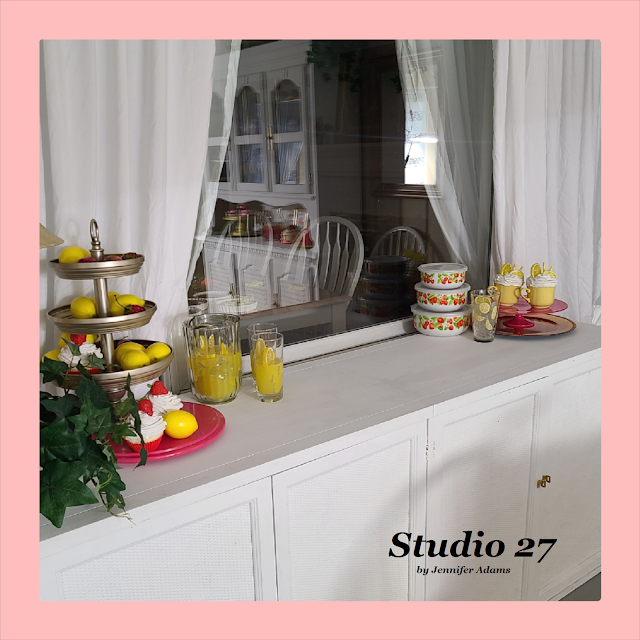
Over on the buffet I added a few lemon themed items as well.  

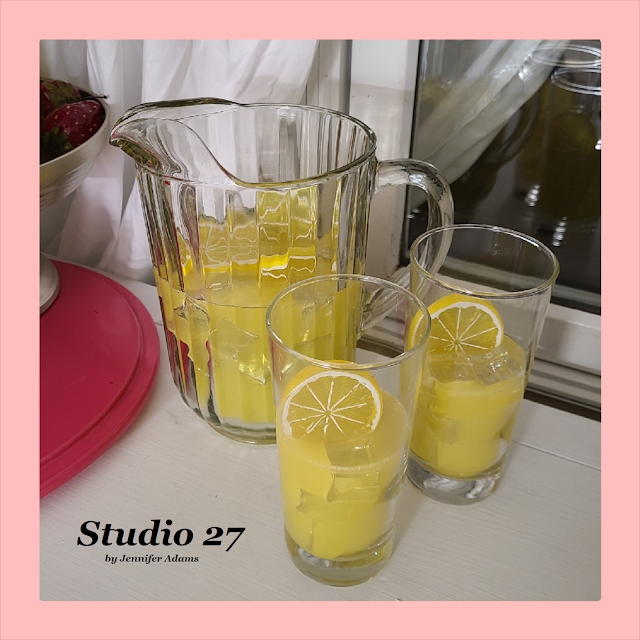
The lemonade and the ice water with lemon are made in the same way as the strawberry lemonade - just use a yellow paint to color the resin for lemonade and leave it clear for water.  The lemon topped mug drinks were made in the same way as the strawberry one from the cabinet display.  You can find faux whole lemons here, sliced lemons here, wedged lemons here and ice here.

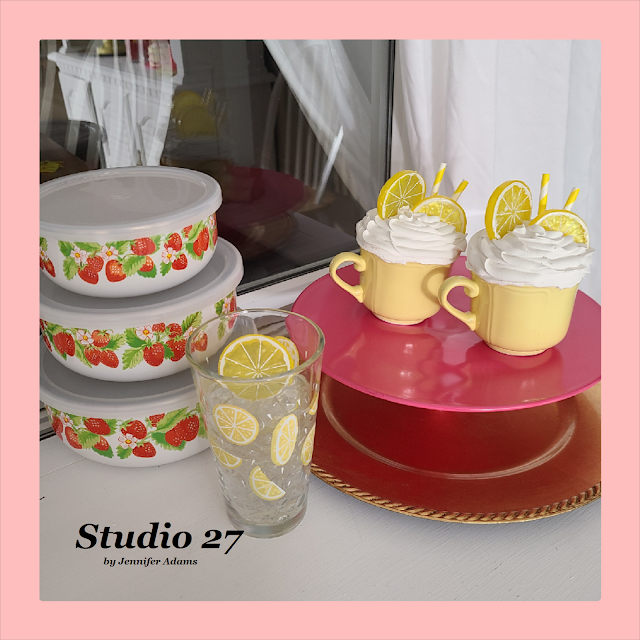
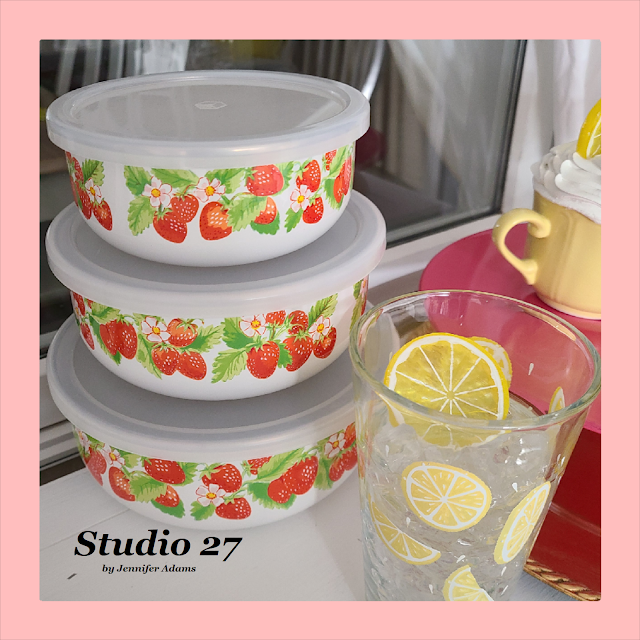
The strawberry bowls are a vintage set that I found at Goodwill and the cupcakes I made like this.  I can't remember where I found the loose strawberries that are on the tiered tray, but here are similar.  They have the same size and texture but are a solid red whereas mine have white spots.  You could always paint some on it you really wanted to.

And that's my strawberry lemonade collection!


This post was added to the following link parties:


**********


Do you like the convenience of crafting with instantly available digital downloads?
Check out this week's features from my Etsy shop:

Fake Bake Tiered Tray Decor

**********
Strawberry Cricut Crafting

**********
This post was featured at:


Friday, May 10, 2024

Storage Unit Turned Coat Cabinet: Furniture Re-style

Coat Storage

We have a spot in our breakfast room where we keep all of our coats/ shoes/ bags/ etc.  I was using a small shelf until I could find something prettier and came across a storage unit that was perfect.  Read on to see the transformation:


**********


Disclosure - This post may contain affiliate links.  If a purchase is made through an affiliate link then (at no additional cost to you) I will receive a commission.  You can read more about affiliate links here


**********
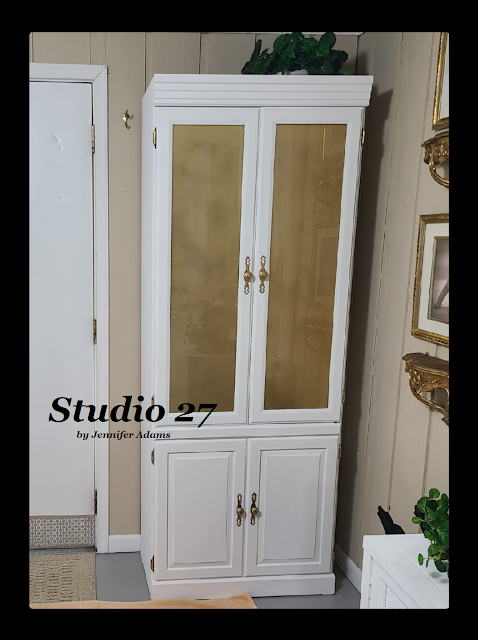

Coat Storage

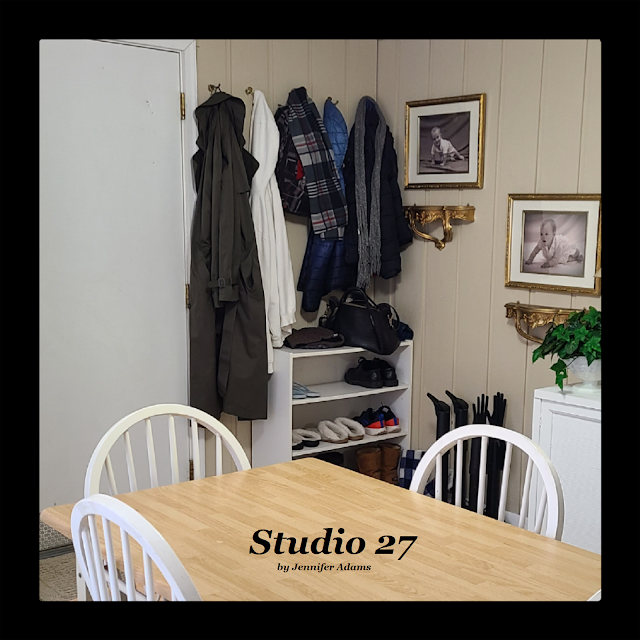
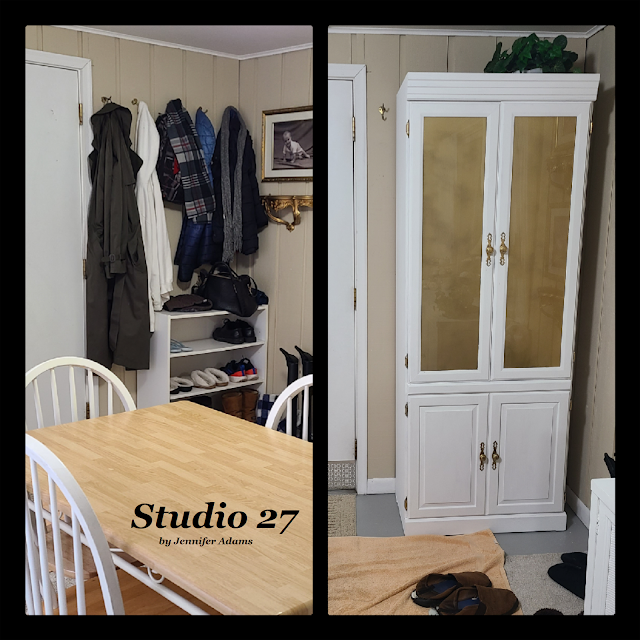
Here is how that corner of the breakfast room looked before.


Coat Storage

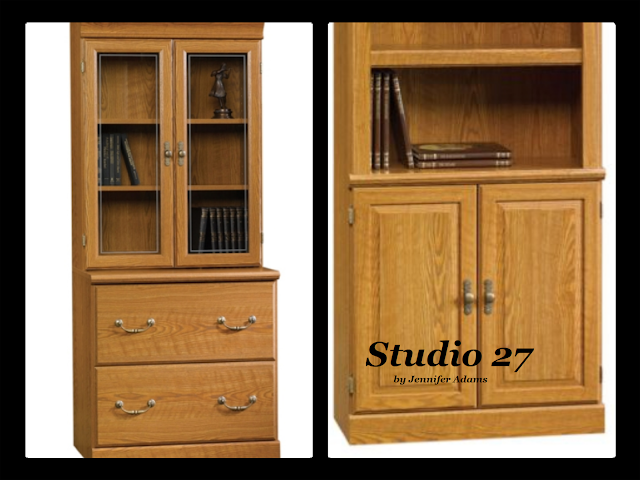
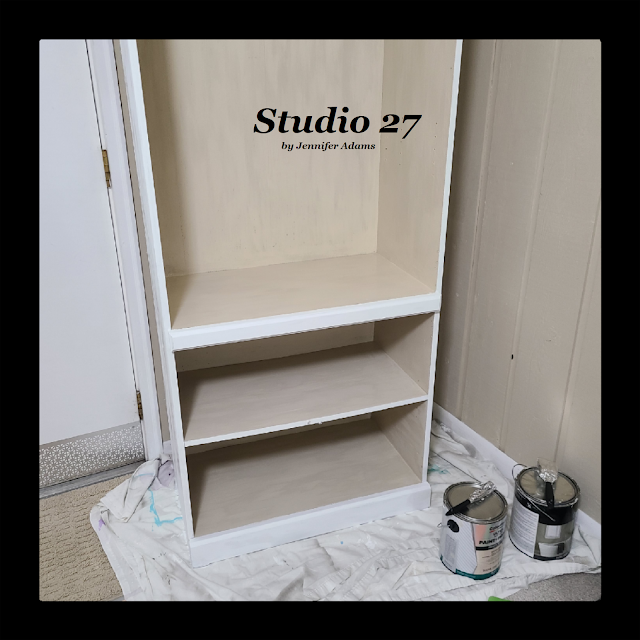
I didn't get a picture of the new storage unit before I began painting so I found these online.
Originally sold by the Sauder company, the storage units are interchangeable in style.  The one that I found has the glass top from the left photo and the cabinet bottom from the right photo.  My unit was $40 at my local thrift store.

This search result page from Amazon will show you what's available for purchase brand new.


Coat Storage

After removing the doors of both parts and the interior shelving from the top, I repainted the unit with leftover paint from out walls/ trim (don't forget to clean and sand).  I could say that I did a two tone style for aesthetic reasons, but really I ran out of white paint part way through 😄  I like how it turned out though.


Coat Storage

The hooks that the coats are hanging on were already in place on the wall when we moved in.  At first I was going to remove them from the wall and attach them inside of the cabinet - but the back of the cabinet was a cardboard backing instead of wood.  

I decided to remove the backing from the top section of the unit entirely and just push it up close to the wall.  It worked perfectly in this situation, but you will want to be careful if doing the same.  Often times with this kind of furniture the backing provided stability and removing it can weaken the structure.


Coat Storage

Here is a before and after of the area - so much more neat and tidy!  I love having everything put away.

The glass panels I spray painted in gold on the inside of the doors.  Spraying inside maintains the  reflective surface of the glass as you will still see glass before the paint color.  If you want a matte finish you would paint the outside of the glass, completely covering it up.  Make sure you use a spray paint intended for glass or else it will peel back off.


Coat Storage