Pages

Friday, July 29, 2022

Faux Food Storage & Display: Cookies
 Fake Food

Hello and welcome back for yet another faux food post!

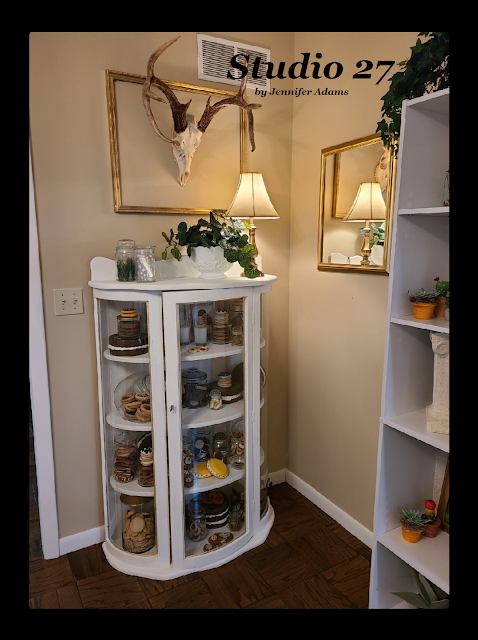
Today I'm sharing how I store and display my fake cookies.  I have more than what's pictured here that are specific to holidays and seasons, but those I keep in my bakery storage when not in use.  These however are out all of the time and can be found in my dining room. 

Scroll on to see a photo of each shelf individually coupled with close-ups and descriptions:


**********


Disclosure - This post may contain affiliate links.  If a purchase is made through an affiliate link then (at no additional cost to you) I will receive a commission.  You can read more about affiliate links here


**********

(In case you missed it, here is a post with all of my faux ice cream, here is one featuring my bakery and here is one all about my fake cakes)

Now on to that cookie cabinet- 


Fake Food

Here is the cabinet with the door opened.  I found the cabinet at a thrift store and refinished it to house my cookies.  You can read about the cabinet here or see the rest of the dining room  here.


Fake Food
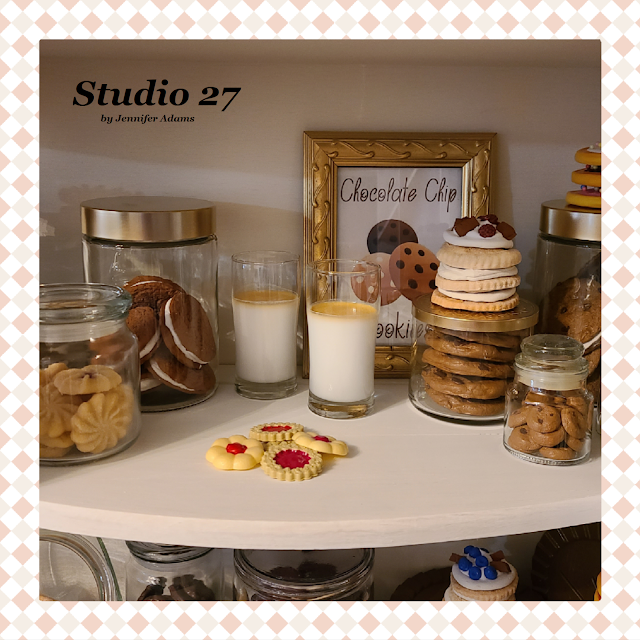
Top Shelf


Fake Food

The large cookie sandwich in the left corner was made by painting giant checkers and sandwiching joint compound in the middle (here is a post where I did the same thing with some standard sized checkers in case you are interested).  In addition to the giant cookie sandwiches, I also used some of the big checkers to make faux peppermints.  I'll share a my tutorial for that as we get closer to the holidays 😍

The chocolate cookies stacked in the jar were an Ebay purchase from a store that no longer operates.  I can tell you that they are standard salt dough and if you want to see them up close, check out this post from before I rebranded (my blog used to be called Jennifer Adams Flowers).

  The two small cookies on top of the jar are toy pancakes that I painted with acrylic to look as though they are covered in icing and then glued on Dollar Tree foam sprinkles.

The shortbread cookies are a set that I purchased (I think from Amazon) and are made of plastic.  You can find a similar set here.

The oatmeal sandwich cookies I made myself using clay in a silicone mold that I also made myself - tutorial here.  In fact that tutorial contains many of the cookies from this cabinet, including the paint colors I used, so check it out if you want to replicate!

The artificial milk I bought here on Amazon.  I also bought this set so that I could have two glassed of milk along with the gingerbread cookies.  It's been about 7 years since I bought these and you can see that the tops of the milk have yellowed.  I've now begun making my own faux milk glasses using candle wax, you can see how here.

The tiny shortbread cookies in the front are children's toys that I repainted with puffy paint.


Fake Food

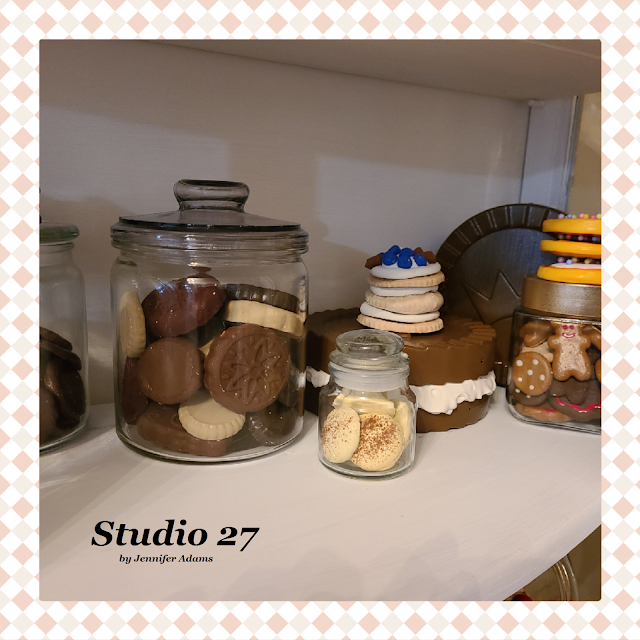
Continuing on you have another view of those shortbread toy cookies and the discolored milk😄.  All of the cookies in jars are made from clay and can be viewed in that silicone mold  post I mentioned earlier.  The stacked shortbread tower is made of salt dough cookies that I sandwiched with joint compound and topped with chocolate embellishments.  And in the far top corner are more of those repainted pancakes.

You can find the cookie printable here in my Etsy shop.


**********


Fake Food
2nd Shelf


Fake Food

The open jar contains salt dough cookies that I made by using one whole cookie cutout and layered an open cutout on top.  When they were dry I used acrylic paint to create the jam and sprinkled with baby powder to look like sugar. These are similar to the cookie cutters that I used.  Just cut out two cookies in the same size, then use the next size down cutter to remove the center from one of your large cookies.  Now you have an edge that you can stick on top.

All of the rest of the cookies here are clay painted in acrylic, again check out that silicone mold post.


Fake Food

More of the same as already described, but with a few differences:  Some of the cookies in the largest jar were made with these molds, the shortbread stack here has been topped with faux clay fruit that I used this mold set to create, and the silicone molds (that I made myself) for the tiny bear and round cookies were made with kids toys.


**********


Fake Food
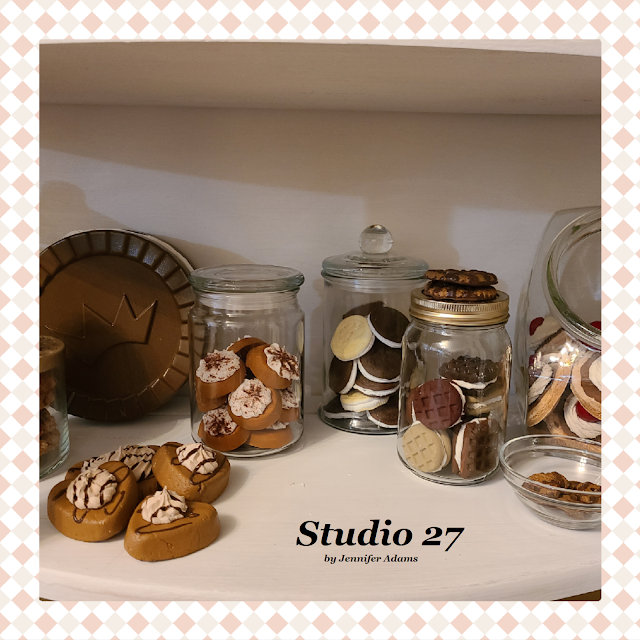
3rd Shelf


Fake Food

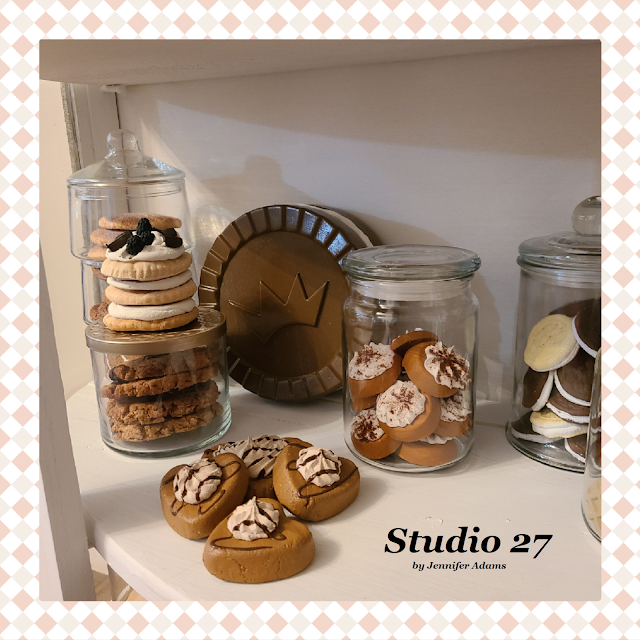
The jars on the left are filled with cookies I purchased from that no-longer-existing Ebay store, but again are salt dough.  This shortbread stack is topped with faux clay blackberries, made with this  mold set. The hearts in the front and rounds in the jar are both clay that I painted in acrylic, topped with spackle and then either drizzled puffy paint for chocolate (hearts) or sprinkled real cinnamon (rounds).  The Oreo type of sandwich cookies I made with clay (silicone mold post) and acrylic paint.


Fake Food

Another angle of the cinnamon sprinkled rounds and clay faux 'Oreos'.  Both types of striped shorbread (large and small) are again from that silicone mold post.  The waffle sandwich cookies are from using clay in these molds, painting in acrylic and layering with joint compound.  The fruit shortbread are salt dough that I painted with acrylic, topped with joint compound to look like icing and then popped in a faux cherry.


**********


Fake Food
Bottom Shelf


Fake Food

The far back corner features a collection of various salt dough cookies that I got from Amazon, but are no longer available 😢  The multicolored wafers are clay in more of my home made silicone molds and this shortbread stack is topped in faux clay strawberries/ blackberries from  this mold set.  The tiny jam cookies are just itty bitty salt dough rounds that I used my thumb to shape and then painted in acrylic.  The Oreo cookies in the back are plastic toys from this vintage matching game.


Fake Food

Not seen before / already described in this photo angle are the faux chocolate chip cookies that came with my discolored fake set 😄, a jar of tiny bears and a mixed jar of mint chocolate cookies.  The tiny bears were made using hot glue in this mold, painting in acrylic and sprinkling in cinnamon.  I have this post where I show how to use hot glue in silicone molds, but I will say that air dry clay is cheaper and easier!  The mixed jar of mint chocolate cookies are half salt dough (made the same way as those cherry topped ones a few photos ago) and half clay that I painted.


Whew!
And there you have it, my faux cookie storage and display!


Friday, July 22, 2022

Faux Food Storage & Display: Cakes

Food Decor

Hello my friends and happy summer!

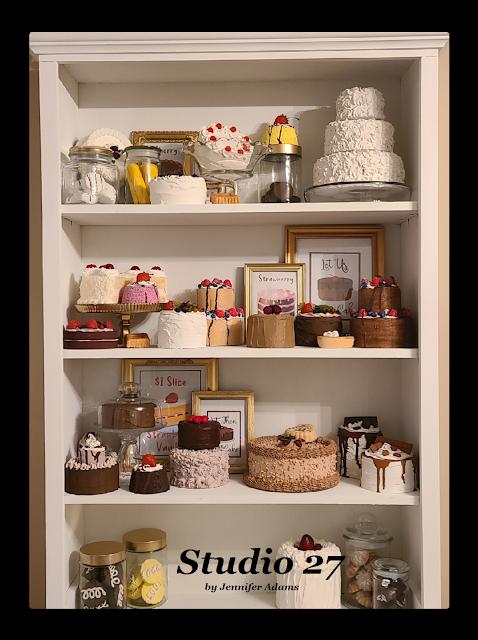
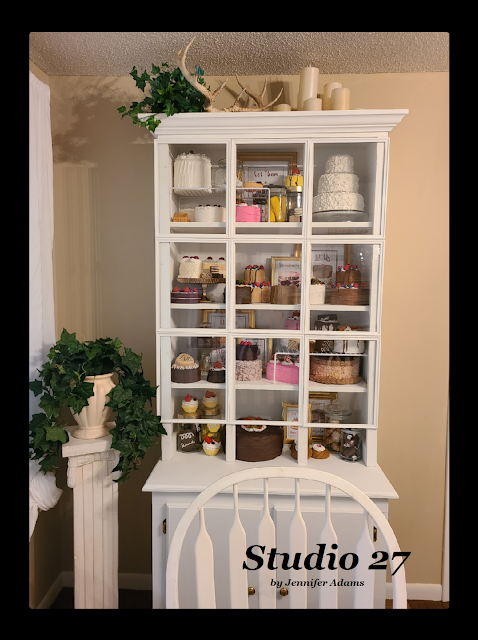
Today I'm sharing how I store and display my everyday faux cake collection.  I have more than what's pictured here that are specific to holidays and seasons, but those I keep in my bakery storage when not in use.  These however are out all of the time and can be found in my dining room. 

Scroll on to see a photo of each shelf individually coupled with close-ups and descriptions:


**********


Disclosure - This post may contain affiliate links.  If a purchase is made through an affiliate link then (at no additional cost to you) I will receive a commission.  You can read more about affiliate links here


**********

(In case you missed it, here is a post with all of my faux ice cream and here is one featuring my bakery)
Now on to that cake cabinet- 


Food Decor
Top Shelf

Food Decor

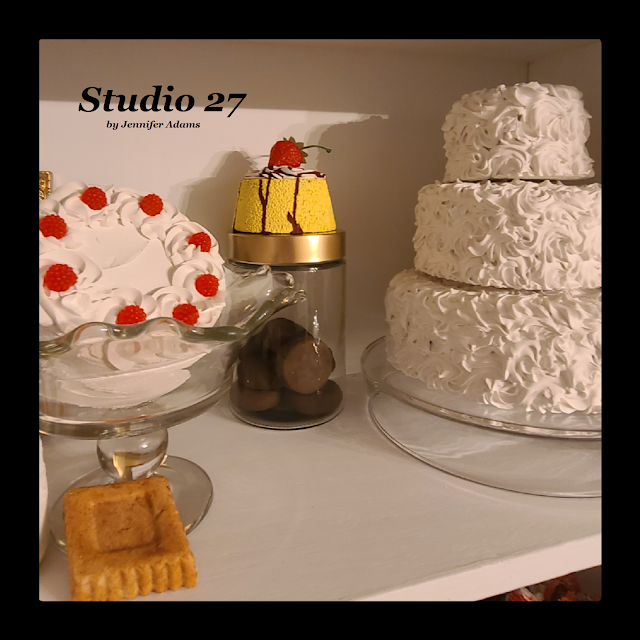
The Zebra cakes I made with this silicone beehive mold.  Using clay I filled in a few of the cavities that did not have the bee impression so that they would be as smooth as possible.  Once the clay was dry I coated the hexagonal shapes with a layer of lightweight joint compound to look like icing.  I then painted them white and drizzled black puffy paint on the tops.

The white cake with the dark berries in the upper left corner is one that I purchased a long time ago and I can't remember where 😌

The Twinkies I made using plaster in this silicone mold and then painted in acrylic

I used these blueberries and these raspberries on Dollar Tree foam rounds that I covered in spackle.

The Cherry Chocolate and Let Them Have Cake printables are from my Etsy shop.

The tiny salt dough cake I actually found in a set at a yard sale!


Food Decor

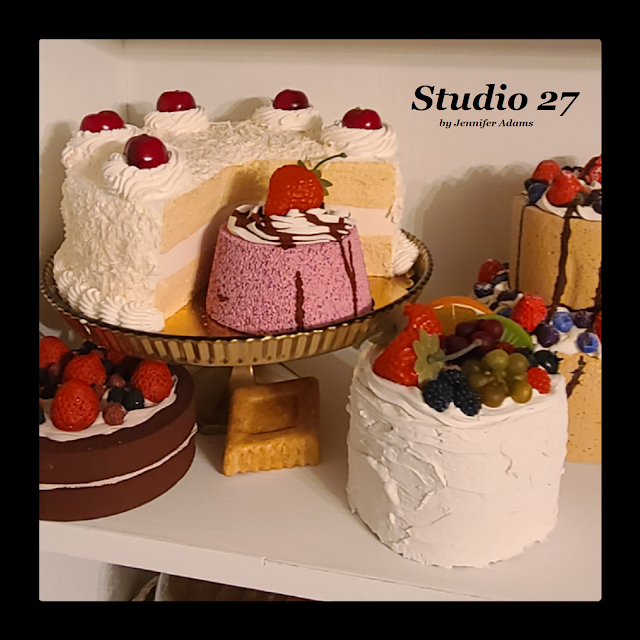
Here is a post where I detail the strawberry shortcake.

The Ding Dongs I hand shaped with air dry clay and then painted in acrylic.

The three tiered cake I made by using light weight joint compound in an icing bag and applying separately to three Styrofoam rounds.  The foam rounds were an Ebay purchase in which the seller packaged them in plastic shipping bags instead of boxes, so they came a little misshaped.  I would recommend either buying your foam in person at the store or verifying how it will be packaged for shipping.

**********


Food Decor
2nd Shelf


Food Decor

I made the berry covered chocolate cake by painting a couple of foam rounds and layering them with joint compound.  The fruit on top is all made with clay using these silicone molds. I used acrylic paint for the foam, fruit and to tint the joint compound.

The cut into vanilla cake was a gift and can be purchased here.

The fruit covered cake is spackle covered foam and the fruits can be found on Amazon; strawberriesraspberries/ blackberriesblueberriesorange & kiwi slicesgrapes.

The tiered berry cake was made in the same way as the berry chocolate cake, but using different sized foam.  Once done I drizzled brown paint to look like chocolate and sprinkled baby powder to look like powdered sugar.  A coat of spray adhesive has kept it in place nicely.


Food Decor

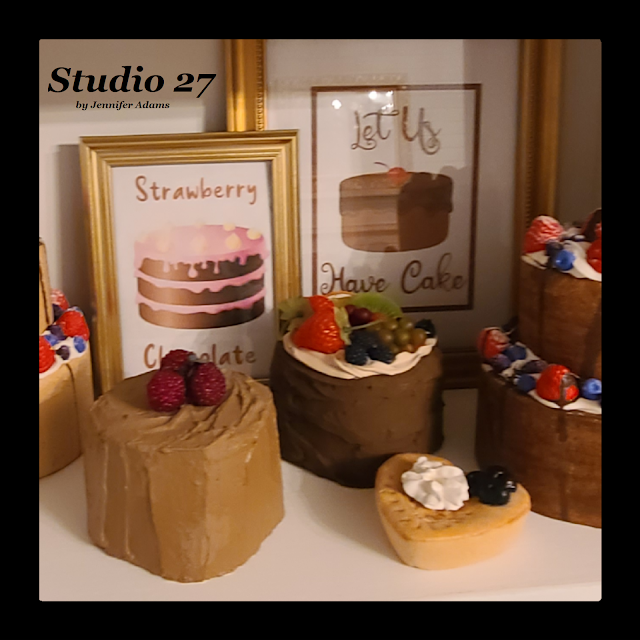
The three berry cakes here were made just like the ones in the previous photo, just using different paint colors.  The heart shaped salt dough came from a garage sale and I added the dollop of spackle myself.

The strawberry chocolate and let us have cake printables are available in my Etsy shop.


**********

Food Decor
3rd Shelf


Food Decor

All of these chocolate cakes are made with different sizes of foam, acrylic paint, joint compound and the same berries as in the links above.  Here is that strawberry shortcake tutorial again if you need it.

The strawberry vanilla printable is another from my Etsy shop.


Food Decor

I think I purchased the large chocolate cake from Dezicakes, but can't find a similar one to link for you, but here is the shop's full list of cakes currently available.

Both of the white cakes are foam rounds covered in joint compound and acrylic paint.  I made the chocolates by hand using oven bake clay.  I simply left the clay in the flattened bricks that it came in, used a knife to add detailing and then painted it in acrylic.  Some of the bricks I cut down into smaller bits and pieces while others I left as is.  I had purchased this clay package so that I could try using an extruder to make my own faux sprinkles.  I didn't like the extruder process or having to use the oven so after one batch of sprinkles I had a ton of clay bricks left over.  I decided to use it up by making the chocolates but I can tell you that air dry clay is much easier to work with.  Since then I have made more chocolate candies with air dry clay in molds like this and this.


**********


Food Decor
Bottom Shelf


Food Decor

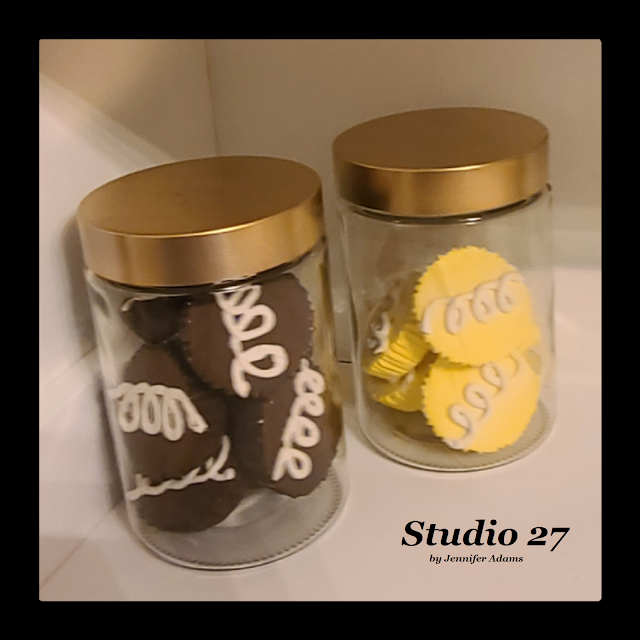
Both of my chocolate and lemon Hostess cupcakes I made by pouring plaster into cupcake liners.  You can see the tutorial here.


Food Decor

The strawberry toped cake is one I found somewhere on Ebay many years ago.  It's actually the first faux food purchase I made!

The round mini cakes are salt dough that I baked in tiny metal pans.  I used watered down acrylic paint to darken them and then poured a bit of white glue on the top to look like icing.  I also sprinkled on some baby powder to look like powdered sugar and sealed with spray adhesive.

The swiss rolls are air dry clay that I shaped by hand.  Just create a cylinder shape and let dry, paint with a glossy brown and add white swirls at the ends!


Food Decor

I took all of these photos right after refinishing and installing the thrifted cabinet and you can see that the top shelving was all open.  Because I hate dust, I have since closed it in using Dollar Tree picture frames and I'll share how I did that in an upcoming post.

And there you have it, my faux cake storage and display!


Friday, July 15, 2022

New House Makeover: Dining Room

 Home Tour

Hello my friends, hope everyone is enjoying their summer!

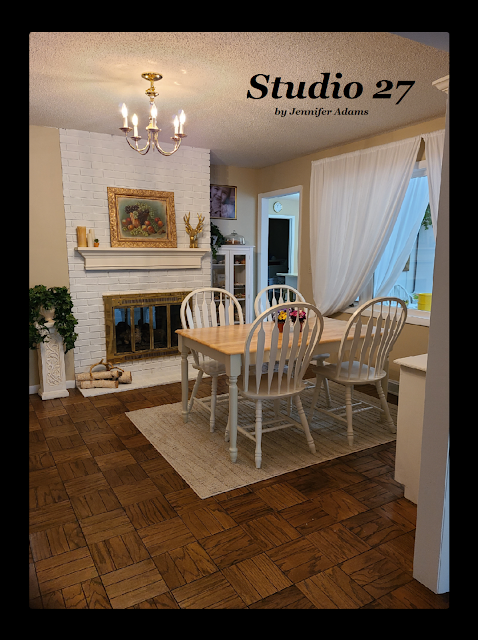
I'm back today with a tour of the dining room in our new home, take a look:


**********


Disclosure - This post may contain affiliate links.  If a purchase is made through an affiliate link then (at no additional cost to you) I will receive a commission.  You can read more about affiliate links here


Home Tour
Home Tour

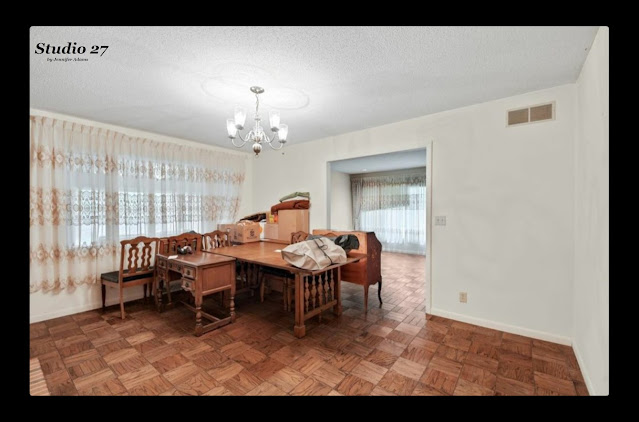
These photos are from the sale listing with some of the previous owner's furniture still in place.

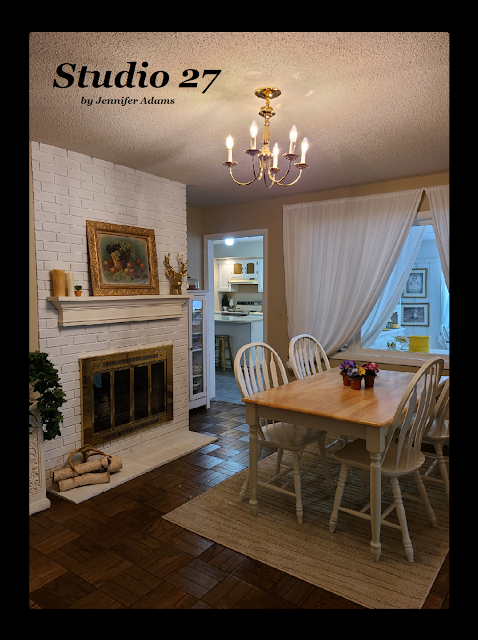
What I loved about this dining room was the size, fireplace, vintage hardwood and large window.  Just like in the front hall, I hand scrubbed and polished the floors and repainted the walls.  The old curtains came down and I painted the fireplace brick.

Take a look:


Home Tour

This is how you enter the dining room from the kitchen.


Home Tour

Moving into the space you can see the fireplace wall and the window is to the right.


Home Tour

Above the mantle is an antique painting from 1910 by an artist named Le Roy.  This painting belonged to my grandfather's grandparents  and had been in storage forever.  Since a lot of that time was in an old garage without climate control, there is a bit of humidity damage to the print.  The frame is the original wood that I  painted to seal it up and stop some of the crumbling.  I was also able to take the painting out and give the glass a good cleaning on both sides.  I love the richness of the colors and the nostalgia - it reminds me of a painting that I always placed in my houses when playing The Sims original version way back in the early 2000's 😆

The golden stag statue is one I picked up at a yard sale for $3, with the $29 store price tag still intact!  Originally white I gave him a quick coat of spray paint and named him Hector.


Home Tour

To the right of the fireplace is my 'pie safe', a thrifted cabinet that I repainted and use to display my faux pies and puddings.  I've got a post planned for next month where I show you everything inside 😉


Home Tour
Home Tour

Turning around and looking at the wall opposite of the pie cabinet is my faux cake storage display.  Another thrifted piece, this one is filled with cakes of all sizes.  The top was originally open shelving that I used picture frames to close off and the bottom cabinet is where I store my fancier dishes.  I've got a detailed cake post planned for the end of this month and a DIY tutorial for the glass 'doors' scheduled for late August.


The deer skull up on top is named Henrique.  He's spicy 😎


Home Tour

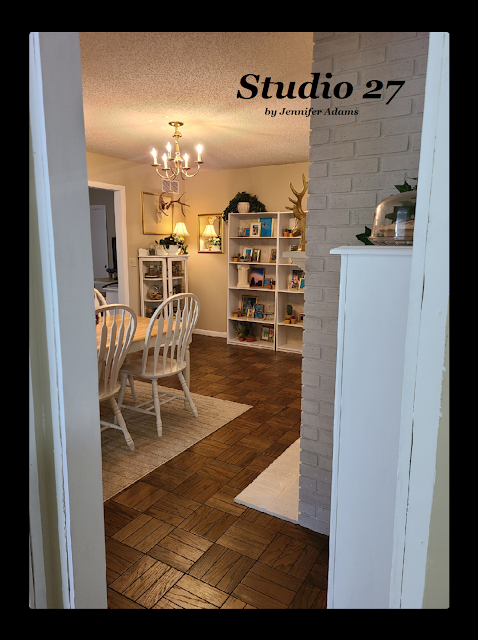
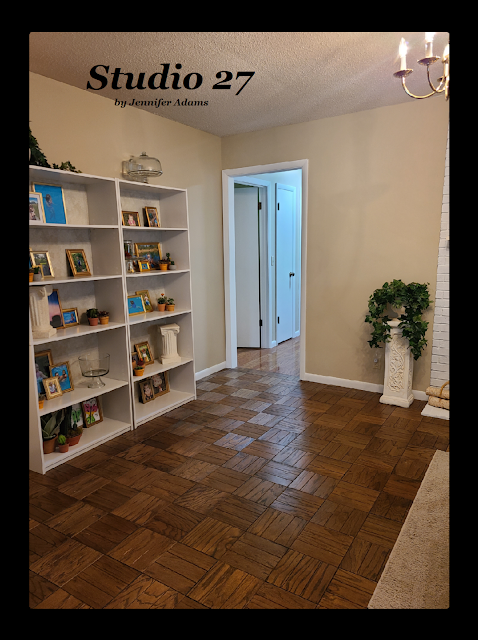
Turning to the right and you will see the shelving that I like to swap out every season/ holiday.  Right now it's full of my faux cactus collection and features summer time photos of my kids when they were small 😍


Home Tour
Home Tour

To the left of my seasonal shelving is my cookie cabinet full of, you guessed it, faux cookies!  I'll share all about those cookies in the next few weeks but for now you can click here if you want to make your own firefly jar - it's the jar of faux grass on top of the cabinet.  The jar of stars I made by simply sticking glow-in-the-dark star stickers to the inside of the jar.  And up on the wall inside of his own frame, that's Hayward the deer 😄


Home Tour

To the right of the seasonal shelving is a hallway leading to bedrooms, the kid's bathroom, family room and my craft studio.


Home Tour

This view is as though you came in from the front room and looks back towards the kitchen.  The large window overlooks what was originally intended to be an attached porch but at some point during construction was altered into additional square footage.  By 'some point' I mean after the exterior window was installed but before the HVAC was completed.  The house had one previous owner who had it built themselves and the building plans show the room to be a three season porch.  The finished space however is fully enclosed, insulated and has the same ductwork as the rest of the house so who knows exactly how it all went down.  I'm glad they made the change though as the extra space is wonderful and we use it as our breakfast room.


**********

And that wraps up the dining room tour.  
I hope you enjoyed this home makeover post, thanks for stopping by!
-Jennifer


Friday, July 8, 2022

How I Made My Faux Bread

 Fake Food

Wanting to add more to my bakery display of fake goodies, I decided to experiment with full bread loaves. Here is how I used spray foam and paint to create fresh baked white and cinnamon bread:


**********


Disclosure - This post may contain affiliate links.  If a purchase is made through an affiliate link then (at no additional cost to you) I will receive a commission.  You can read more about affiliate links here

(You can see my full 'bakery' here)


Fake Food

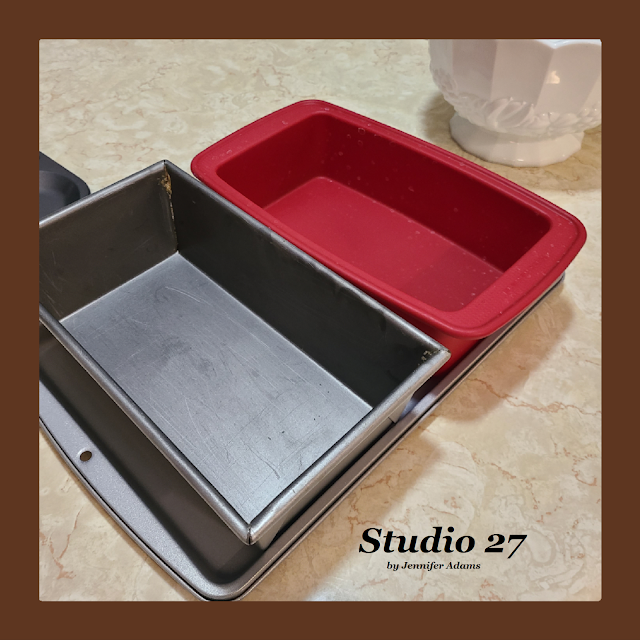
I found both of my pans at the thrift store.  The metal one I intended to keep as part of the fake bread display, but the silicone one I used so that I could pop the finished loaf out.


Fake Food

I didn't think to consider the flexibility of the silicone though - because the spray foam insulation is made to expand, it bumped out in every direction.  This meant that once I removed the loaf from the silicone it had a rounded bottom instead of a nice, flat one.  I remedied the issue by using a serrated knife to cut the bottom straight across, but it did ruin the nice finish.  This won't be a big deal since I'll be displaying my loaf on a shelf at home, but could be a problem if you are into selling your faux pieces.  Next time I think that placing the silicone inside of a metal pan will help to keep the loaf's proper shape during expansion and drying.


Fake Food

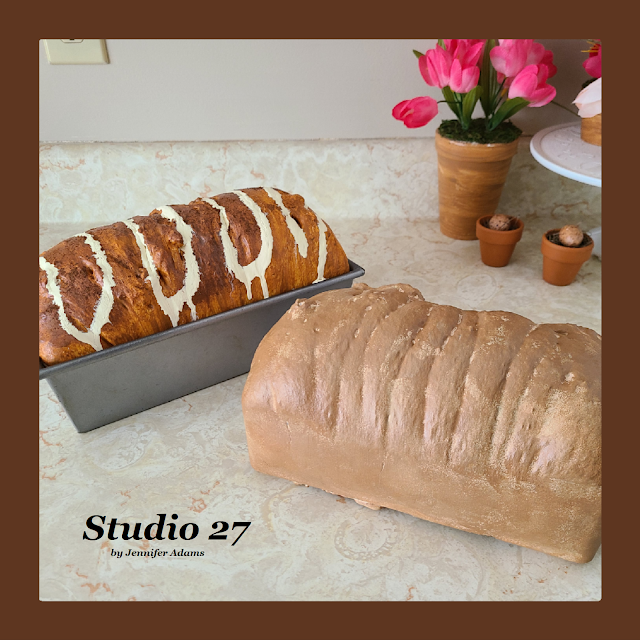
Here are how the loaves looked before painting; one kept in the metal pan and one removed.  You can't see the rough bottom, but this photo is after I trimmed the freestanding loaf.

  I really like this GE brand of spray foam as it works well and is less expensive than other brands.  Just make sure to read all directions and shake well!


Fake Food
Fake Food

Using a combination of Territorial Beige and Khaki Apple Barrel acrylic paints, I took turns applying each color with a sponge until I liked the overall look of the freestanding loaf.


Fake Food
Fake Food

For the cinnamon loaf I combined Cinnamon and Coffee Latte shades of Folk Art acrylic paints, again applying with a sponge.  I find it easier to start with the lightest shade of paint first and then go back and add darker bits here and there.  Once dry I applied spray adhesive and sprinkled real cinnamon before coating with another layer of the spray adhesive to seal everything in.  Lastly, a bit of white paint drizzled over the top and I had the look of icing 😍


Fake Food

And there you have it, a couple of faux bread loaves ready to display!

**********