Hello my friends and happy summer!
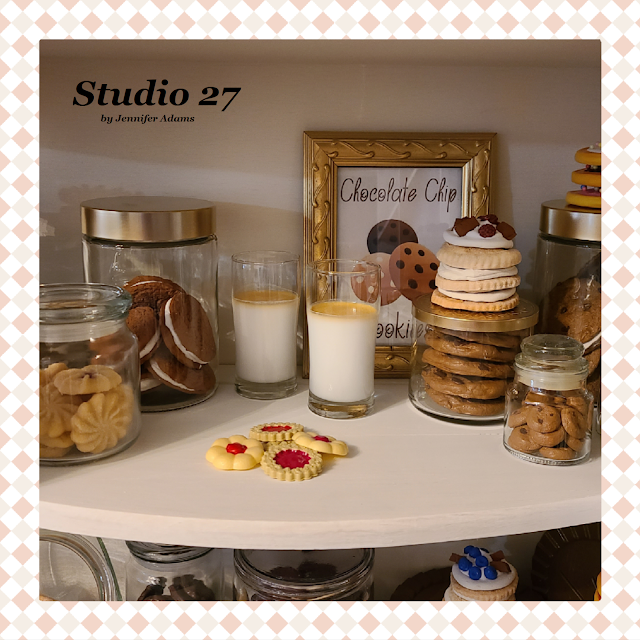
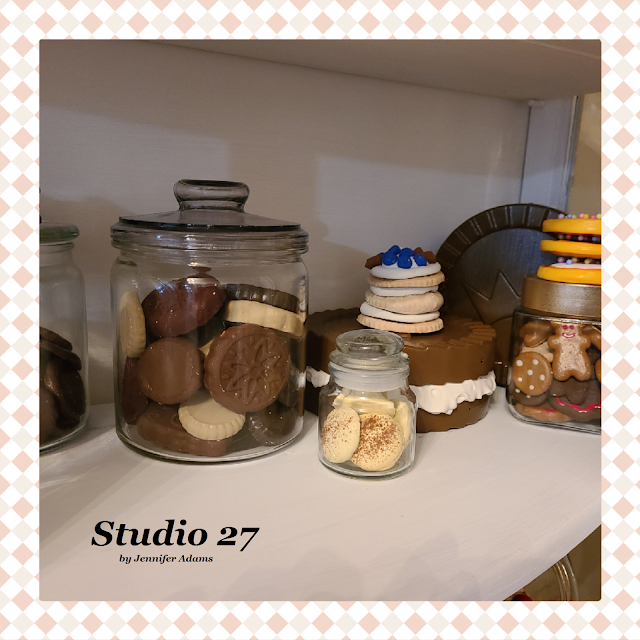
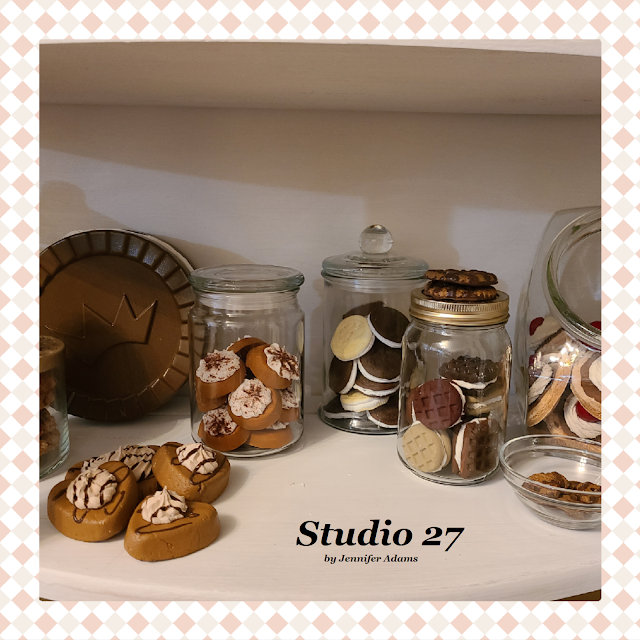
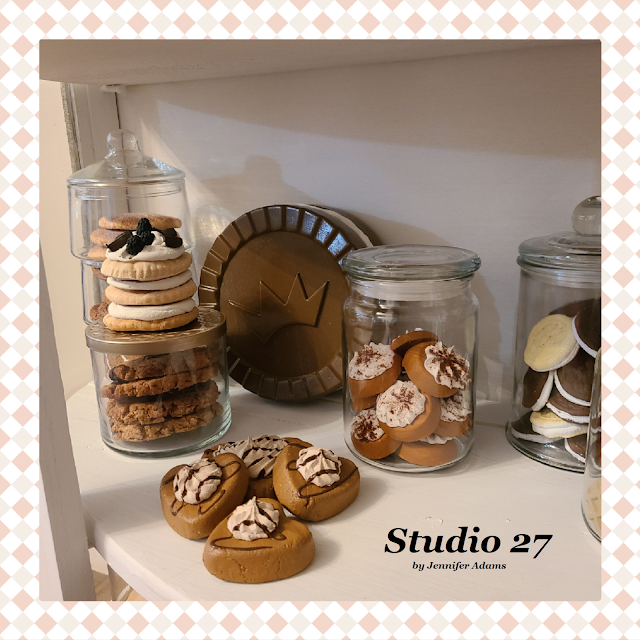
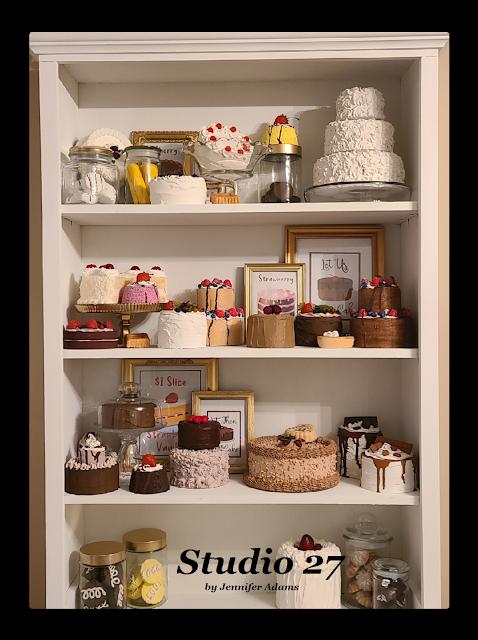
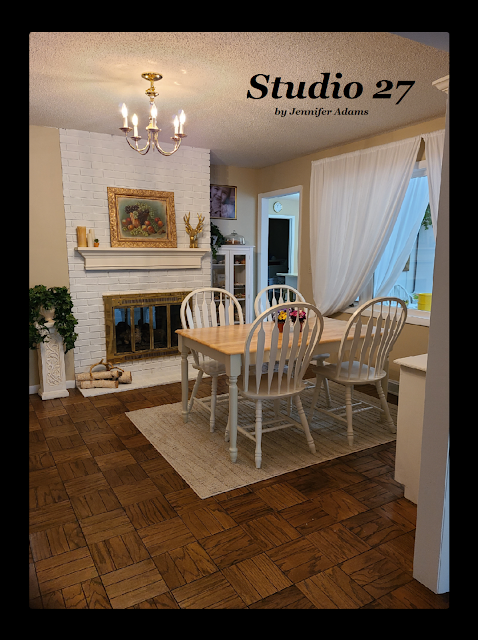
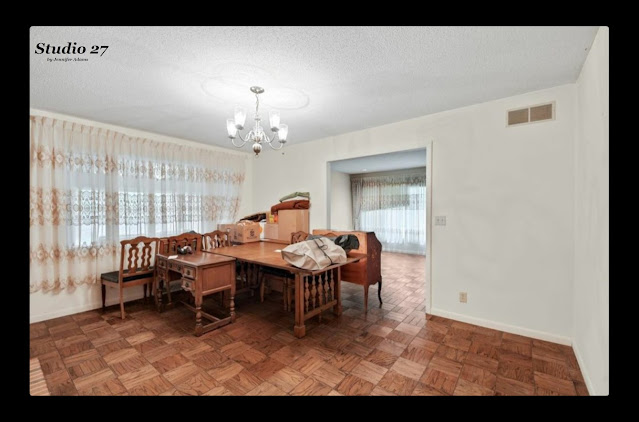
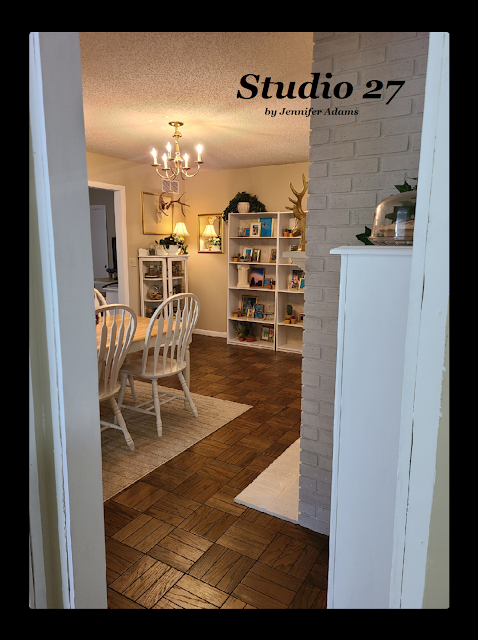
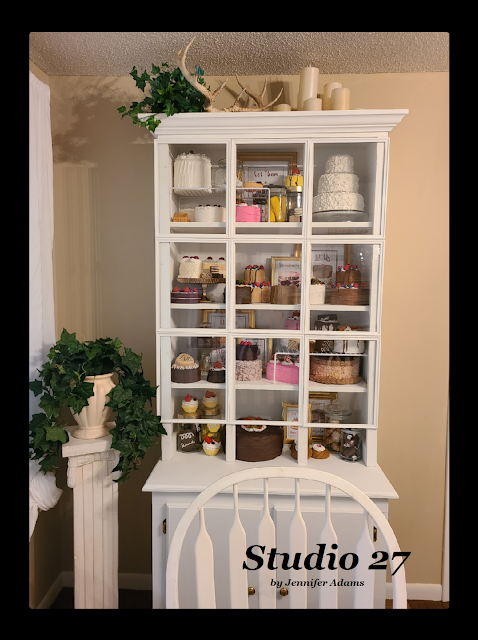
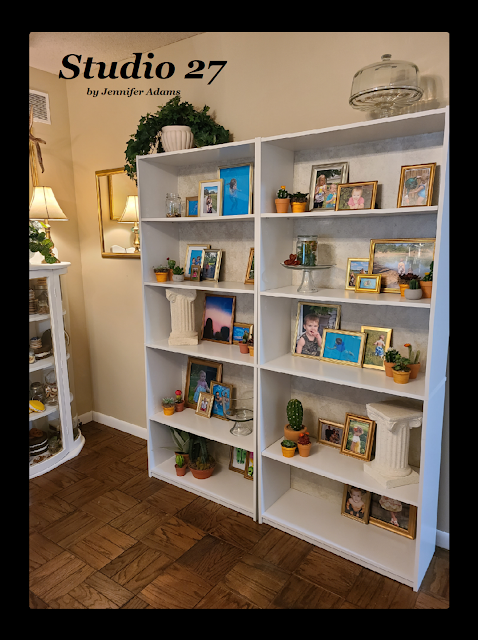
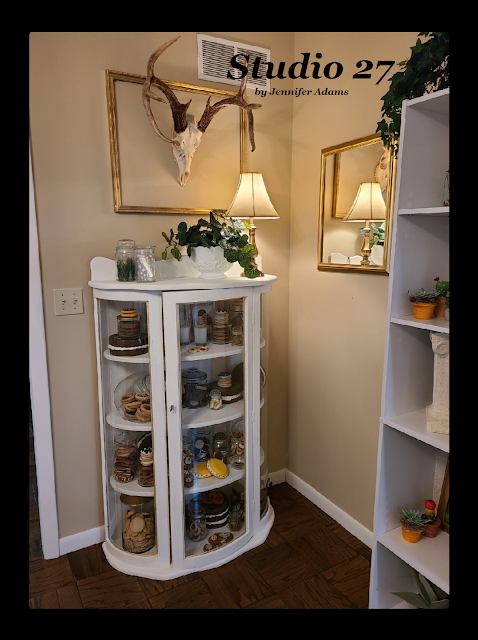
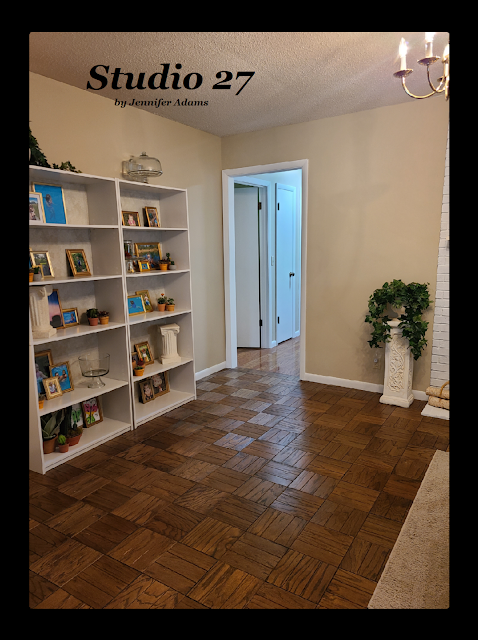
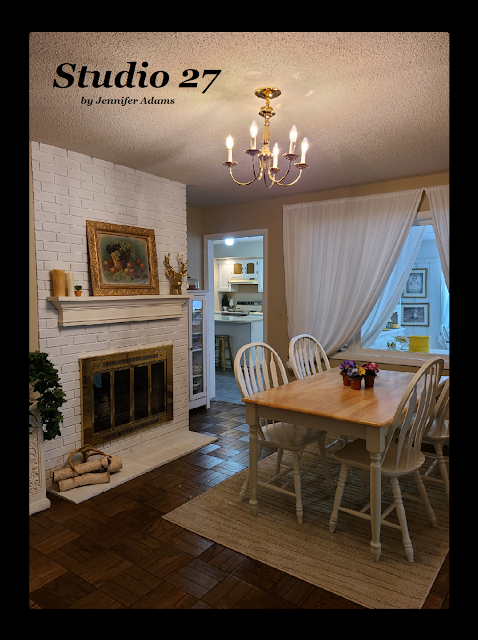
Today I'm sharing how I store and display my everyday faux cake collection. I have more than what's pictured here that are specific to holidays and seasons, but those I keep in my bakery storage when not in use. These however are out all of the time and can be found in my dining room.
Scroll on to see a photo of each shelf individually coupled with close-ups and descriptions:
**********
Disclosure - This post may contain affiliate links. If a purchase is made through an affiliate link then (at no additional cost to you) I will receive a commission. You can read more about affiliate links here
**********
(In case you missed it,
here is a post with all of my faux ice cream and
here is one featuring my bakery)
Now on to that cake cabinet-
Top Shelf
The Zebra cakes I made with
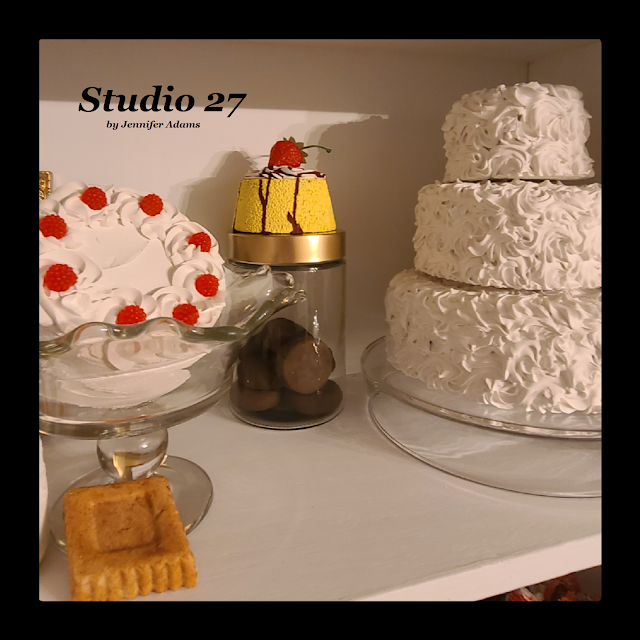
this silicone beehive mold. Using clay I filled in a few of the cavities that did not have the bee impression so that they would be as smooth as possible. Once the clay was dry I coated the hexagonal shapes with a layer of lightweight joint compound to look like icing. I then painted them white and drizzled black puffy paint on the tops.
The white cake with the dark berries in the upper left corner is one that I purchased a long time ago and I can't remember where 😌
The Twinkies I made using plaster in
this silicone mold and then painted in acrylic
The tiny salt dough cake I actually found in a set at a yard sale!
Here is a post where I detail the strawberry shortcake.
The Ding Dongs I hand shaped with air dry clay and then painted in acrylic.
The three tiered cake I made by using light weight joint compound in an icing bag and applying separately to three Styrofoam rounds. The foam rounds were an Ebay purchase in which the seller packaged them in plastic shipping bags instead of boxes, so they came a little misshaped. I would recommend either buying your foam in person at the store or verifying how it will be packaged for shipping.
**********
2nd Shelf
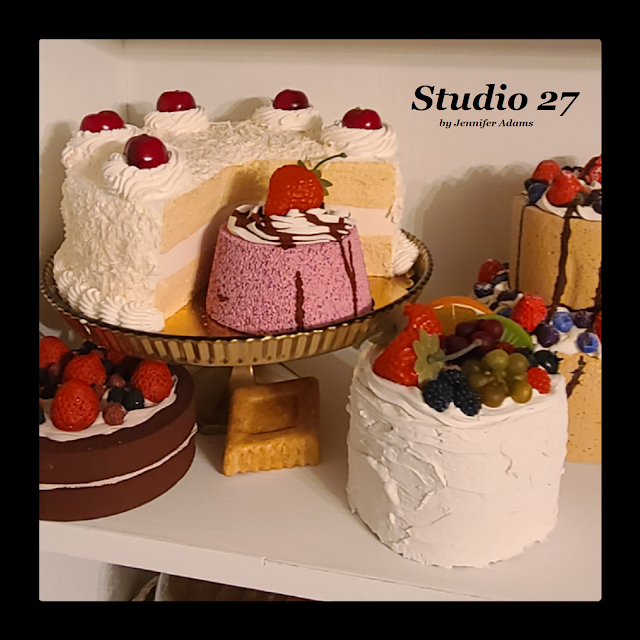
I made the berry covered chocolate cake by painting a couple of foam rounds and layering them with joint compound. The fruit on top is all made with clay using
these silicone molds. I used acrylic paint for the foam, fruit and to tint the joint compound.
The cut into vanilla cake was a gift and can be purchased
here.
The tiered berry cake was made in the same way as the berry chocolate cake, but using different sized foam. Once done I drizzled brown paint to look like chocolate and sprinkled baby powder to look like powdered sugar. A coat of spray adhesive has kept it in place nicely.
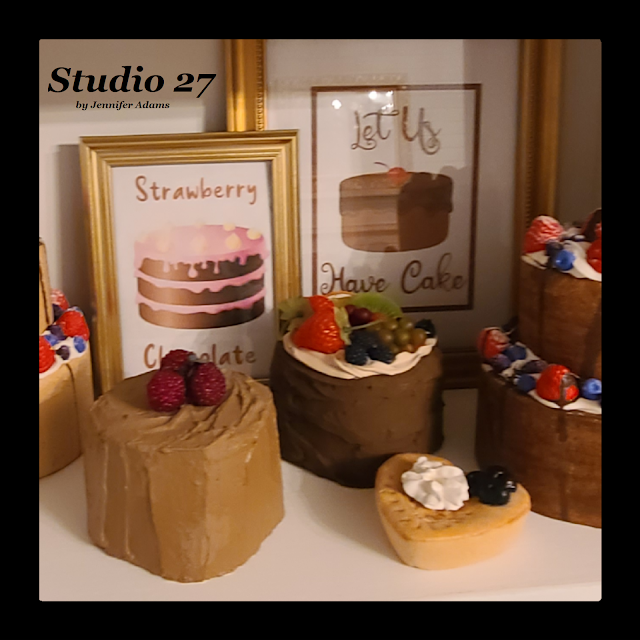
The three berry cakes here were made just like the ones in the previous photo, just using different paint colors. The heart shaped salt dough came from a garage sale and I added the dollop of spackle myself.
**********
3rd Shelf
All of these chocolate cakes are made with different sizes of foam, acrylic paint, joint compound and the same berries as in the links above.
Here is that strawberry shortcake tutorial again if you need it.
I
think I purchased the large chocolate cake from Dezicakes, but can't find a similar one to link for you, but
here is the shop's full list of cakes currently available.
Both of the white cakes are foam rounds covered in joint compound and acrylic paint. I made the chocolates by hand using oven bake clay. I simply left the clay in the flattened bricks that it came in, used a knife to add detailing and then painted it in acrylic. Some of the bricks I cut down into smaller bits and pieces while others I left as is. I had purchased
this clay package so that I could try using an
extruder to make my own faux sprinkles. I didn't like the extruder process or having to use the oven so after one batch of sprinkles I had a ton of clay bricks left over. I decided to use it up by making the chocolates but I can tell you that air dry clay is much easier to work with. Since then I have made more chocolate candies with air dry clay in molds like
this and
this.
**********
Bottom Shelf
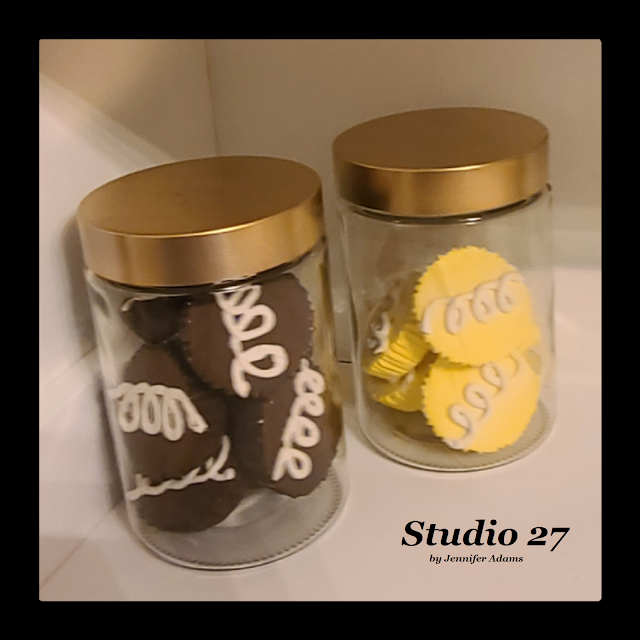
Both of my chocolate and lemon Hostess cupcakes I made by pouring plaster into cupcake liners. You can see the tutorial
here.
The strawberry toped cake is one I found somewhere on Ebay many years ago. It's actually the first faux food purchase I made!
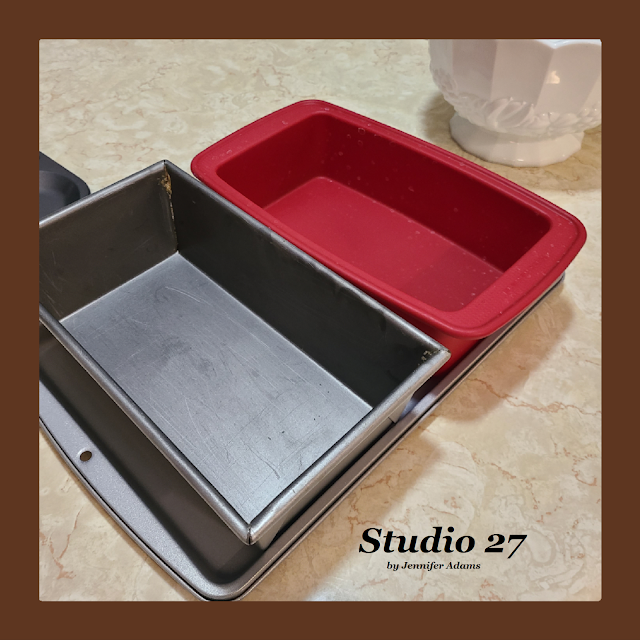
The round mini cakes are salt dough that I baked in tiny metal pans. I used watered down acrylic paint to darken them and then poured a bit of white glue on the top to look like icing. I also sprinkled on some baby powder to look like powdered sugar and sealed with spray adhesive.
The swiss rolls are air dry clay that I shaped by hand. Just create a cylinder shape and let dry, paint with a glossy brown and add white swirls at the ends!
I took all of these photos right after refinishing and installing the
thrifted cabinet and you can see that the top shelving was all open. Because I hate dust, I have since closed it in using
Dollar Tree picture frames and I'll share how I did that in an upcoming post.
And there you have it, my faux cake storage and display!
**********
I hope you enjoyed this faux food post, thanks for stopping by!
© Studio 27 by Jennifer Adams 2022
**********
This post was added to the following link parties:
**********
This post was featured at:


