Pages

Friday, March 31, 2023

DIY Solar Light Candlestick

Outdoor Decor

A couple of weeks ago I shared how to make a solar light chandelier.  Today I'm back with the table top candlestick version!


**********


Disclosure - This post may contain affiliate links.  If a purchase is made through an affiliate link then (at no additional cost to you) I will receive a commission.  You can read more about affiliate links here

**********

You can click here if you want to see that chandelier, other wise keep scrolling for the candle stick:


Outdoor Decor

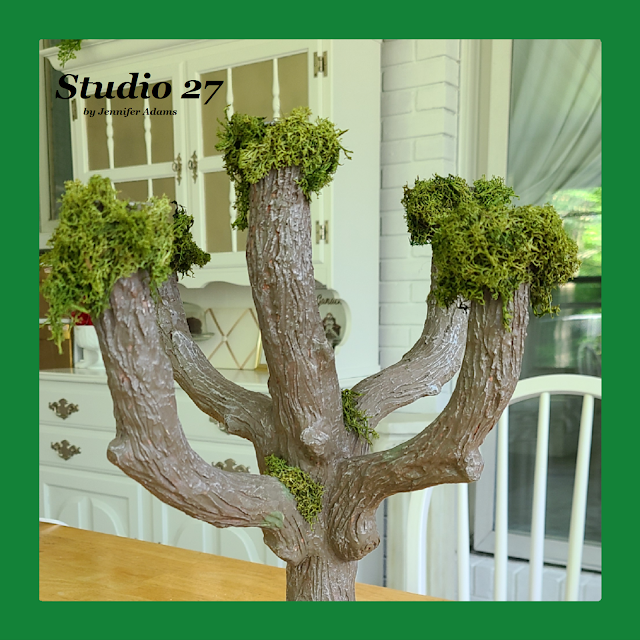
Any sturdy candle stick will do for this project, just make sure it's weatherproof.  Mine is a tree themed candle holder that I found at a yard sale for $5.  It's nice and heavy so it will stay in place in the wind.

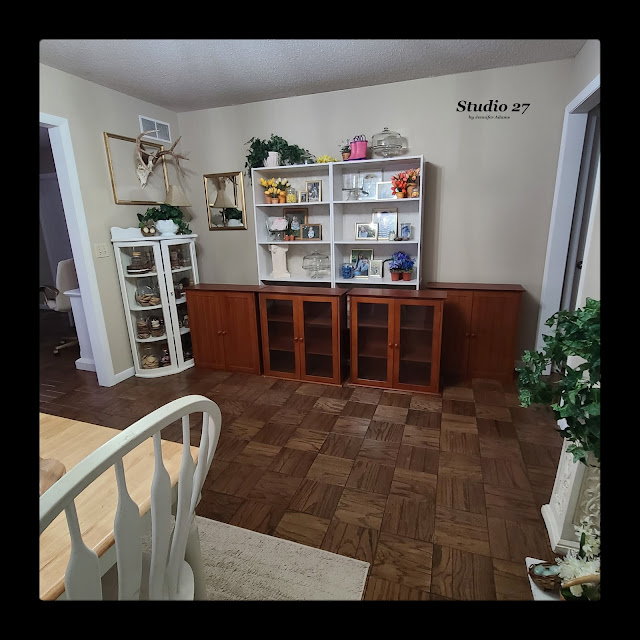
(Want to see the rest of the craft studio?  Click  here.)


Outdoor Decor

I picked up my solar light stakes and reindeer moss from Dollar Tree.


Outdoor Decor

The solar lights come right off of their stakes, allowing you to attach them to all sorts of light fixtures.  As long as the top solar panel receives sunlight, you are good to go!


Outdoor Decor
Outdoor Decor

Using glue I added moss around each of the candle holders.  Moss can fade with sunlight, dry out and fall apart in the rain/ snow, so keep that in mind when you decide where to keep your finished piece.  You my want to bring it inside for storage when you aren't planning on using it.


Outdoor Decor

Here is how the candle stick looked with the moss.  I tucked a few bits in around where the limbs meet the trunk as well.


Outdoor Decor
Outdoor Decor
Outdoor Decor

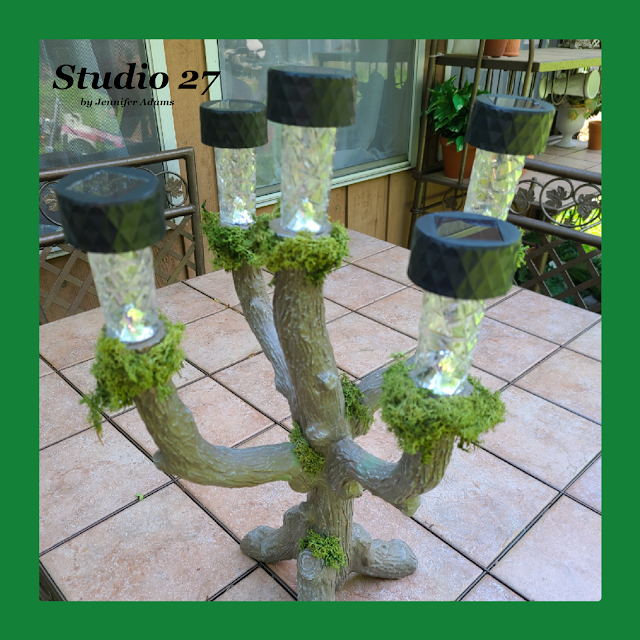
And here it is with the lights glued into place using industrial strength E 6000 glue.


Outdoor Decor

It's so pretty at night, don't you think?


**********

And that's how easy it is to make your own solar candlestick.
I hope you enjoyed this how-to post, thanks for stopping by!
-Jennifer


Friday, March 24, 2023

New House Makeover: Laundry Room

Home Decor


Hello and happy spring!

I'm sharing today our laundry room makeover:


**********


Disclosure - This post may contain affiliate links.  If a purchase is made through an affiliate link then (at no additional cost to you) I will receive a commission.  You can read more about affiliate links here

**********

If you have missed any of the other new house room tours, you can check out these links:


**********

Now on to the laundry:


Home Decor

This photo from the real estate listing shows the laundry room when we bought the house.  
So much space!


Home Decor

My Husband replaced the floors with the same tile that we used in the kitchen and bathrooms while I repainted the walls in beige.


Home Decor
Home Decor

Here are a couple of pictures of how things look so far.  The shelf contains my fake bake pantry storage, which I'll share in the future.

That long wall is just begging for cabinets...and speaking of-


Home Decor

I found these!  Originally two standing units with the glass sections on top, I found them at the thrift store for under $50 for all!  You can see in comparison to the bookshelves that they are pretty big.  I plan to repaint them in white and then my Husband will install them along the wall above the washer and dryer.  I'll update when complete 😊

In the meantime, here are some more details of the laundry room so far:


Home Decor

This table was another thrifted find (it used to be a desk) that you can see made over  here.  The drawers I customized like  this.


Home Decor
Home Decor

To the left of the table is a closet with really deep storage.  I tuck all of the necessary items to the side and keep the prettier items on the visible shelves.  You can see how I made the faux laundry detergent/ fabric softener dispensers here.


Home Decor

Using my Cricut I added a tiny "house gnome" hole on part of the trim, complete with laundry on the line of course 😄


Home Decor


Friday, March 17, 2023

Solar Light Chandelier

 Outdoor Decor

Want to add a pretty light fixture to your outdoor decor?
Read on to see how I made a solar chandelier from a recycled light fixture:

**********


Disclosure - This post may contain affiliate links.  If a purchase is made through an affiliate link then (at no additional cost to you) I will receive a commission.  You can read more about affiliate links here

**********

Outdoor Decor
Outdoor Decor

Here is the chandelier when I started.  It came from the light fixture that was originally in the family room when we bought the house.  We swapped it out for a ceiling fan and I took off the outer glass, leaving just the frame.  While mine came from the house, you can also find lots of old light fixtures at yard sales and thrift stores.

*This photo is from the house listing before we moved in.  If you would like to see how the family room look now, you can click  here.


Outdoor Decor

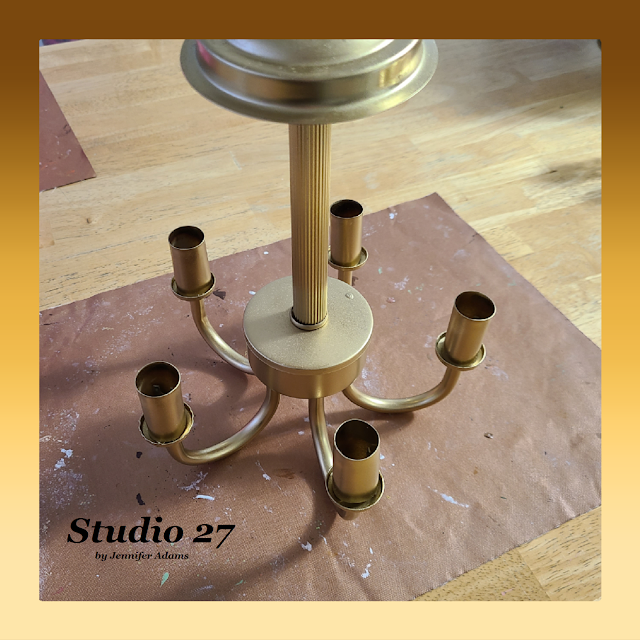
A quick coat of spray paint and it cleaned up nicely.  Still gold, but fresher looking 😉


Outdoor Decor

Using solar stake lights from Dollar Tree, for my chandelier's light bulbs, I easily pulled them apart from the ground stakes.  For this project I only needed the tops and the glass looking bulb section.


Outdoor Decor
 
 I covered up the solar panels with masking tape so that I could spray gold paint here as well.


Outdoor Decor
Outdoor Decor

Then I used E6000 to attach the bulbs to the chandelier and let dry overnight.  Once everything was dry the solar tops screwed right back on.


Outdoor Decor

Here is how it looked still in the craft studio...


Outdoor Decor

...and another shot during the day.


Outdoor Decor
Outdoor Decor

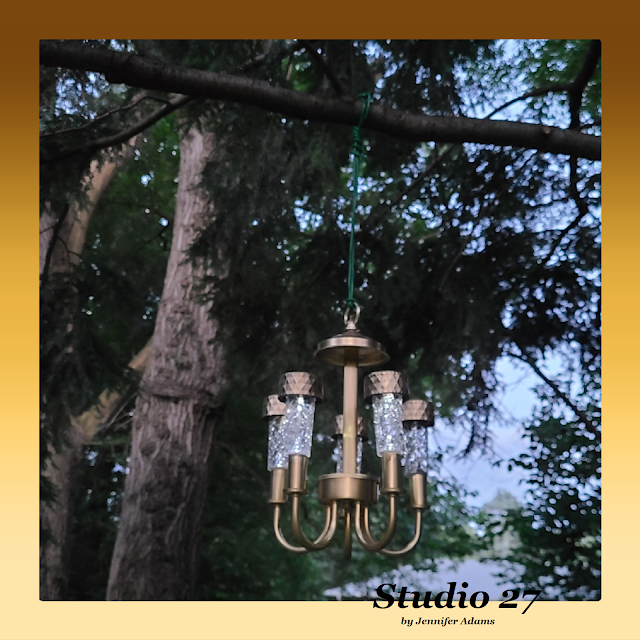
I also took a couple of pictures with it hanging in the tree, I love how it turned out!


Friday, March 10, 2023

Faux Decor Ice Cream Container

Fake Bake Ice Cream

When browsing through the thrift store, I found a container that would be perfect for my faux ice cream collection.  Read on to see how easy the transformation was:


**********


Disclosure - This post may contain affiliate links.  If a purchase is made through an affiliate link then (at no additional cost to you) I will receive a commission.  You can read more about affiliate links here

**********

Fake Bake Ice Cream
Fake Bake Ice Cream

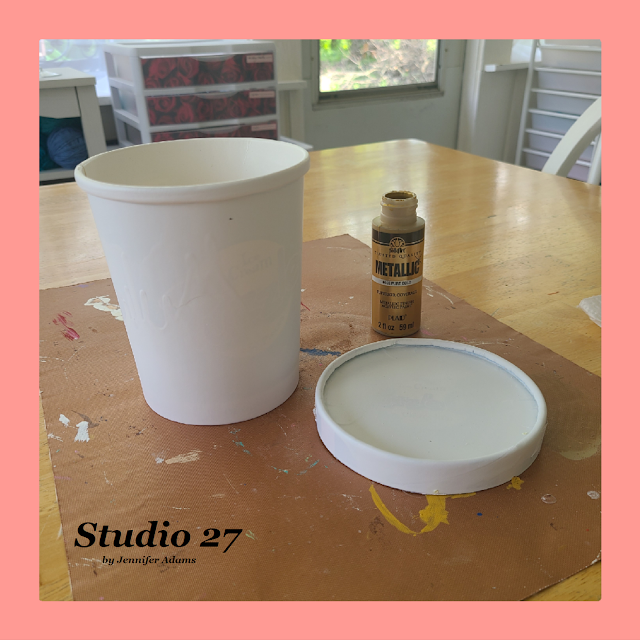
This is the container that I found for $1.99 at the thrift store.  Originally an ice cream themed puzzle, it gave me the idea to make the container part of my faux ice cream cabinet.

In case you missed it, here is a post where I show you all of my faux ice cream.
And if you like the ice cream display, here are more of my collections:


Fake Bake Ice Cream
Fake Bake Ice Cream

I painted the container white with gold trim on the lid and bottom, using acrylic paint for both.


Fake Bake Ice Cream
Fake Bake Ice Cream

Then using my Cricut, I designed and cut an ice cream label 
that would fit the dimensions of the container. 


Fake Bake Ice Cream

"27 Scoops and Double Chocolate"  in white and gold.

My label fits with my blogger brand and my home decor 😄


Fake Bake Ice Cream

Once it was all finished I tucked the carton in with the rest of my ice creams.
I love how it turned out!

**********


**********

I hope you enjoyed this how-to post, thanks for stopping by!
-Jennifer


Friday, March 3, 2023

DIY Bird Nest Decor

Spring Decorating

Want to add some faux bird nests to your spring decor?

Here is how easy they are to put together:


**********


Disclosure - This post may contain affiliate links.  If a purchase is made through an affiliate link then (at no additional cost to you) I will receive a commission.  You can read more about affiliate links here

**********


Spring Decorating

Everything here was found at the thrift store - a few woven bird nests, some faux eggs and a bit of moss.  But if you aren't a thrift store regular don't worry, any craft store should have similar items available at this time of year.

If you'd rather shop online, here are a few Amazon links:


Spring Decorating

Just glue a bit of the moss into the nests...


Spring Decorating

... and then glue a few eggs on top.

After that it's as simple as tucking them into your existing decor:


Spring Decorating
Spring Decorating
Spring Decorating

A lot of the faux spring plans that you see in these photos I made myself.  You can check out this post for instructions.  The miniature pots with eggs were made in the same way, just glue moss and an egg into the pot of your choice.

And there you have it, easy to make bird nest decor!

**********

I hope you enjoyed this how-to post, thanks for stopping by!
-Jennifer

© Studio 27 by Jennifer Adams 2023

**********

This post was added to the following link parties:


**********

This post was featured at: