Friday, February 25, 2022

Faux Frog Terrarium

 Kids Room


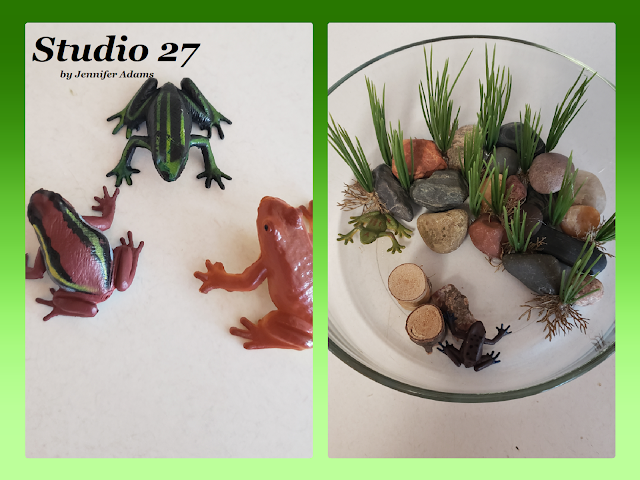
I had an idea that using resin and a few dollar store toys, I could make a fun faux terrarium for my son to keep on his desk.  Read on to see how you can do it too:

**********


Disclosure - This post may contain affiliate links.  If a purchase is made through an affiliate link then (at no additional cost to you) I will receive a commission.  You can read more about affiliate links here


Kids Room

Starting with a sturdy glass bowl that I picked up at the thrift store, I placed some pretty stones off to the side.  These stones will be the 'land' side of the terrarium, so I made sure to glue them in place for stability.


Kids Room

Next I added in some faux grass and tiny logs.  The grass was a yard sale find while the logs can be purchased from Dollar Tree.  I positioned the logs out in the open area so that the frogs can have a place to climb out in the water.

(You can click here to browse Dollar Tree's online selection of craft supplies)


Kids Room

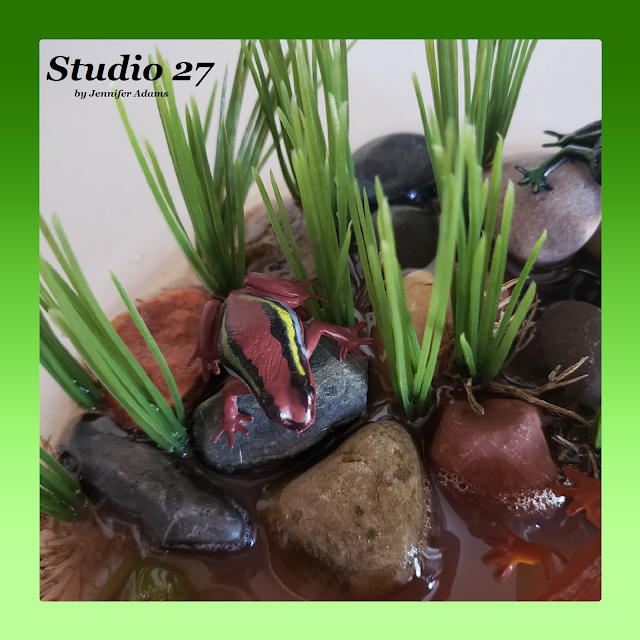
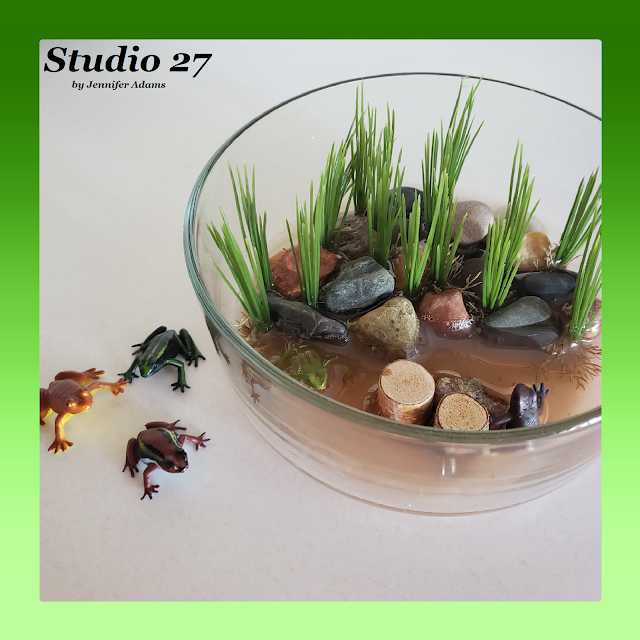
Next I added a couple of frogs to the part of the terrarium that will contain water.  Keep in mind that because the 'water' will be made of resin, anything placed within that area will be unable to move once the resin has cured.  I wanted it to look like a couple of frogs were hanging out partially submerged, but also wanted my son to be able to play with the finished piece.  For this reason I made sure to keep a few frogs off to the side for later.


Kids Room

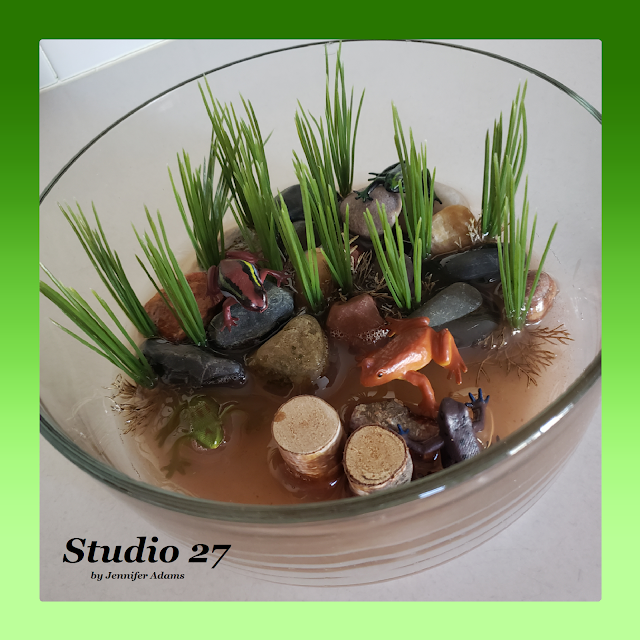
Using Woodland Scenics Realistic Water  (Amazon) and a bit of brown acrylic paint, I mixed up what looked like a mud puddle and poured it in...


Kids Room

Gross, huh? 😄
I was careful not to completely cover the toy frogs, but added enough resin that they would stay in place.

Note:  This particular brand of resin is great for shallow displays only, with a maximum depth of 1/8" per layer.  While you don't have to mix the resin (it comes ready to pour), you do need to be careful not to pour it too deep.  According to the instructions you can add additional layers of the resin on top of one another though I haven't tried it myself.

Here is another time where I used this type of resin:


Kids Room
Kids Room
Kids Room
Kids Room

And here is how the completed terrarium looks with the resin fully cured.  Still swampy, but clearer and prettier.  My favorite part are the loose frog toys, as they can be moved around during play.


Kids Room

Inspired by the terrarium, I decided to try a fish bowl too.  Can you see the large green fish toy?  He's in there!  For this one I positioned a layer of pebbles, 'planted' some faux fish tank plants and then nestled a large fish toy into the bed of rocks.  It was so pretty at first...

Unfortunately, this is the only angle that the fish is visible from.  During the curing process air began to release from the mouth of the toy, creating a large air bubble that led to a crack right down the middle of the resin.  I was soooo mad!  Once the resin is mixed, poured and beginning it's process of curing, there is nothing you can do.  I had to just watch and wait to see what would happen!

  Turning the bowl on this angle looks ok, but if you look closely you can see a stream of air coming from the fish's mouth 😁  Ah well, it still looks good from this side!

Note:  This deeper display required a different brand of resin.  You can find it here on Amazon, and you can read a step by step example of how I use it in this post.


Friday, February 18, 2022

Make Your Own Floral Hair Wreath

Hair wreath


A couple of summers ago my daughter wanted me to put together this floral hair wreath accessory.
Read on to see how easily you can make one too:

**********


Disclosure - This post may contain affiliate links.  If a purchase is made through an affiliate link then (at no additional cost to you) I will receive a commission.  You can read more about affiliate links here


Hair Wreath

Here are the florals that I used; a length of garland, some ferns, white roses, peonies and mums.  The garland I picked up at a yard sale, but the rest all came from Dollar Tree.

(You can click here to browse Dollar Tree's online selection of floral products)


Hair Wreath
Hair Wreath

Using floral wire I shaped the garland into a circular form and fastened it into place.  I then used floral tape to cover the wire up and prevent any scratching or poking from the potentially sharp ends.

I determined the length of the garland (size of the wreath) by first wrapping it gently around my daughter's head.  That way she could tell me exactly how low she wanted it to rest as well as how snug it should be.  You could always substitute string here if you want, but we thought it was helpful to see some of the flowers in position.


Hair Wreath

Starting with the roses, I glued a bit of fern leafing to the backs of them.  Not only was it much easier to attach the fern stems to the roses as opposed to the skinny wreath, but it also made the roses more stable and was then a breeze to glue them to the wreath.


Hair Wreath
Hair Wreath

Starting in one random spot, I attached one rose and then the other two evenly spaced from the first.


Hair Wreath

Similar to the roses and ferns, the peonies and mums I first glued to one another to create stability...


Hair Wreath
Hair Wreath

...and then attached them to the wreath in between where I had previously glued a rose.  All in all I ended up with three groupings each of fern roses and peony/ mum combinations.

You can keep going or stop here, making the hair wreath as full or as sparse as you wish.


Hair Wreath
Hair Wreath

And there you have it- a floral hair wreath that will never wilt 😎


**********

Friday, February 11, 2022

Custom Labels For Plastic Storage

Craftroom storage

When it comes to craftroom storage and organization you can never have too many bins, am I right?!
Some people like to leave their bins clear so they can have a better idea of what's inside, but I prefer the unified look of having them finished. Read on to see how easy it is to do:

**********


Disclosure - This post may contain affiliate links.  If a purchase is made through an affiliate link then (at no additional cost to you) I will receive a commission.  You can read more about affiliate links here


Craftroom Storage

I found these drawer bins at the thrift store for a couple of bucks apiece.  While the drawer housing was always white, the drawers themselves were originally clear.  A bit of gold spray paint and they are now compatible with the rest of my craft room 😊


 Craftroom Storage
Using my Cricut, I cut out cardstock in a shape that I liked and had the labels drawn on.  I wasn't expecting them to be the outlines of the words only though, and ended up using a marker to fill them in by hand.  I think there is a way to get the Cricut to fill words all the way in, I just don't know what it is 😏  If you know, please comment below with instructions, thank you!

Note:  I used the Chickens Lovers font from DaFont for these labels.  DaFont is a great resource for free fonts that you can download and use in your projects 😎

If you notice in the picture on the far left, I cut out two sizes of the labels in both beige and white.  This is so I could layer the white on top of the beige and make the overall look a little fancier.


Craftroom Storage

After my labels were filled in I used hot glue to attach them to the front of the drawers...


Craftroom Storage

...then moved them into my studio.
And there you have it- basic plastic storage now turned pretty 😍

(I have another tutorial where I show how I customized the rose printed drawers here)

**********

Friday, February 4, 2022

Mistakes to Treasures - An Oops Recycle

 Valentine's Day


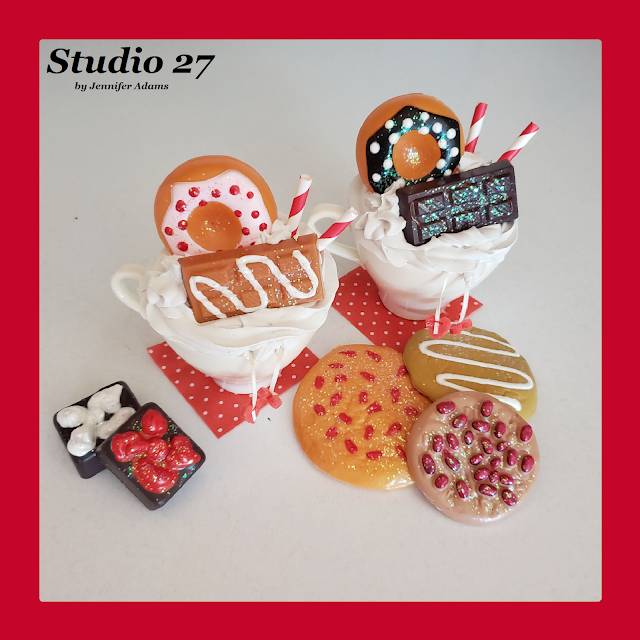
Here is a really cute set of valentine themed faux cocoas and treats...but they didn't start that way!
Read on to see how my failure at using resin was repurposed into this cheerful display:


**********


Disclosure - This post may contain affiliate links.  If a purchase is made through an affiliate link then (at no additional cost to you) I will receive a commission.  You can read more about affiliate links here


Valentine's Day

Working on a couple of projects at the same time, I thought I could whip up both some summery glassware and a set of valentine tea.

I've worked with resin before with great results (strawberry lemonade) but this time with issues.  In this photo you can see that I was trying to make fruit infused drinking water.  It looks pretty good in the picture, but if you examined it in person you would notice that instead of drying hard and smooth, the resin is sticky.

This happened because I didn't mix the two parts of resin together long enough.  Coming in two parts (A & B) one bottle is the resin while the other is the catalyst.  Once mixed together the catalyst causes a chemical change which over time changes the resin from a liquid into a solid.  You must take the time to mix the two parts together for the correct amount of time!  After previously making my strawberry lemonade with great success, I didn't take the time to read the directions again and forgot that the components need to be mixed for a certain amount of time 😖

(here is the resin I like to use)

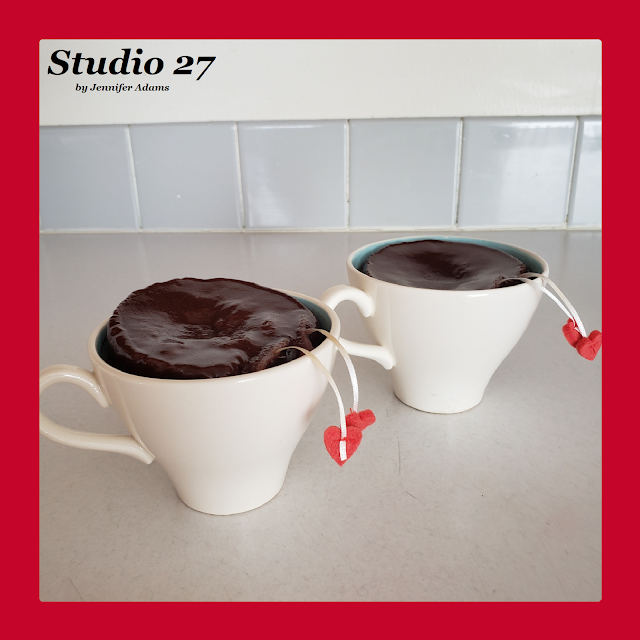
After setting the infused water display to the side, I went straight into creating my tea (not yet realizing that I hadn't mixed properly) and here is how they turned out:


Valentine's Day

Well, they fully dried and aren't sticky.....but they look terrible😆


Valentine's Day

I hate waste, especially when it's something I love - just look at those adorable little hearts - so I decided to change the tea into cocoa.


Valentine's Day

Using light weight joint compound, 
I piled on some faux whip making sure to cover all of the ugly mishap.

(here is a post where I share how to make faux drinks with whipped toppings)


Valentine's Day

And then added in a few paper straws and faux treats.


Valentine's Day

The faux treats were from a set of kids toys that I picked up while thrifting.  Using puffy paint and glitter, I embellished them until I felt they were more valentine-y looking.


Valentine's Day

And there you have it, a valentine ready display saved from the trash!

**********


I hope you enjoyed this crafty mishap post, thanks for stopping by!
-Jennifer