I've been waiting a very long time to have my own craft studio space, and after moving into our new home I finally got it! Read on to see how I transformed our back sunroom into my craft room:
**********
Disclosure - This post may contain affiliate links. If a purchase is made through an affiliate link then (at no additional cost to you) I will receive a commission. You can read more about affiliate links here
**********
If you have missed any of the other new house room tours, you can check out these links:
Not on to the craft room...😄
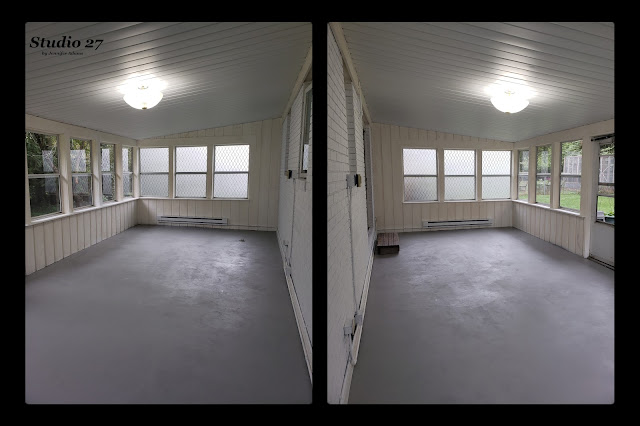
Here is how the porch was when we moved in - a nice big space with lots of windows and dark cedar siding. I started out by cleaning the floor which my husby then refinished in gray. It took me two hours - no joke - just to get all of the windows open! It had been so long since they had last been opened that they were sealed shut with dirt and grime. After that it was a couple of afternoons cleaning them inside and out. Finally I repainted (with some help from my babies 😍) and that monster job took three coats as the thirsty cedar kept soaking up the paint.
I went in to this room thinking a few days of a quick clean and repaint, and it ended up taking me close to three weeks!
And here we are with the floors and walls refinished. Because the room is fully windowed on three sides, two sides faced the neighbors back yards. Wanting privacy I used window cling to obscure those two sides. You can read a step-by-step tutorial of how I did that here.
**********
After that it was time to fill the room up:
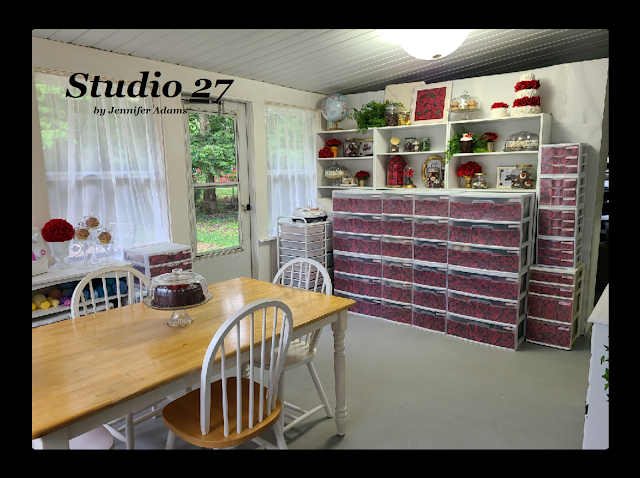
Attached to the family room, here is how the room looks when coming through the sliding door. Starting at the left I have my Cricut cutting cart (organized like this), painting supplies, general tools, fabrics, yarns and all things sewing. The dining table in the middle is great for having a large work surface and space for my favorite people to join in.
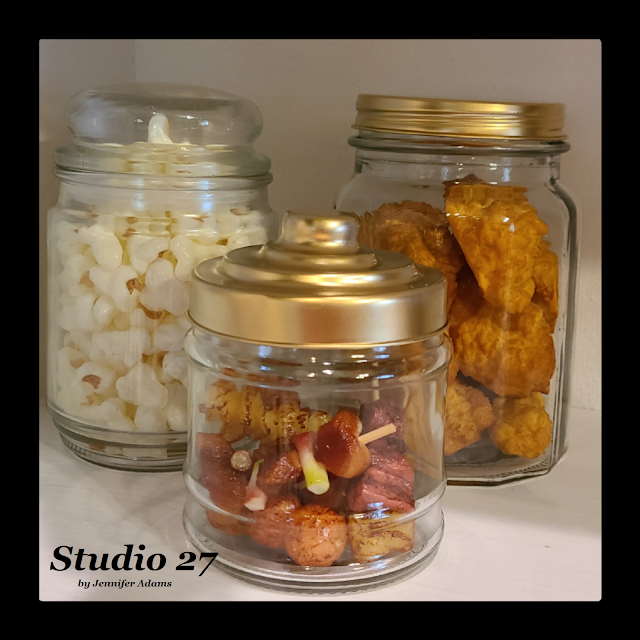
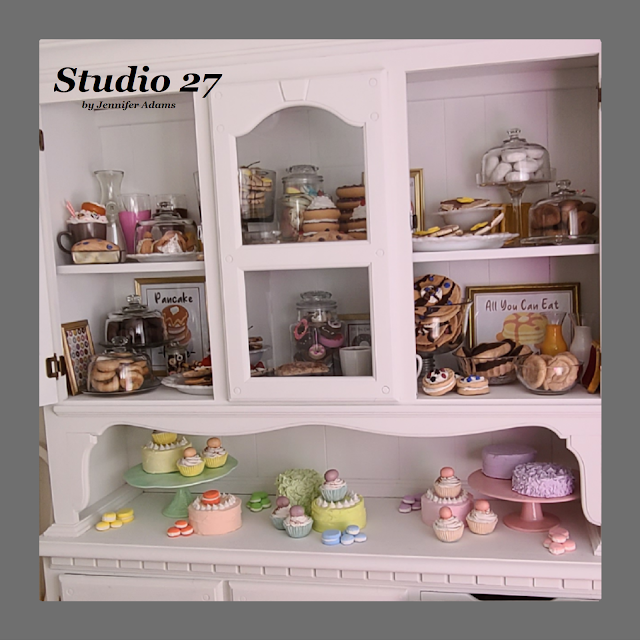
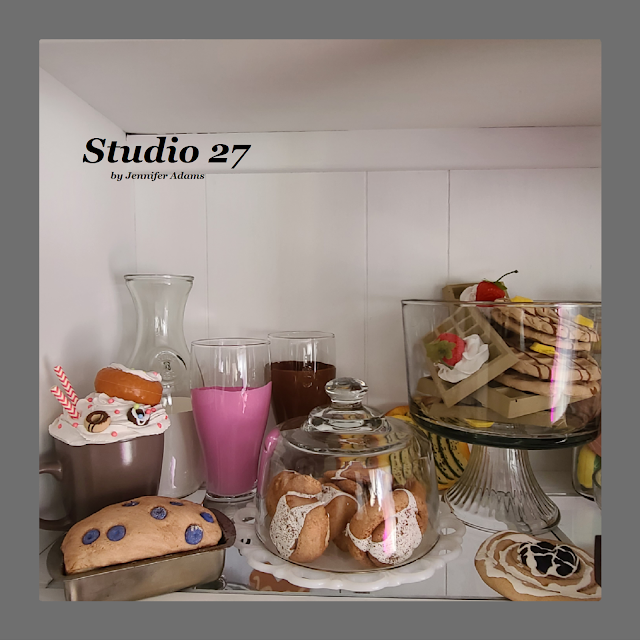
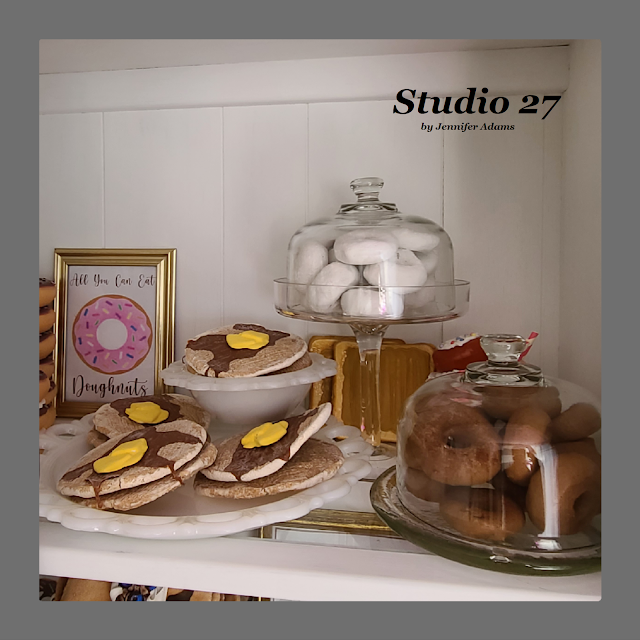
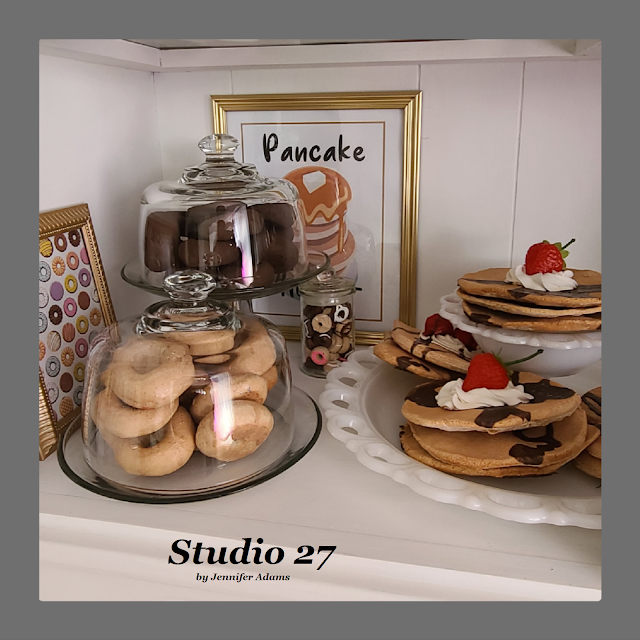
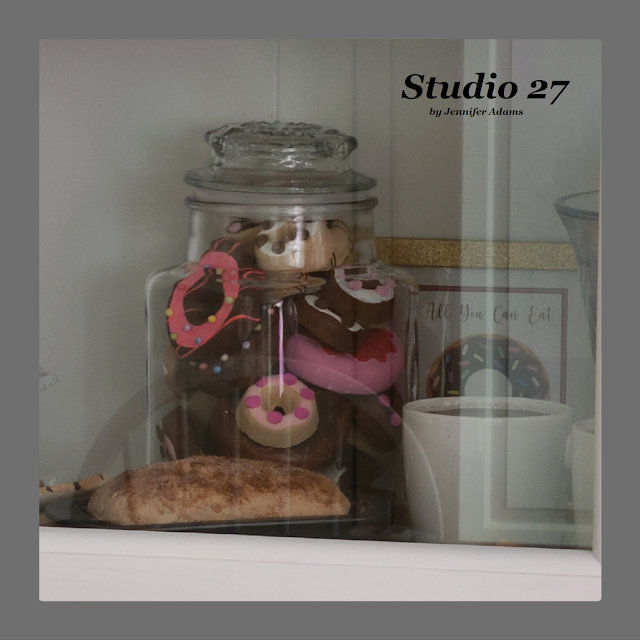
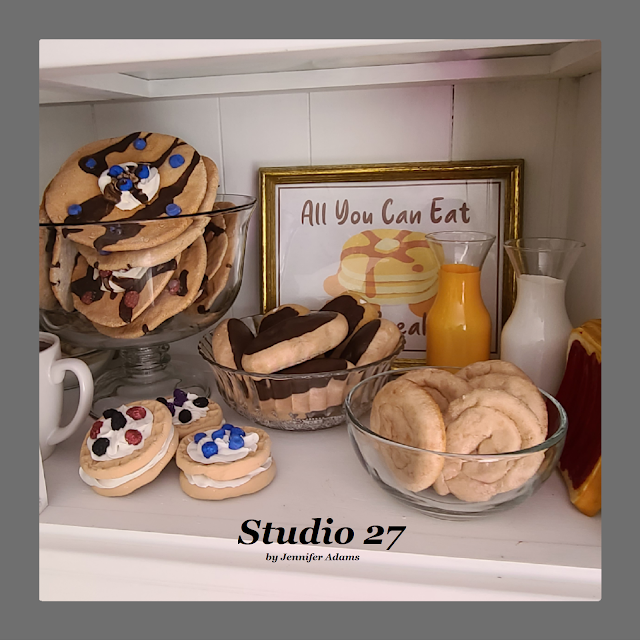
For the decor I used a lot of white furniture and storage with gold touches, faux cakes/ cupcakes/ chocolates and my favorite red roses.
Moving on to the right is my Cricut press cart and a wall of shelving with plastic drawer storage in front. I placed the drawers in front intentionally so that I could use the shelves on top for pretty things and the bottom shelves are for hidden storage. All I have to do is pull a drawer completely out and then I have access to the shelves behind.
The shelving is also creating a wall that splits the room in two. If you were to go beyond the shelving, I have turned the back part into a walk in closet.
The globe up on top of the shelf is a visual that I use for blog inspiration. Whenever I get a hit from a new location I stick a push pin into that country, you can see a post about that here.
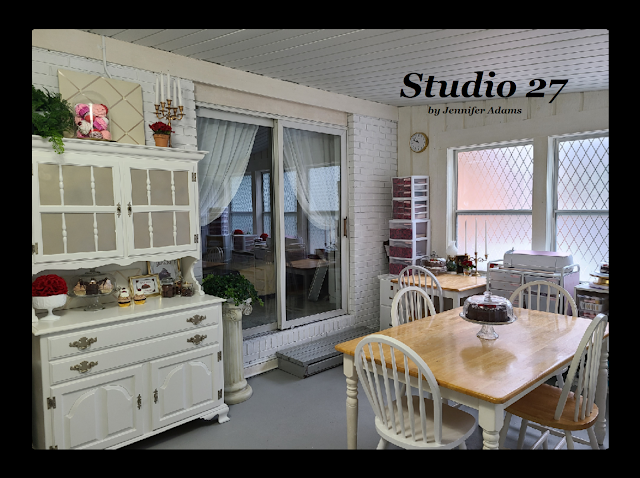
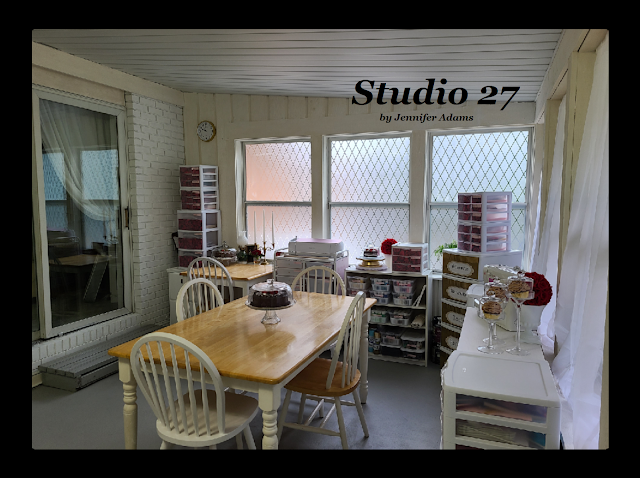
Continuing on to the right is a thrifted cabinet that I refinished to hold all of my beads, glitter, jewelry making and fake bake supplies. On the other side of the sliding door is a small table that I use for a desk with my filing cabinet and office supplies. Right now my computer is still in the front room of the house but I'm still toying with having something out here. I like my big screen for my digital art and it's too big for this desk area. At the same time I don't always like rolling my Cricut cart all the way across the house into the front room, just because it's heavy to lift up the step. Maybe a laptop out here just for cutting, but I could still design inside? I'll figure out something eventually 😊
Here are a couple of more shots, just to see how everything is from every angle. I have a series of posts planned for next month where I will take you inside the storage and organization of all the drawers 😊
And there you have it, my craft studio!
*Update* Here are those posts:
**********
I hope you enjoyed this home makeover post, thanks for stopping by!
-Jennifer
© Studio 27 by Jennifer Adams 2022
**********
This post was added to the following link parties:
Wonderful Wednesday (Oh My Heartsie Girl)
Wonderful Wednesday (Penny's Passion)
**********
This post was featured at:


