Friday, January 27, 2023

Valentine Fake Bakes Using Miniature Molds

Valentine Decor

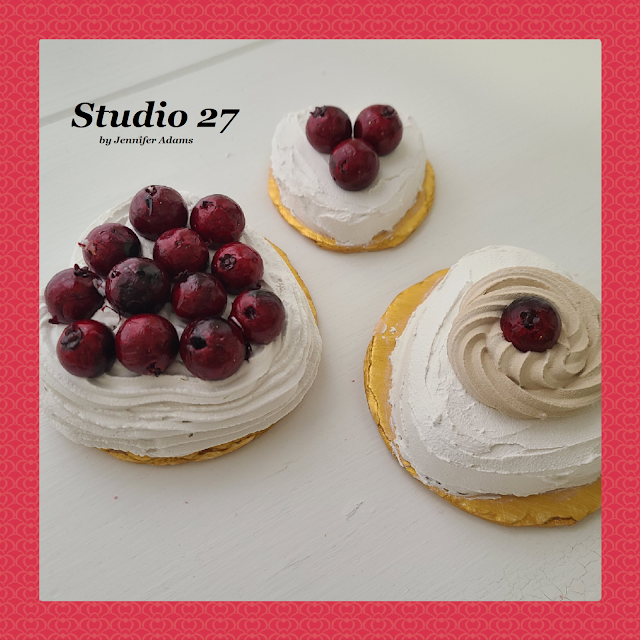
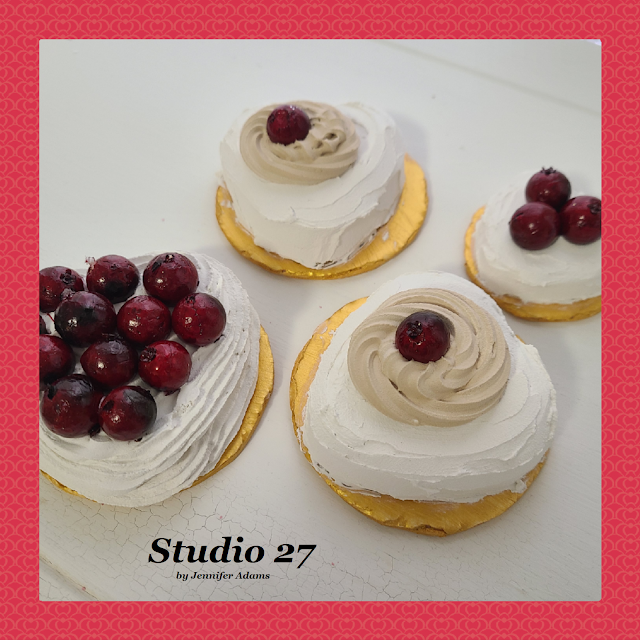
Wanting to add a bit more to my Valentine decor, I made these faux cakes out of miniature molds.

Read on to see how easy it was:


**********


Disclosure - This post may contain affiliate links.  If a purchase is made through an affiliate link then (at no additional cost to you) I will receive a commission.  You can read more about affiliate links here

**********


Valentine Decor

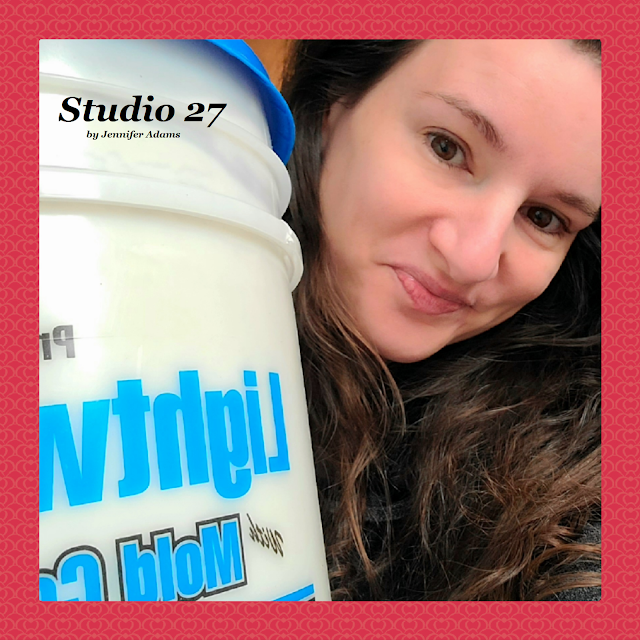
But first, let's take a minute to give a shout out to our local thrift stores!  My Husband took me to a construction supply/ furniture  re-sale shop that I didn't even know about.  I got this almost completely full 5 gallon bucket of lightweight spackle for under $20!  😎😎😎

Now back to those mini fake bakes:


Valentine Decor

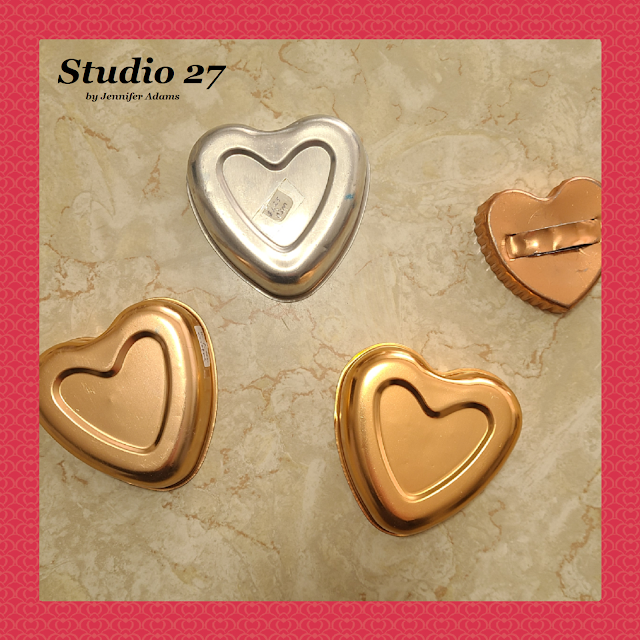
These tiny molds are some that I found awhile ago at a yard sale and had stored in my supplies.  Every so often I like to go through and see what I have lying around that I can use up, it helps keep my craft studio from getting too full!

(Want to see the craft studio?  Click  Here)

Valentine Decor
Valentine Decor

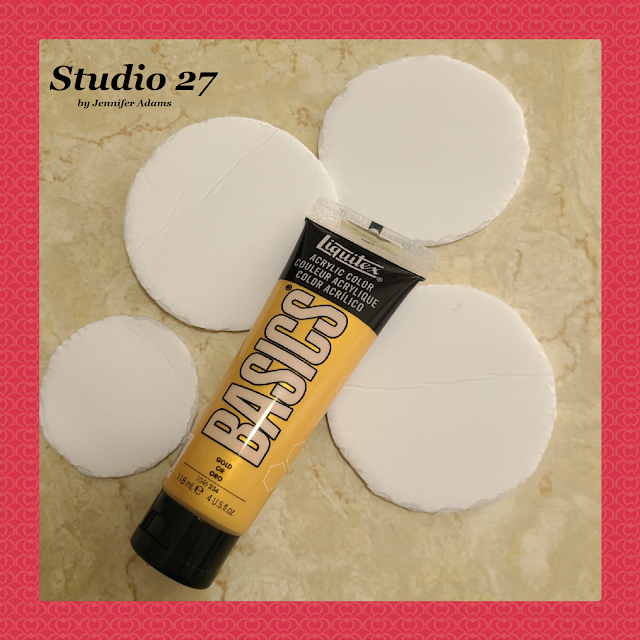
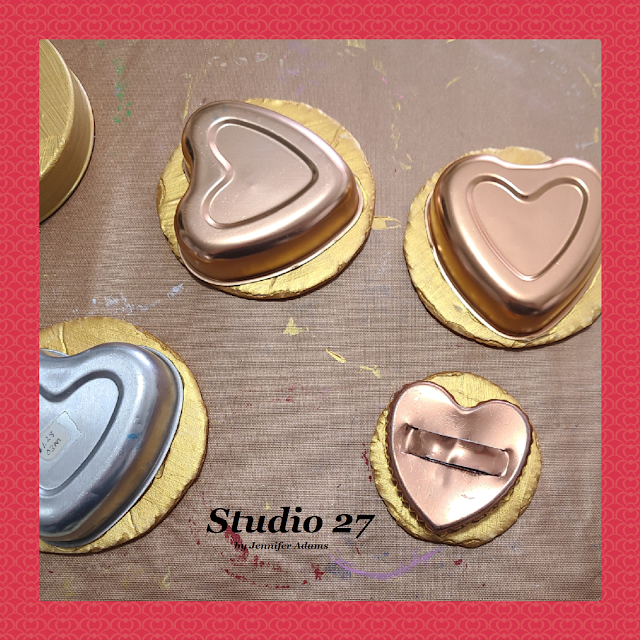
Using foam board I cut circles just big enough for the molds to sit on top of, and then painted the foam in gold.


Valentine Decor

A bit of hot glue held the molds in place.


Valentine Decor
Valentine Decor
Valentine Decor

And then it was on to decorating!

All of the molds I completely covered in spackle, three by applying it with a spatula and one I used an icing tip to give more texture.  A couple of them  got a dollop of faux chocolate - just mix in a bit of acrylic paint with your spackle and pipe on with an icing bag.  All of them were topped with faux berries.  

The berries I picked up at a thrift store during the Christmas season.  Intended to be cranberry garlands, I just cut off all of the berries to repurpose for my fake bakes.  You can leave them the original shade or repaint them to look like cherries, large blueberries, etc.  The holiday season is a great time to find items that can be repurposed for fake baking 😍

And there you have it, easy to make miniature Valentine cakes!


-Jennifer


Friday, January 20, 2023

Make Your Own Faux Snowballs

DIY Winter Decor

With Christmas cleaned up and put away and a bit to go until Valentine's, some of us are wanting to decorate for the winter season.  Here is an easy way to make your own faux snowballs, check it out:


**********


Disclosure - This post may contain affiliate links.  If a purchase is made through an affiliate link then (at no additional cost to you) I will receive a commission.  You can read more about affiliate links here

**********


DIY Winter Decor

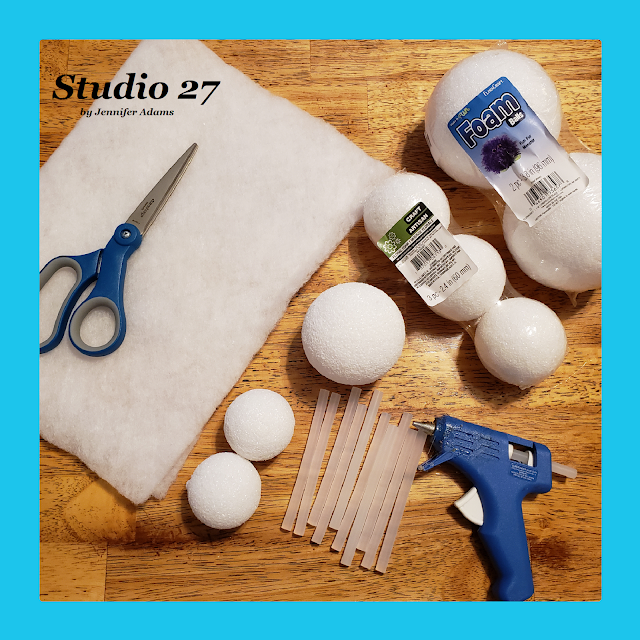
All I needed for this project were some foam balls, quilt batting and a hot glue gun.


DIY Winter Decor
DIY Winter Decor

Starting with a square cut section of quilt batting, I placed a foam ball in the center on top of some hot glue.


DIY Winter Decor

I then began wrapping the sides of the batting up and around the ball, gluing as I went.  I made sure to pull a bit on the batting so that is was nice and tight to the ball before gluing in place.  Just keep wrapping and pulling, until one side of the ball has a clean, finished look and all of your mess is at the back.  At that point you can trim off any excess batting and glue down the remaining edges.


DIY Winter Decor

You may have some overlap or seams here and there, but as long as you pull snugly the finished ball will overall be smooth and pretty.


DIY Winter Decor

And there you have it, a basket of faux snowballs for your winter decor!

Want another idea for winter decorating?  Here is a post where I show you how to take any Christmas village and restyle it to your preference:


Friday, January 13, 2023

DIY Minecraft Party Balloons

Gamer Party

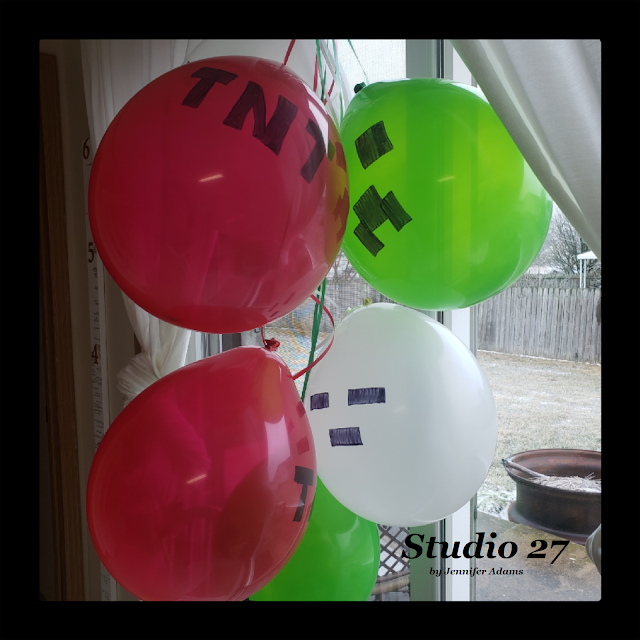
When my son wanted a Minecraft theme for his birthday, I turned to a Pinterest search for ideas.  I saw so many posts where people used markers to transform ordinary balloons, that I gave it a go myself - check it out:


**********


Disclosure - This post may contain affiliate links.  If a purchase is made through an affiliate link then (at no additional cost to you) I will receive a commission.  You can read more about affiliate links here

**********


Gamer Party

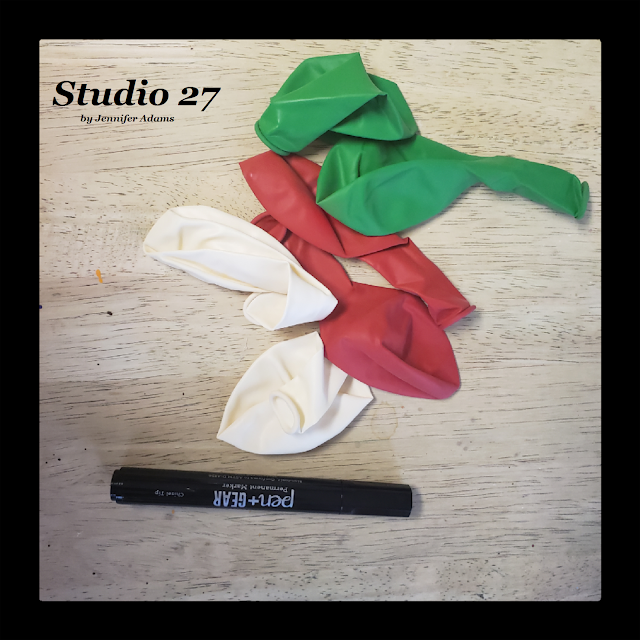
All you need for this project is a few latex balloons in the appropriate colors and a permanent marker.  

 (Dollar Tree has a nice selection of both permanent markers and party balloons)


Gamer Party
Gamer Party
Gamer Party

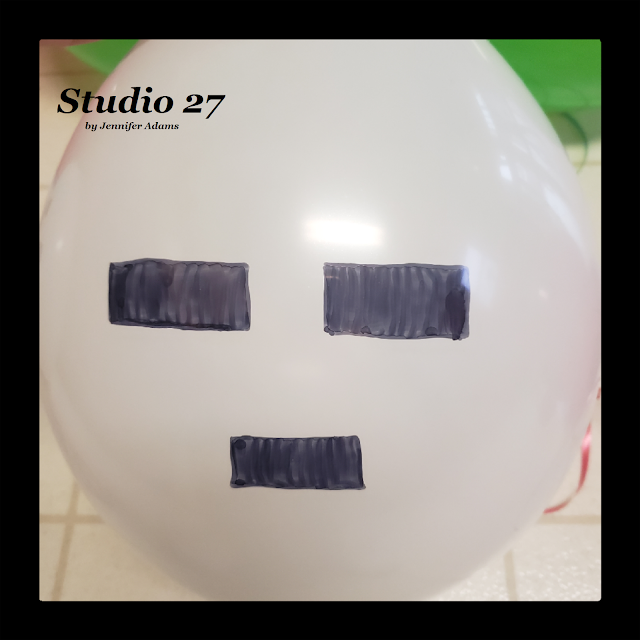
The balloons can be filled with helium or air, either will do.  If using helium and your balloons are going to float, you will create your Minecraft faces holding the balloon right side up.  Because I filled my balloons with air (and they were going to hang upside down), I flipped them over before drawing the faces.

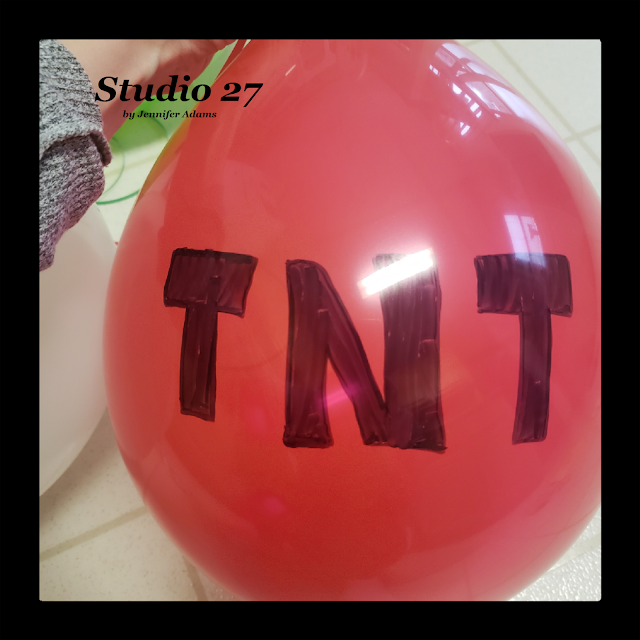
Using block style lettering and simple geometric shapes, I drew the faces onto the inflated balloons.


Gamer Party

And there you have it, simple Minecraft balloon decor!

**********

Want more birthday party decorating ideas?  Check out these posts:


**********


Friday, January 6, 2023

Craft Room Organization: Miscellaneous Supply Storage

 Craft Studio

Welcome back to the Studio27 blog,  I hope everyone has had a happy start to the new year!
Today I'm finishing up the tour of my craft room with an inside look into my miscellaneous supply storage:

**********


Disclosure - This post may contain affiliate links.  If a purchase is made through an affiliate link then (at no additional cost to you) I will receive a commission.  You can read more about affiliate links here

**********

Want to see more from the craft room?  Visit these previous posts:


Craft Studio

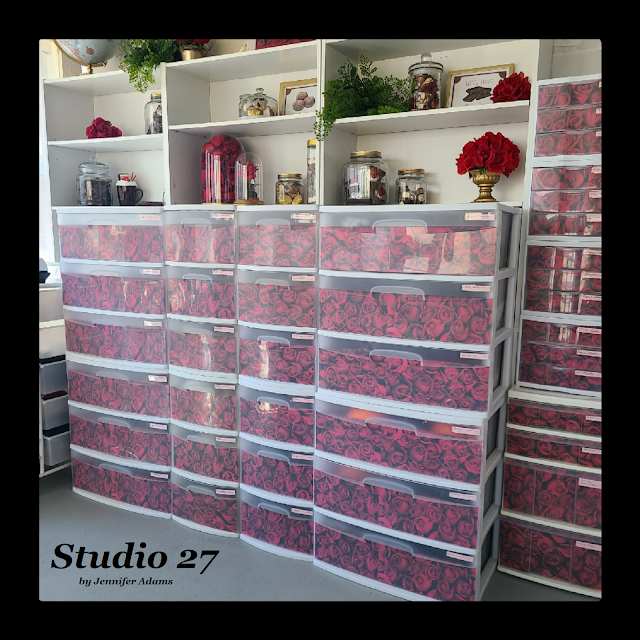
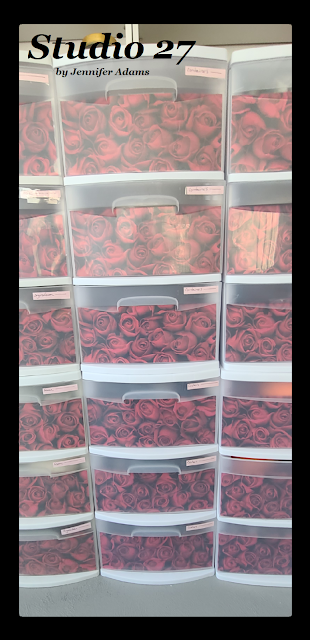
I'm sticking this photo here again because before I show you what's inside of each drawer set, I want you to notice the shelves behind them.  Using three bookcases in a row I made a 'wall' to block off this section of the craft studio (behind I made closet storage).  I then pushed the plastic drawer sets directly up against the shelves to create a hidden shelving spot.  The shelves up on top are for decor, but below I can stash away all sorts of larger supply items like rolls of wrapping paper or picture frames.  All I have to do is pull the stack of drawers forward (they are lightweight) and then I can access the hidden shelves.  

My plastic drawers sit directly on the ground, but they do come with wheels if you prefer to use them.  Here are the shopping links:


*Note - For some reason the large drawer listing is coming up as $64.59 for two, but $21.98 if you select one.  These should be around $20 per set-  make sure to choose carefully so that you are not overcharged!

Here is the link to the bookcase shelving.

Now, on to what's inside:


Craft Studio
Craft Studio
Craft Studio

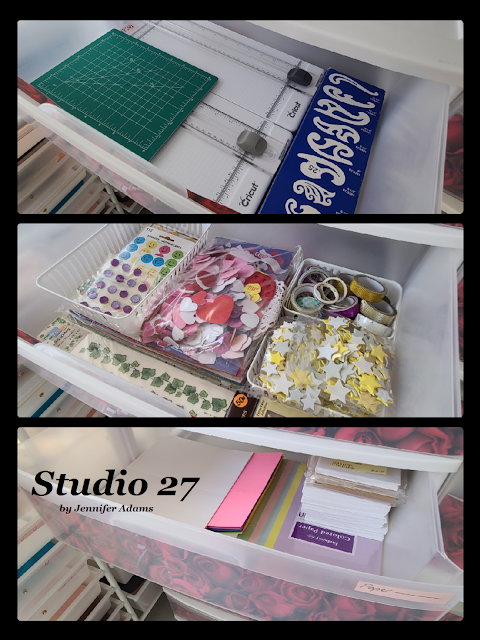
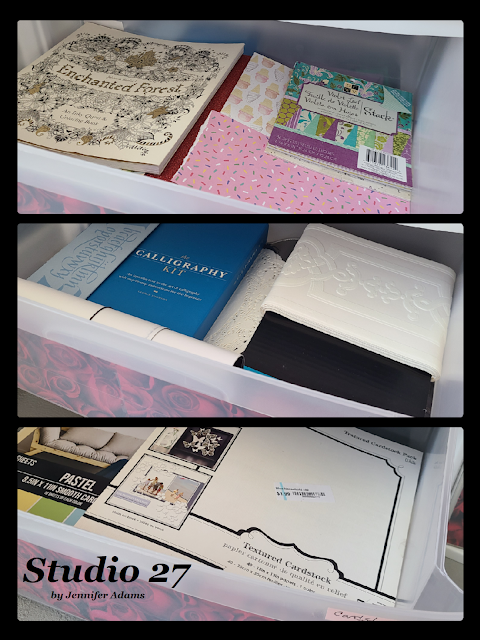
Moving from left to right, I'll start with the first stack of drawers.  Here is where I keep paper cutting supplies, stickers, paper and cardstock.


Craft Studio
Craft Studio
Craft Studio

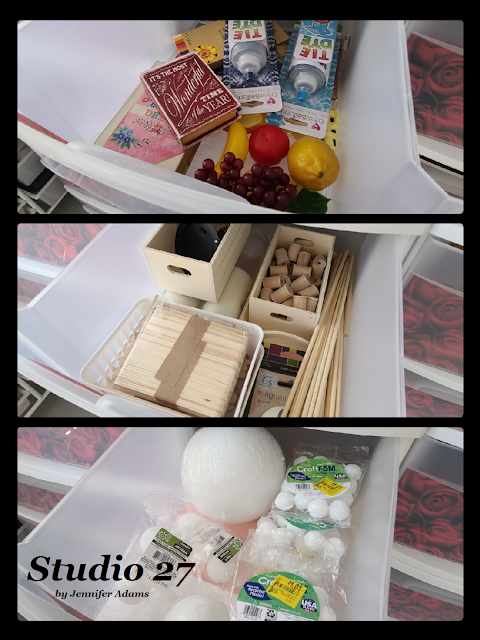
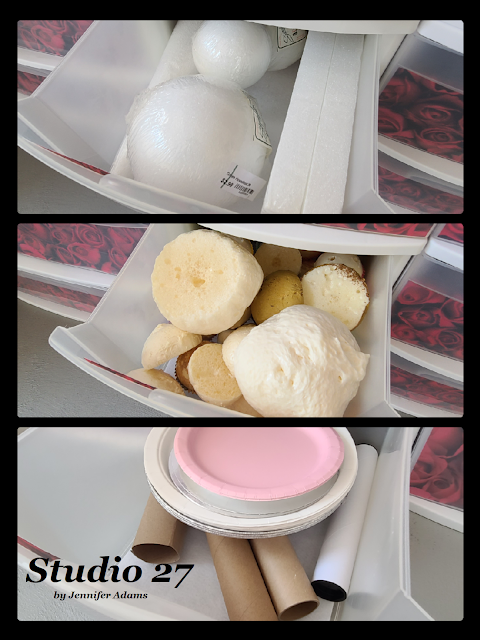
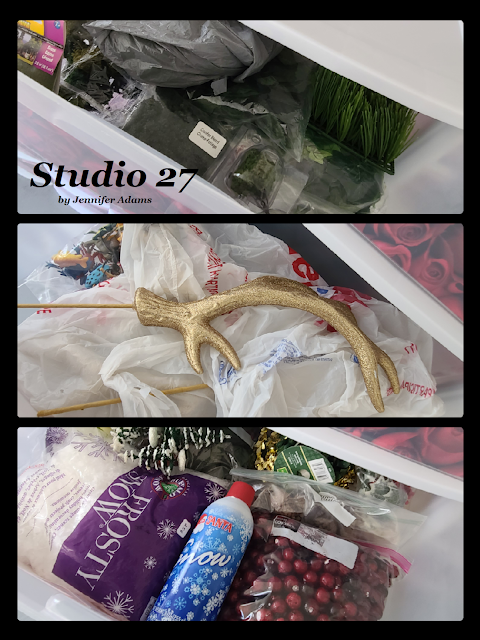
The second stack holds miscellaneous odds and ends, wood, foam and recyclables.


Craft Studio
Craft Studio
Craft Studio

My third stack contains a collection of containers and dishes, I use a lot of these for fake bakes.


Craft Studio
Craft Studio
Craft Studio

In the fourth stack of drawers I stash away my seasonal items, with one drawer for each season.


Craft Studio

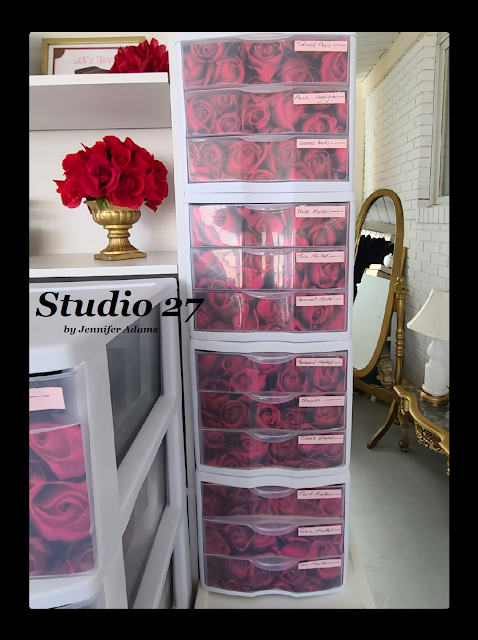
The final stack is a combo of medium drawers on the bottom and small on top.


Craft Studio
Craft Studio
Craft Studio

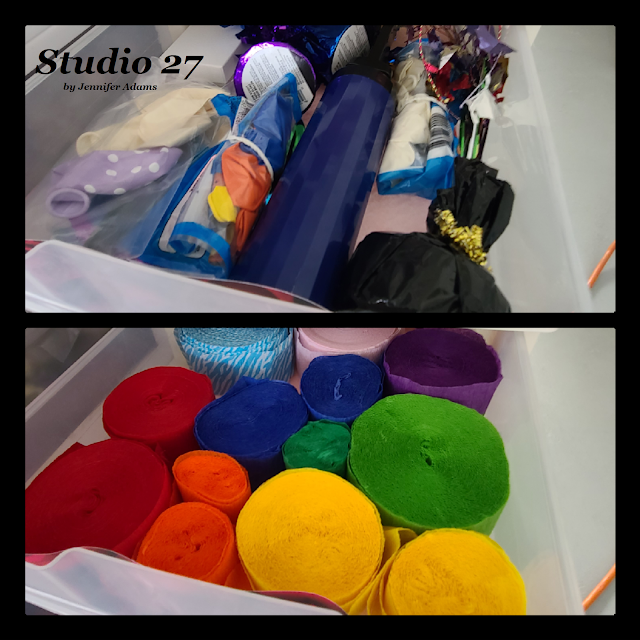
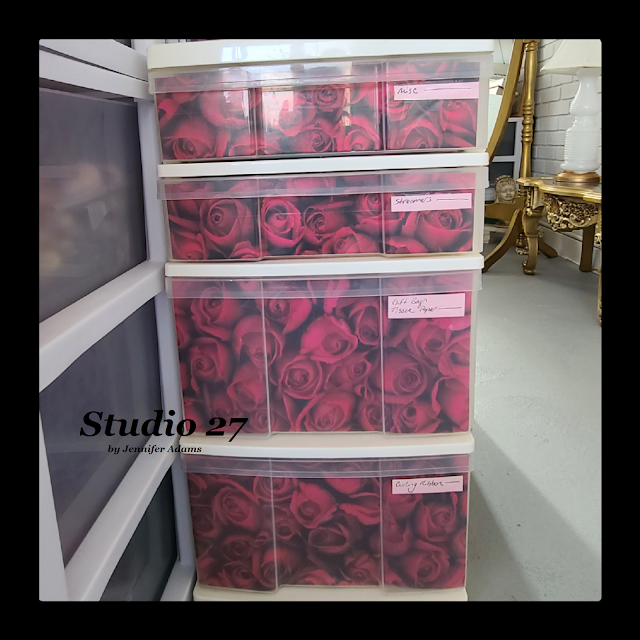
In the medium drawers I tuck away party supplies and gift wrap.


Craft Studio
Craft Studio
Craft Studio
Craft Studio
Craft Studio

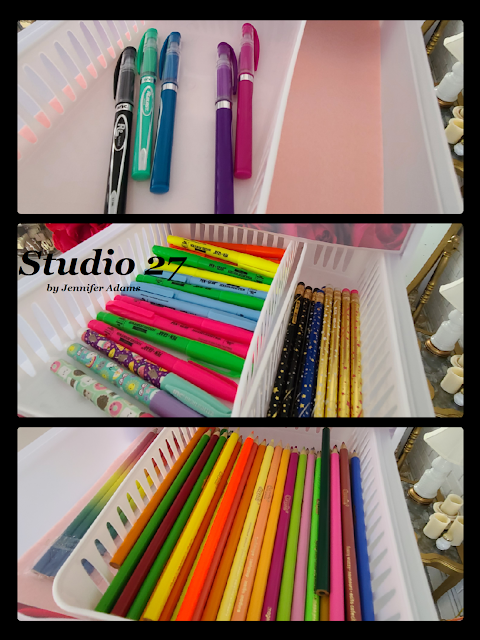
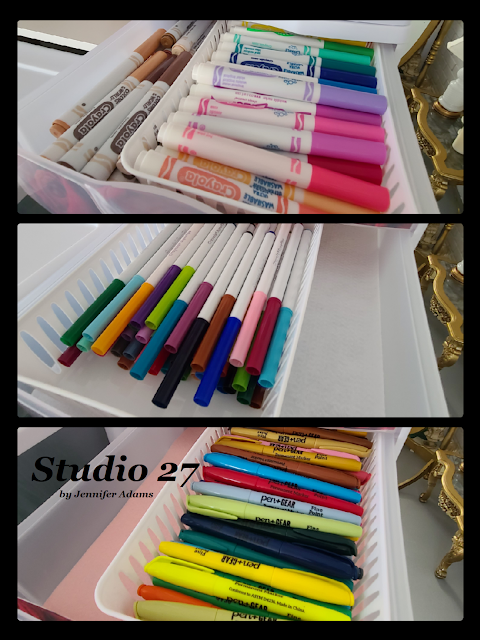
The small drawers house all of my markers, pens and colored pencils.

Here is where you can find the small drawer sets.


Craft Studio

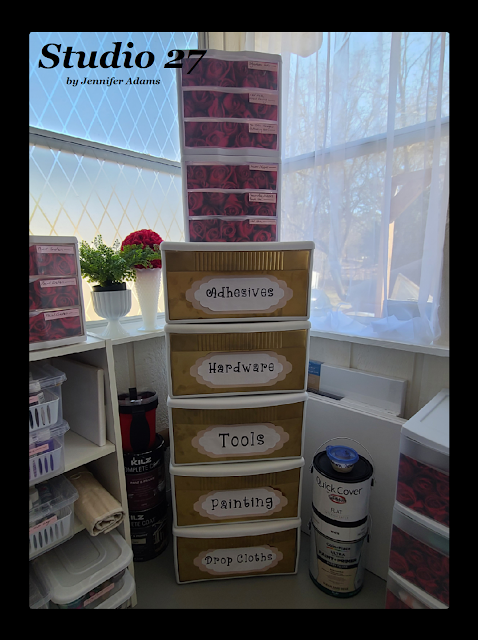
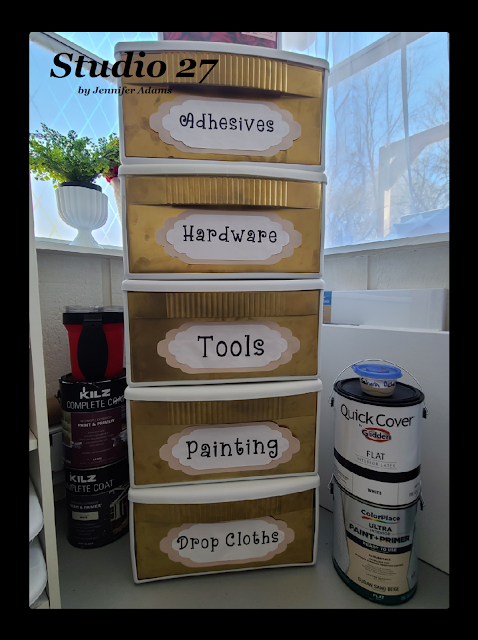
In the opposite corner (over by the Painting storage) is another stack of miscellaneous storage.

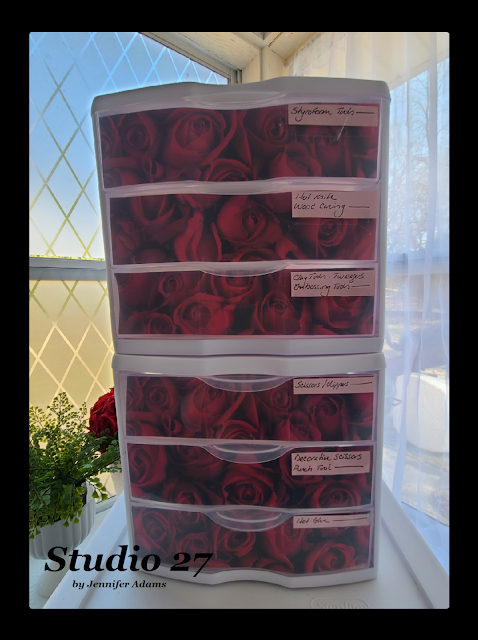
The bottom drawers are painted in gold with Cricut made labels while the top feature more of my rose printed paper.  You can check out this post for the tutorial featuring the gold drawers or this one for the paper covered drawers.  I purchased the large drawers from a thrift store.


Craft Studio
Craft Studio
Craft Studio
Craft Studio
Craft Studio
Craft Studio

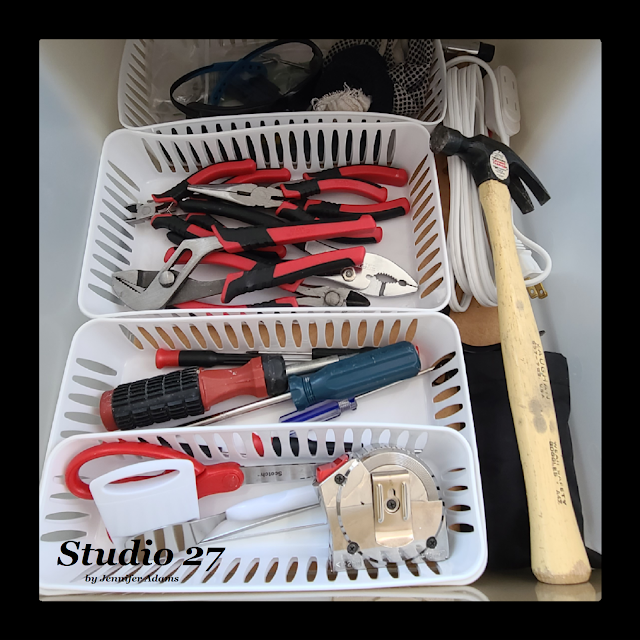
The gold colored drawers on the bottom hold my larger tools and house/ furniture  painting supplies.


Craft Studio
Craft Studio
Craft Studio

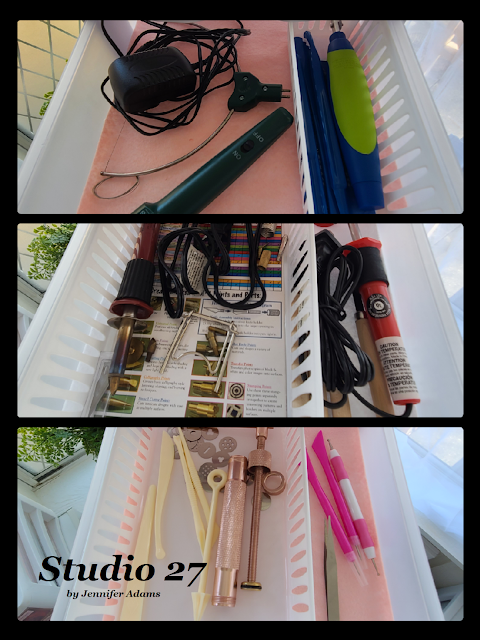
The top set of drawers is where I store my smaller tools, such as; wood burning, hot glue, hole punches, scissors, etc.