I decided to make up a couple of faux planters using foam fruits and fake greenery, check out how easily you can do the same:
Monday, July 31, 2023
Faux Fruit Planter
**********
Disclosure - This post may contain affiliate links. If a purchase is made through an affiliate link then (at no additional cost to you) I will receive a commission. You can read more about affiliate links here
**********
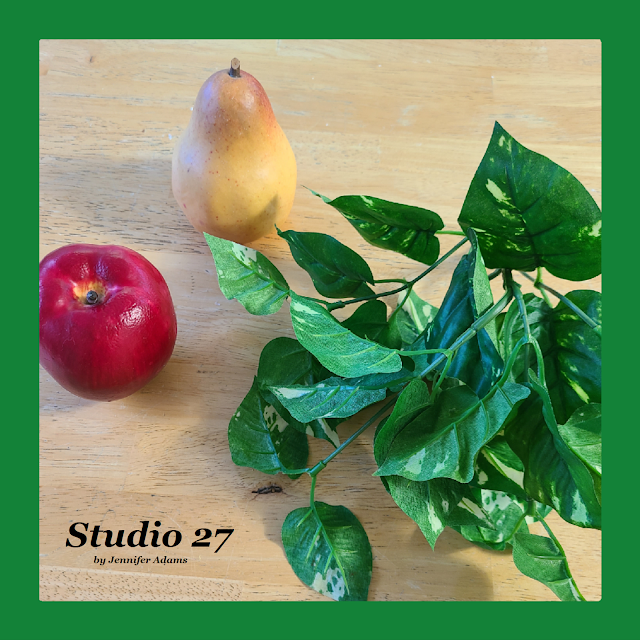
For this project I started with a couple of fake fruits; an apple and pear, and some artificial foliage. All were picked up at the thrift store, but you can purchase similar items in craft stores.
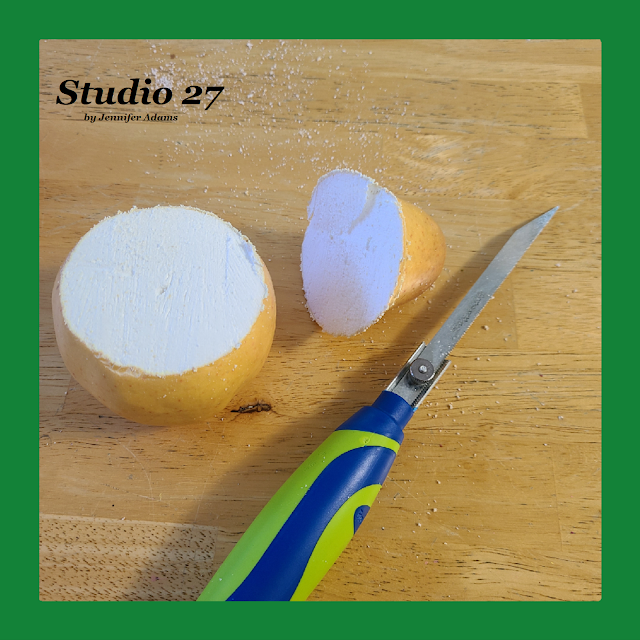
*Make sure that your fruits are made of foam that will be easy to cut.
After cutting the tops of the faux fruits off, I carefully hollowed out the centers just a bit.
Using hot glue I then filled the hollowed out centers with reindeer moss.
(You can find this reindeer moss at Dollar Tree)
After that I inserted short stems of my artificial greenery, again securing with hot glue.
And there you have it, a couple of cute faux fruit planters!
**********
I hope you enjoyed this how-to post, thanks for stopping by!
-Jennifer
© Studio 27 by Jennifer Adams 2023
**********
This post was added to the following link parties:
**********
Do you like the convenience of crafting with instantly available digital downloads?
Check out this week's features from my Etsy shop:
**********
Friday, July 21, 2023
Fake Bake Canned Fruits & Vegetables
As part of redecorating the laundry room in our new house I've added in decorative display storage; wall cabinetry full of faux produce and a standing shelf containing all of my fake canned goods. I have upcoming posts detailing both of those furniture topics, but for today I'm sharing how to make the fake bake canned fruits and veggies.
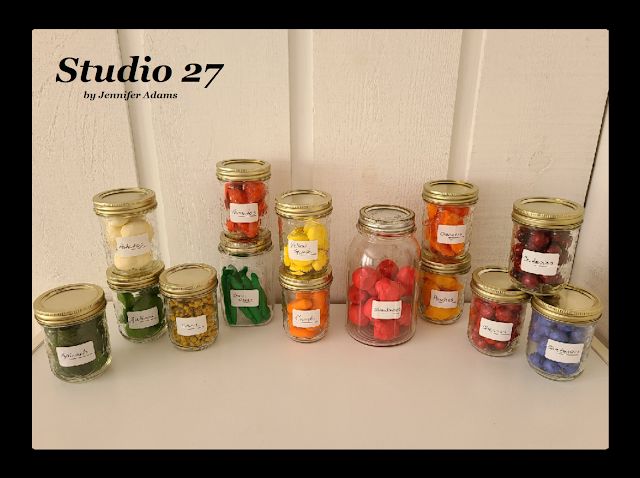
Using thrifted glass containers I filled each one with a different type of faux food and put a handwritten label on the front. The photos in this post will show you how each kind of food can be made:
**********
Disclosure - This post may contain affiliate links. If a purchase is made through an affiliate link then (at no additional cost to you) I will receive a commission. You can read more about affiliate links here
**********
Here is a bit more about the laundry room progress in case you are curious, now on to those canned goods:
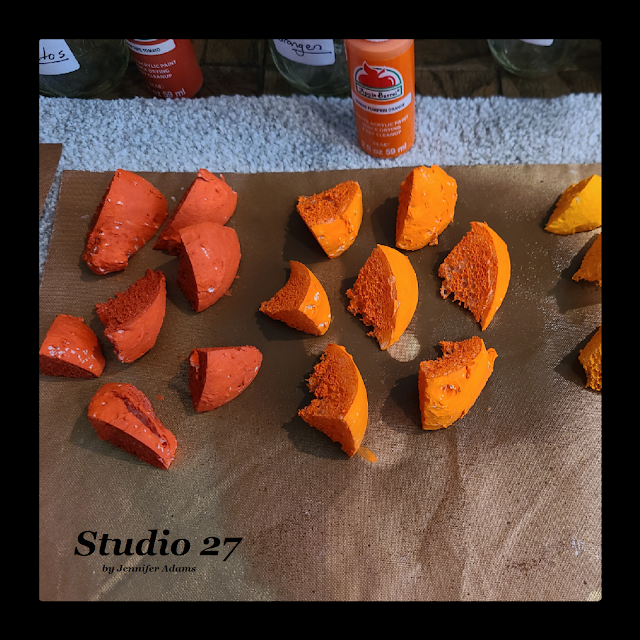
For the dried slices of fruit (peaches and oranges) I cut pieces of leftover foam into wedges and painted them with acrylic paint.
I've done a lot with leftover spray foam as you can see here, but don't limit yourself to using just this type of foam. any packing foam should work as long as you cut it to the right shape.
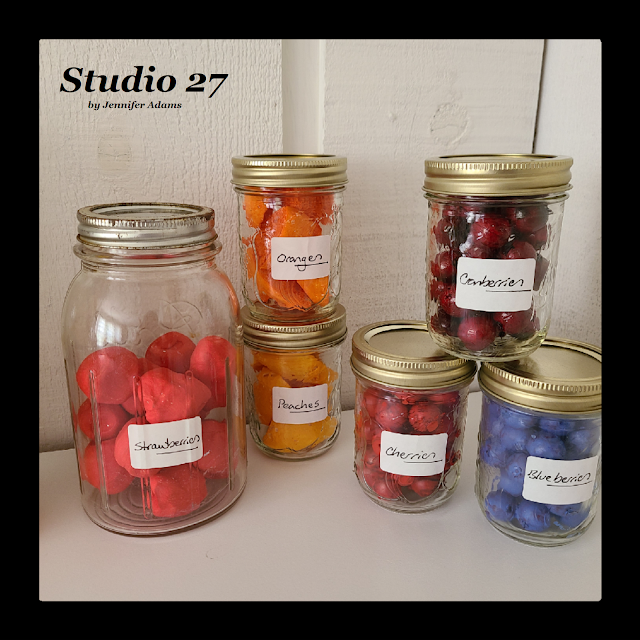
For the larger berries (blueberries, cherries and cranberries) I used faux cranberries that I already had and painted them to make the additional two berry varieties.
For the canned corn I painted a clump of faux decorative berries in yellow. I want to point out that these are not the correct shape for kernels of corn, but when packaged in the jar and on display with the rest of the canned goods it's barely noticeable.
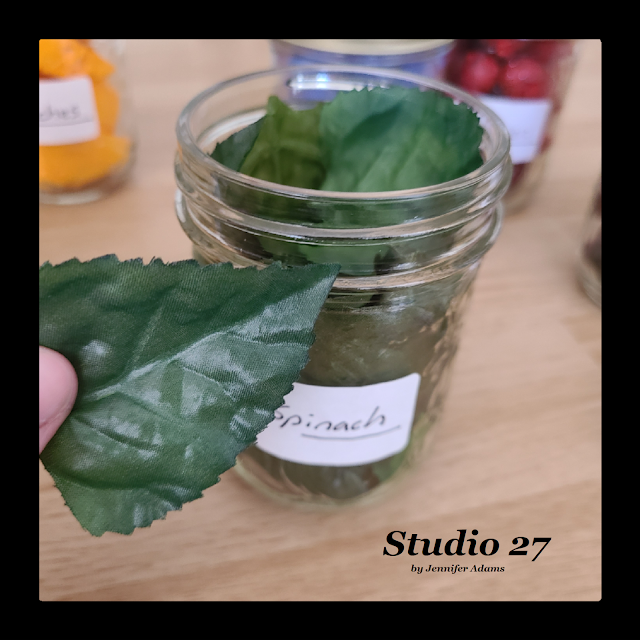
My spinach leaves are just fabric leaves that I had left over from some fake flower bushes. Again, not the accurate spinach leaf shape when examined individually but enclosed in the jar they look great.
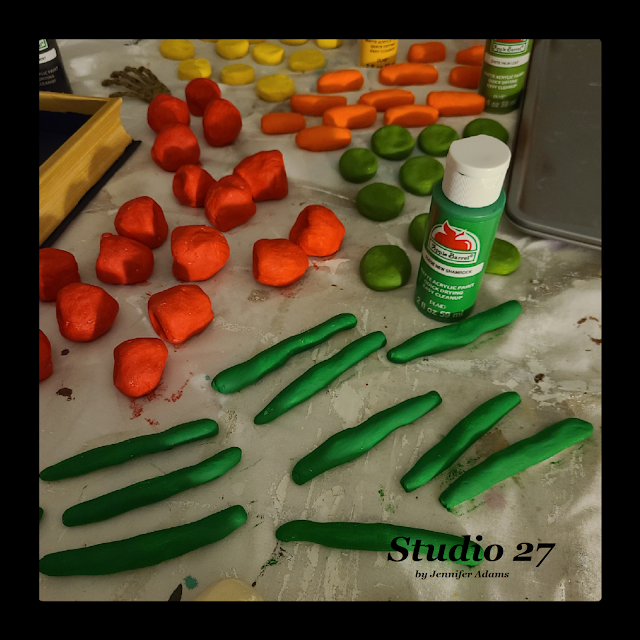
For the rest of my produce items I used air dry clay to make their basic shapes and then painted in acrylic. Here you can see slices of yellow squash, zucchini, baby carrots, strawberries and green beans. I did my faux potatoes this way as well.
Never mind that skeleton hand among the strawberries, I often work on multiple projects at once and somehow he got into the wrong photo! 😆
**********
Here are up close pics so you can see each can better:
Spinach, potatoes, zucchini, corn, tomatoes and green beans.
(The tomato slices are of foam, just like the fruit wedges)
*The spelling on the potato and tomato labels has been corrected - I'm pretty much awful without spellcheck 😅
Corn, tomatoes, green beans, yellow squash, carrots and strawberries.
Yellow squash, carrots, strawberries, oranges, peaches and cherries.
Strawberries, oranges, peaches, cherries, cranberries and blueberries.
And there you have it - a collection of faux canned goodies, ready for display!
**********
Interested in more fake bake crafts?
Check our these posts:
**********
I hope you enjoyed this fake bake post, thanks for stopping by!
-Jennifer
© Studio 27 by Jennifer Adams 2023
**********
This post was added to the following link parties:
**********
Do you like the convenience of crafting with instantly available digital downloads?
Check out this week's features from my Etsy shop:
**********
Friday, July 14, 2023
Salt Dough Fun
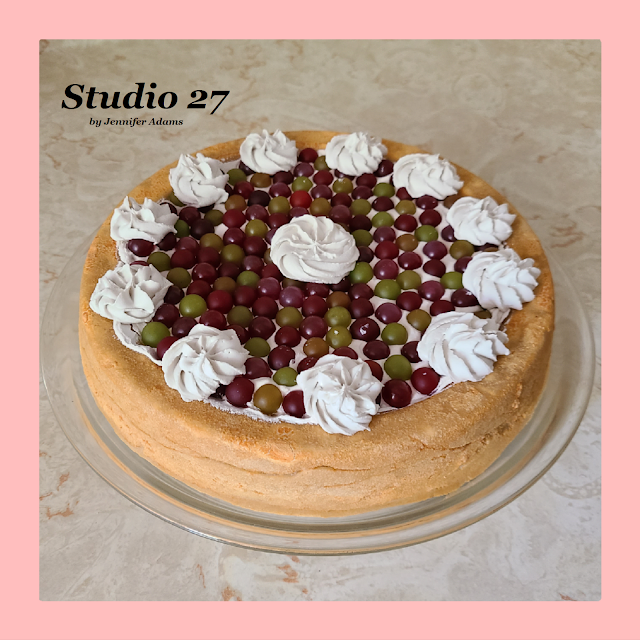
I had some fun with salt dough recently and made up a few different faux food pieces.
Check it out:
**********
Disclosure - This post may contain affiliate links. If a purchase is made through an affiliate link then (at no additional cost to you) I will receive a commission. You can read more about affiliate links here
**********
After using salt dough to create my food items and letting it dry, I used acrylic paint (Folk Art brand in cinnamon) to add some color. Just mix a few drops of paint with some water and then brush the liquid over your salt dough pieces. It may take a few coats to get the color that you like, that's ok. The important thing is to make sure that your dough has completely dried again before decorating.
You can find my salt dough recipe and drying tips here.
Here is what I made up:
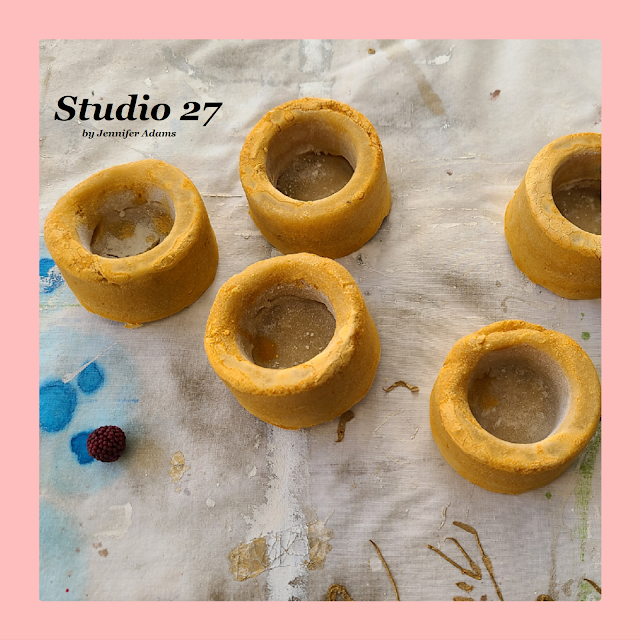
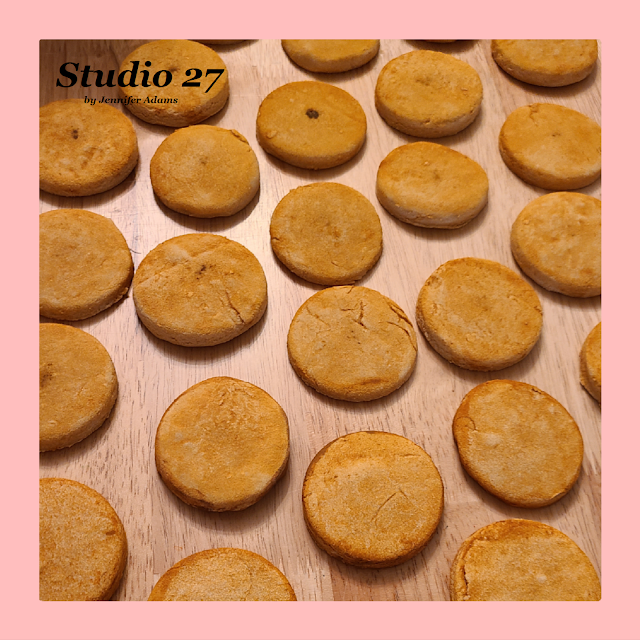
Some mini tarts, a handful of biscuits and a whole lot of cookies!
The tarts I shaped by using a mini tin coated with a lot of flour so that the dough could pop back out. The biscuits I shaped by hand and the cookies were cut out with a basic cookie cutter. I also filled up a glass pie plate with dough so it looks like a pie crust. I didn't get a photo of that in process, but this post shows faux pie making step-by-step.
And here is how I decorated them:
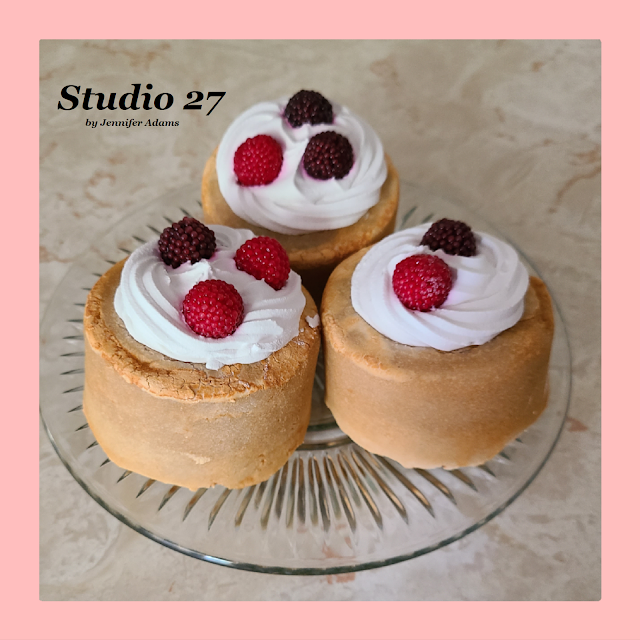
The mini tarts I topped with light weight spackle applied with an icing bag and tip and then embellished with faux berries
The biscuits I left as they were and placed them in a bowl in my bakery closet.
The cookies went into this vintage Pillsbury cookie jar that I found for $1 and then also joined the bakery closet.
The pie shell I filled with light weight spackle and then topped with plastic berries. The 'berries' are actually faux grapes, but taken from the stem I thought they looked berry enough 😄 Once I had all of the berries in place I added a few more dollops of spackle, aging using an icing bag and tip.
And there you have my salt dough fun!
**********
Interested in more fake bake crafts?
Check our these posts:
**********
I hope you enjoyed this how-to post, thanks for stopping by!
-Jennifer
© Studio 27 by Jennifer Adams 2023
**********
This post was added to the following link parties:
Friday, July 7, 2023
My Cookie Cutter Collection
Hello friends! Want to peek inside my drawers full of cookie cutters? Take a look:
**********
Disclosure - This post may contain affiliate links. If a purchase is made through an affiliate link then (at no additional cost to you) I will receive a commission. You can read more about affiliate links here
**********
In my breakfast room I have a thrifted dresser where I store all of my cookie cutters. Originally wood toned, I found this piece for $27 and painted it in white with gold hardware. Because it was spring when I took this photo, we had baby seeds starting up on top. Usually I decorate this surface with seasonal items.
I like being able to store my cookie cutters in the drawers because I can group them by season/ holiday. This makes them easier to find when I want to use them and also helps to identify what they are - have you ever mixed in a witch profile with your Christmas and been like "What is wrong with this Santa???" Nope, me either 😆
Note: Sometimes I make edible foods and a lot most of the time I make fake bakes. If the fake bake is using non toxic materials (like salt dough) then I'm ok with using the cutters in the post. But if I'm going to use something that isn't food safe (like resin), then I keep those cutters/ molds out in the craft studio.
and the before and after of the dresser here.
Here I have a bin of letters and numbers, as well as a cookie dough press. I have never actually used a cookie dough press, but for some reason I feel it necessary to keep! So needed in fact, that I actually have another in my craft studio - just in case I ever decide to experiment with some fake bakes using non food safe materials.
I completely forgot that I even had this collection of teddy bears 😲
An assortment of geometric shapes.
I'm thinking about creating a star shaped tree tower with the graduates star cutouts, but haven't committed.
Easter and spring.
Summer beach theme.
Summery shapes.
I see my lobster is out of place here, he's supposed to live with the beach collection.
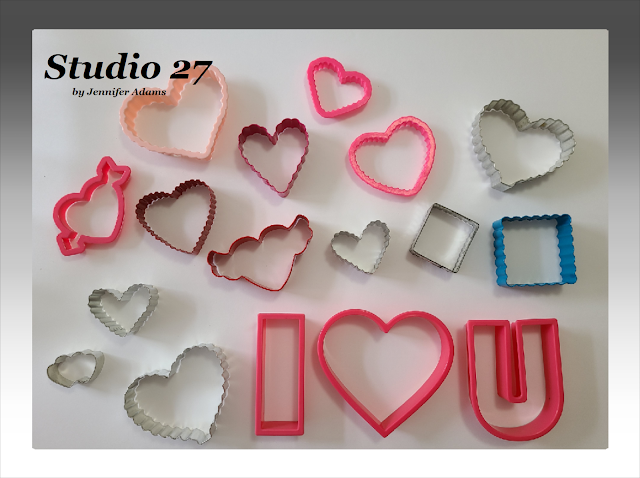
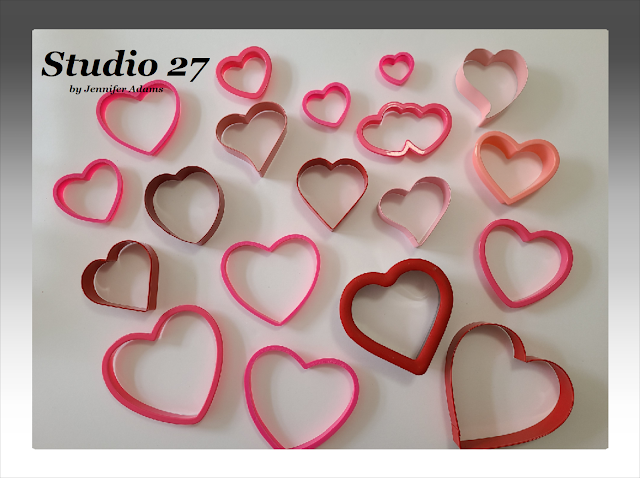
Valentine's Day
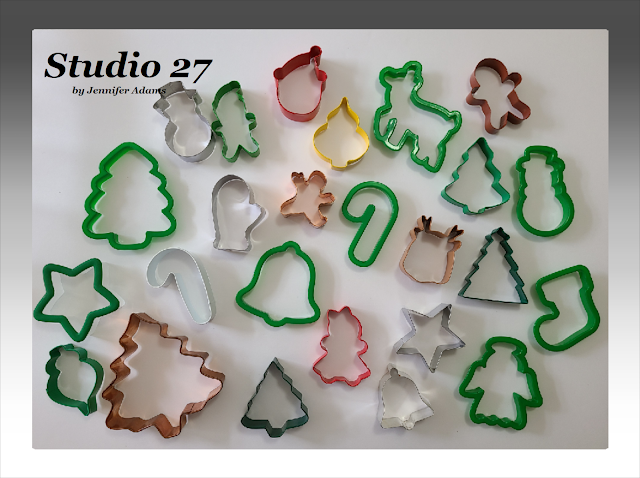
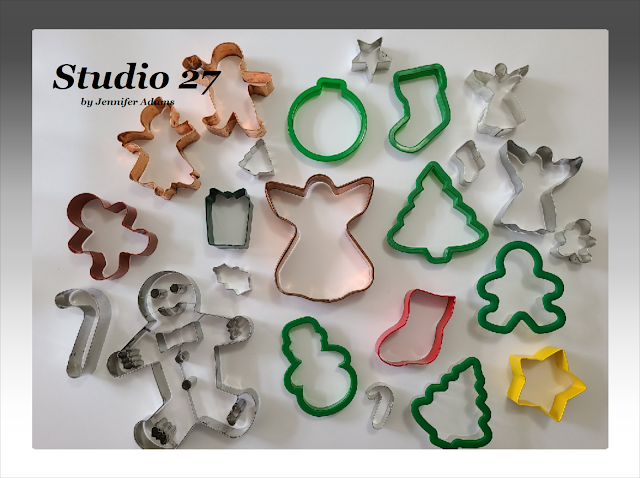
Christmas
Winter
Has anyone used the stamp like presses that you can see at the top (white plastic snowflakes)? What is the best cookie dough for this type of press? I tried salt dough once for some fake bakes, and it would not come free from the press!
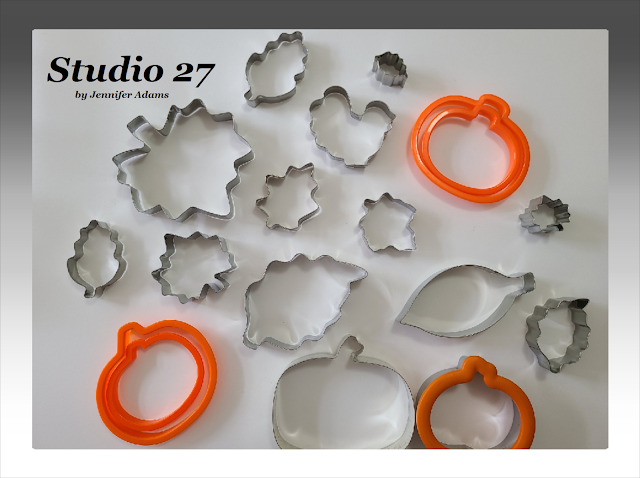
Fall
I keep my pumpkin shapes in the fall section, but they can be used for Halloween as well. Just add a face with some Icing and you've got a jack-o-lantern.
Halloween
And that's my collection so far...
**********
I hope you enjoyed this collection post, thanks for stopping by!
-Jennifer
© Studio 27 by Jennifer Adams 2023
**********
This post was added to the following link parties:
Subscribe to:
Comments (Atom)

