Have you ever had a window that you loved the light from but maybe not the view? Here is how you can add privacy with DIY window film:
**********
Disclosure - This post may contain affiliate links. If a purchase is made through an affiliate link then (at no additional cost to you) I will receive a commission. You can read more about affiliate links here
This room is our back porch and here it is when we moved in - before cleaning, painting and refinishing the floor. One wall is the wall to the house (family room) while the remaining three are all solid windows. The largest wall of windows faces the back yard and is relatively private. I wanted to leave those windows unobstructed for the view, but needed to add some sort of privacy covering to the two side walls. After looking online for ideas I settled on using this DIY window cling:
I picked up my Gila brand window privacy film at Lowes for about $23 per roll. There are lots of different styles to choose from and I went with the frosted lattice pattern. They also sell a spray solution for applying the film to the windows, though water works just fine.
What's great about this film is that it's really easy to work with and not permanent. Because it attached with static cling/ water, you can take it down if you end up changing your mind - just peel it right off. You can also take it down multiple times and reapply (when you are first starting out and keep making mistakes) without ruining the product. I know this from experience, just add more water and it goes right back on! 😂
Give your window a good cleaning before you begin.
Measure your window and use those dimensions to cut your vinyl. I used this large cutting mat as well as my Cricut brand metal cutting ruler and craft knife. My cutting mat is pretty big - 24"x36" - and that was definitely helpful for cutting large pieces of vinyl. The ruler and knife don't have to be Cricut brand though, you can find less expensive options at most craft stores.
Tip - If your vinyl has a pattern, then make sure to take note of which way your design is going. That way you can cut all of your pieces so that they match. Also, don't be afraid to make your cuts a little bigger than needed. You can always trim down the excess once the vinyl is on the window 😉
When your sheets are cut, peel the carrier plastic away from the vinyl. Set your vinyl sheet aside nearby where you can quickly grab it, making sure that it isn't picking up any lint or debris.
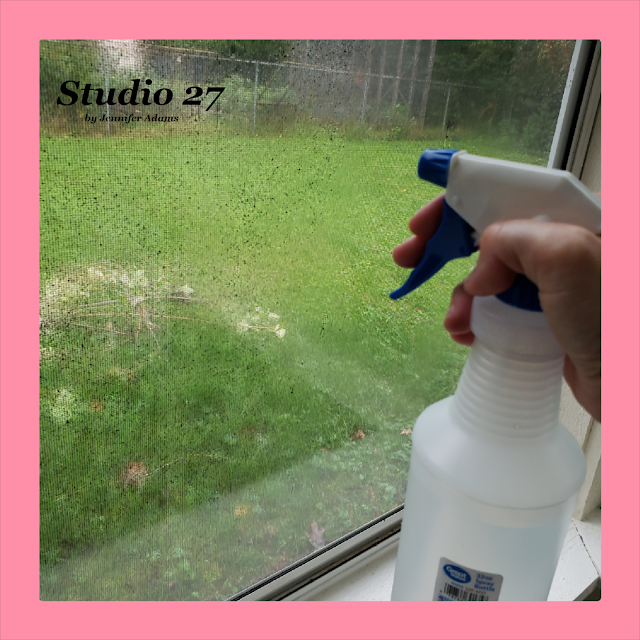
Give your window a good spray of water or the application solution.
And then position your vinyl as best as you can. I found that placing the top of the vinyl sheet at the top of the window first and letting gravity help the rest of the sheet fall into place worked best. There WILL be bubbles, don't panic! Even though the sheet is held in place with the water, it is still adjustable. Just peel away a corner and smooth it down as you go, working outward from the center and back to the corners. If your window gets dry, spritz a little more water and the vinyl will cling back into place nicely.
You will most likely find that there are still tiny bubbles and imperfections. I used my Cricut XL scraper to smooth these out, again working from the center outward.
While I love my Cricut tools, they are a bit pricey. Dollar Tree has begun selling their own version of these scrapers for just $1.25. You can click here to browse Dollar Tree's online selection of crafting supplies 😎
You can also pick up window film installation kit at Lowes, which contains their version of the scraper tool, a cutting tool and a bottle of spray.
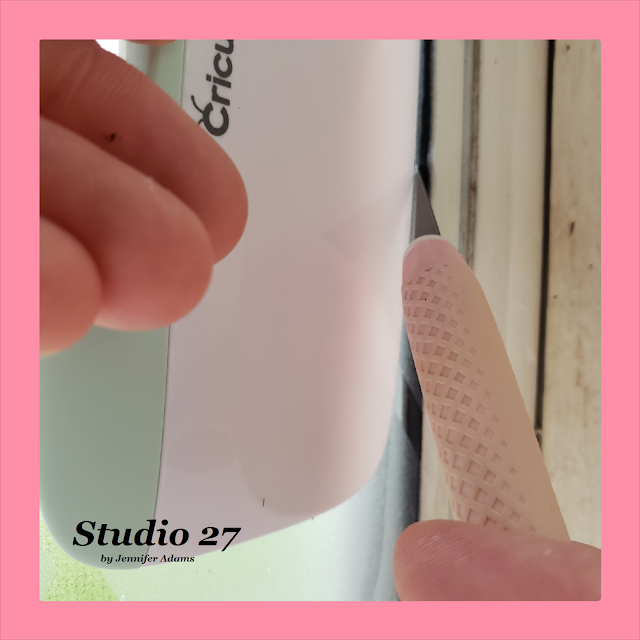
After my cling was smoothed out, I used my scraper and craft knife again to trim off any excess vinyl.
And there you have it, easy to install window privacy! It's been about 6 months now since I applied the window film and it's held up nicely. You can even open and close the windows without a problem.
Here is a pic with the painted walls and refinished floor included, I'll give an update in the future so you can see how I've turned this room into my craft studio 😍
I hope you enjoyed this how-to post, thanks for stopping by!
-Jennifer
© Studio 27 by Jennifer Adams 2022
**********
This post was added to the following link parties:
Wonderful Wednesday (Oh My Heartsie Girl)
Wonderful Wednesday (Penny's Passion)
**********
This post was featured at:
**********


I've never seen this product before, but what a good idea! I love the fact that it can be applied and reapplied as needed.
ReplyDeleteThanks so much for joining the Grace at Home party at Imparting Grace. I'm featuring you this week!
Thank you so much Richella!
Delete