
I was lucky to score a rose colored Cricut Maker during the black Friday sales this year and have been having sooooo much fun designing and cutting. The only problem for me was that without a designated storage area, I was keeping the machine in the box. It was safe and everything, but a pain to get out and set up! I finally figured that if I had some sort of cart (on wheels) for the machine, tools and accessories, it would be so much more convenient. Read on to see the cart that I chose as well as how I organized the drawers and made it pretty:
********
Disclosure - This post may contain affiliate links. If a purchase is made through an affiliate link then (at no additional cost to you) I will receive a commision. You can read more about affiliate links here.
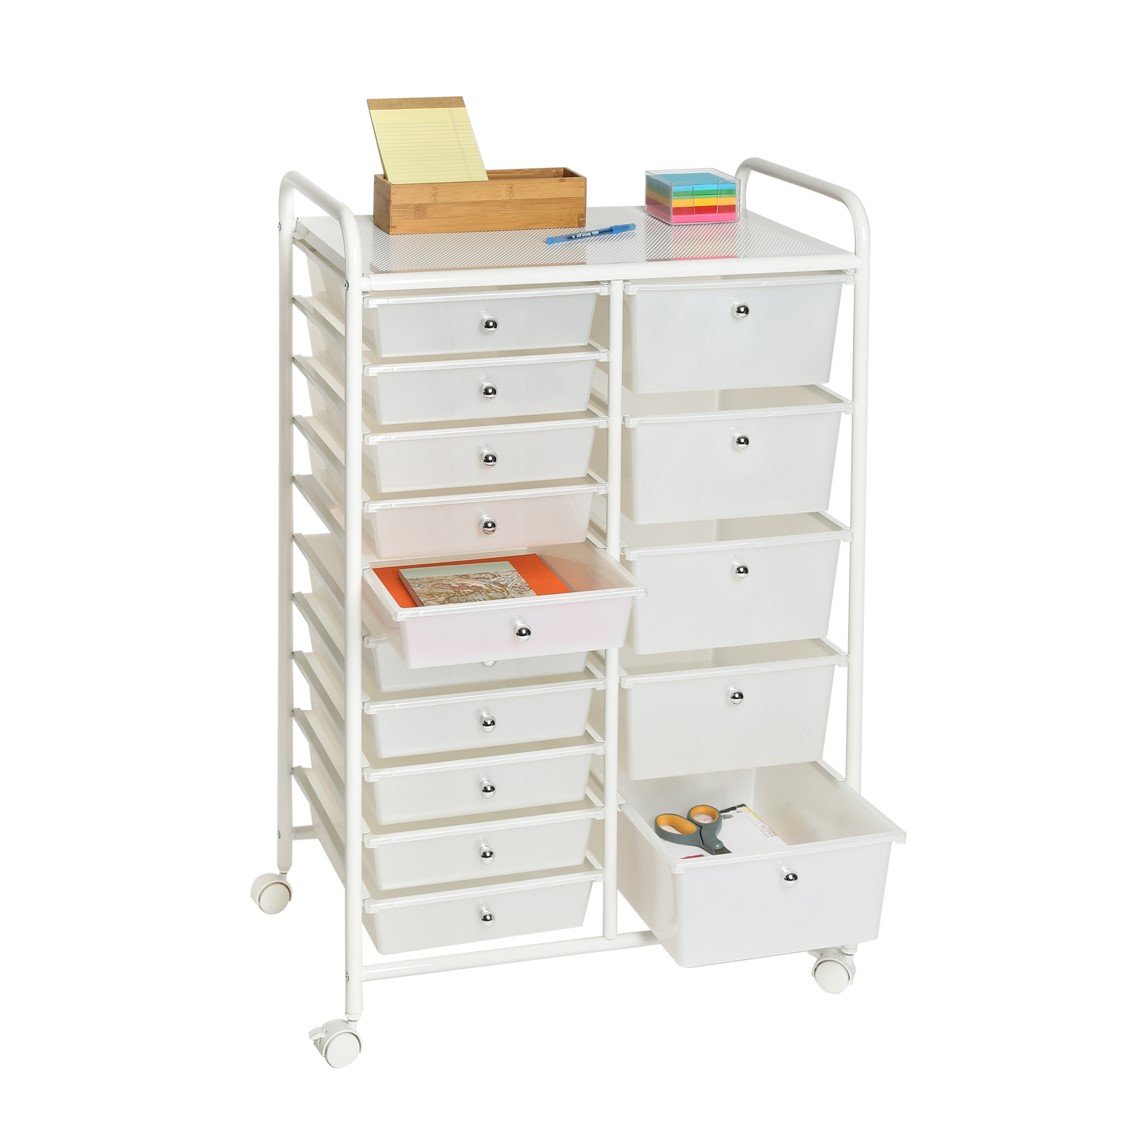
Here is the stock photo of the cart which I ordered online from WalMart. It's currently available in white or black, with silver looking (plastic) drawer pulls. I was expecting the drawers to be solid white in color, but they are actually more transparent. This was no big deal for me since I planned on lining the drawers with felt and wanted a bit of the color to show through anyway, but I thought I should mention it 😉
The cart is very sturdy, has lots of storage space and rolls easily even on carpeted floors.
You can order your own cart by clicking here

Plenty of Surface
The most important requirement of the cart was that I had plenty of space to hold the machine. And it does! I tend to keep the (very heavy) maker positioned more toward the back where the frame of the cart allows more support, but it can go in the middle as well.

Labeled Drawers
OK, so here's my thing about the labels - I thought about doing them in vinyl because hey, I got a Cricut! But I like to change things around and wanted more flexibility. I decided on using post-its because they are already sticky, easy to remove and available in pretty pink. I did go ahead and use the Cricut pen and had the machine draw out the font 😎
I organized my drawers this way:
Left Side (shallow drawers) -
Cords
Machine Tools (quick swap blades and such)
Cutting Tools (scissors, craft knives, blades)
Application (brayer, scrapers, painter's tape)
Weeding Tools
Weeding Help (baby powder, lint roller)
Pens
Removable Scraps
Permanent Scraps
Iron On Scraps
Right Side (deep drawers)-
Infusable Ink
Transfer Tape
Removable Vinyl
Permanent Vinyl
Iron On Vinyl

Felt & Baskets
I mentioned earlier that I like the color of felt as a drawer liners, but I also like the way it keeps things from sliding around. I decided to go with baby pink and golden cashmere, and alternated the colors for each drawer. The baskets are from Dollar Tree and come in three different sizes.
You can click here to browse the Dollar Tree collection of storage and organization pieces.

Drawer Embellishments
Remember those silver colored drawer pulls? Because the drawers move easily without a pull, and I'm not a silver person, I decided to add embellishments instead. A gold medallion combined with a pink seed pearl and a bit of hot glue did the trick 😍


Side Mat Storage
So we've got plenty of storage space for our tools and accessories, but what about those big awkward mats? I used super glue to attach plastic hooks to the sides of the cart, then hung my cutting mats and acrylic rulers with the help of cable tie loops.

Back Mat Storage
For the machine mats I used another cable tie to attach an S hook to the back of the cart's frame. Currently, I have 7 cutting mats hanging here with no problem.
For the machine mats I used another cable tie to attach an S hook to the back of the cart's frame. Currently, I have 7 cutting mats hanging here with no problem.
And that's my pretty and functional Cricut Maker rolling storage cart.
**********
I hope you enjoyed this organizational post, thanks for stopping by!
-Jennifer
© Studio 27 by Jennifer Adams 2020
**********
This post was added to the following weekly link parties:
Silver Penny Sundays
Inspire me Tuesday
Tuesdays With a Twist
Tuesdays at our Home
All About Home
Wonderful Wednesday
Your Whims Wednesday
**********
This post was added to the following weekly link parties:
Silver Penny Sundays
Inspire me Tuesday
Tuesdays With a Twist
Tuesdays at our Home
All About Home
Wonderful Wednesday
Your Whims Wednesday
That looks great!
ReplyDeleteThank you! :)
DeleteHave you made any changes or are you still happy with that set up?
ReplyDeletestill happy, works wonderfully!
Delete