In last week's post I shared a thrifting haul in which I found a whole lot of freebies,
including a couple of decorative wooden blocks.
Today I'm going to show how I re-styled those blocks with just a bit of paint, scrapbook paper, Mod Podge and vinyl, check it out:
**********
Disclosure - This post may contain affiliate links. If a purchase is made through an affiliate link then (at no additional cost to you) I will receive a commission. You can read more about affiliate links here
In case you missed it, here are the signs as I found them in their aqua, white and gray color scheme.
Nothing wrong with them, just not my taste 😉
The first thing that I did was to repaint them; the larger one in white and the small in gold.
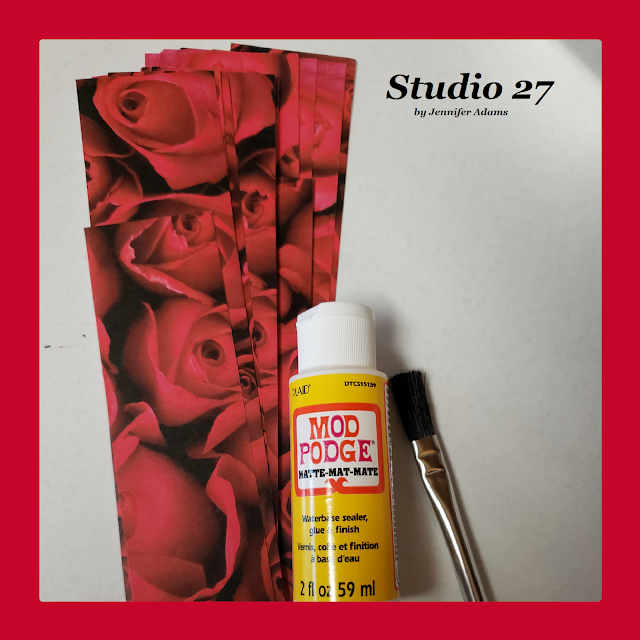
The next step was to cut out roses from this scrapbook paper and apply them using Mod Podge. Because I planned to put wording in the middle of my blocks, I kept the roses to the corners, but you could certainly cover the entire surface if you wanted.
This is the same paper that I used to customize my plastic drawer storage in this post. I was careful to save the scraps and happy to use them now!
While waiting for the Mod Podge to dry, I used my Cricut to cut out a couple of vinyl stickers.
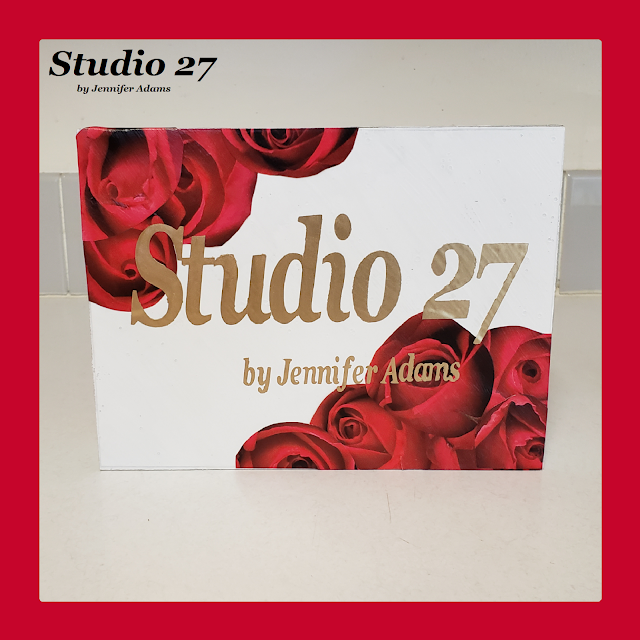
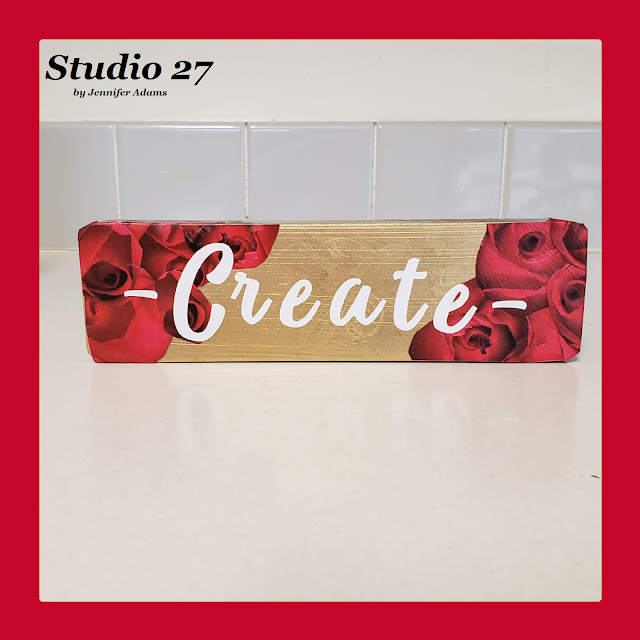
Here is how they looked once I applied them:
(JenniferMaker.com is a great place to learn about all things Cricut)
Studio 27
-Create-
And here they are as a set. Since I am planning on displaying them together I opted for one to be gold lettering on white while the other is white lettering on gold. I thought this would look more interesting than if they were both the same.
**********
And that's how easy it was to re-style my free-by-the-side-of-the-road block signs.
I hope you enjoyed this how-to post, thanks for stopping by!
-Jennifer
© Studio 27 by Jennifer Adams 2021
**********
This post was added to the following link parties:
Wonderful Wednesday (Oh My Heartsie Girl)
Wonderful Wednesday (Penny's Passion)


No comments:
Post a Comment