Friday, March 25, 2022

Thrifted Finds: Furniture Re-Styles

Home Decor


In case you are just meeting me for the first time - I am obsessed with thrift store shopping and garage sales!  Not only is it better for the planet to reduce, reuse and recycle, but you can't beat how much money is saved by buying used (especially since we recently moved and are working to furnish a larger space).  I often find well made, high quality pieces that after a bit of scrubbing, sanding and new paint become great additions to my home.  

This post is a collection of some of the furniture finds I have scored, check it out:

**********


Disclosure - This post may contain affiliate links.  If a purchase is made through an affiliate link then (at no additional cost to you) I will receive a commission.  You can read more about affiliate links here


Home Decor
Home Decor
$40

What was intended as a TV cabinet made a great wardrobe first in our main bedroom and now in our breakfast room.  My favorite part about this piece is the molding detailing at the top.


Home Decor
Home Decor
$18

This old desk became a makeup table (and then a desk again) for my daughter's room.  Some people like to buy all new hardware, but I find that as long as everything is in good working order, a cleaning and painting is all that's needed.


Home Decor
Home Decor
$20

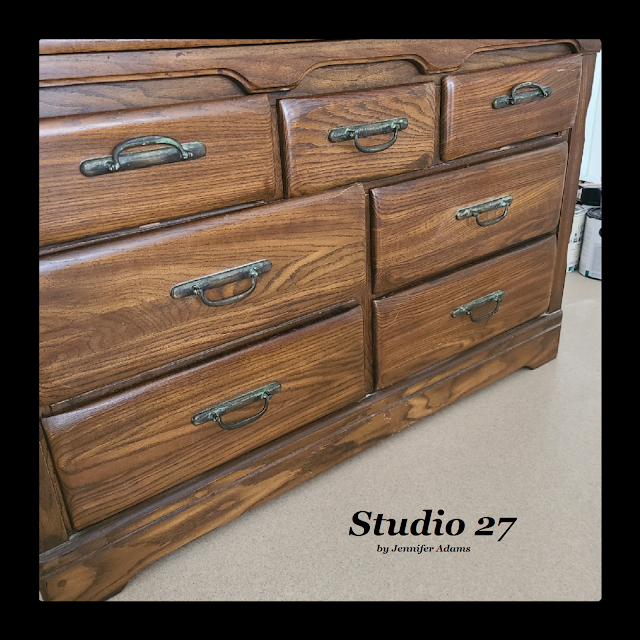
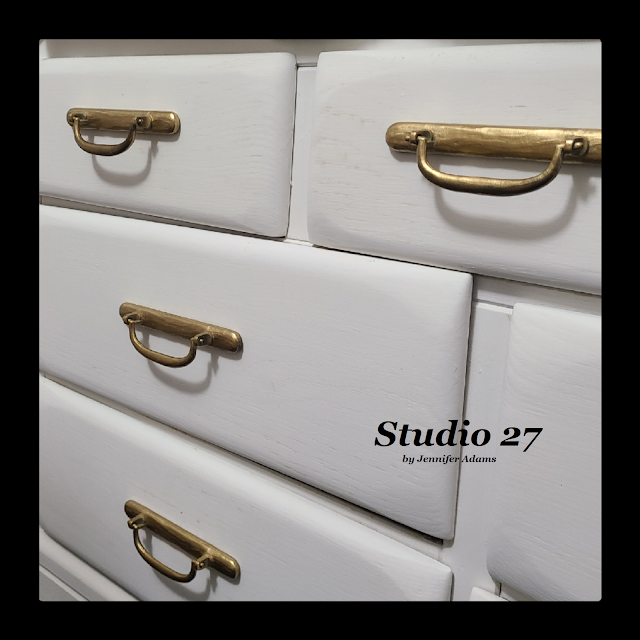
Once refinished I turned this small dresser into a large bedside table with storage.  
Again, the molding 😍


Home Decor
Home Decor
$7.50

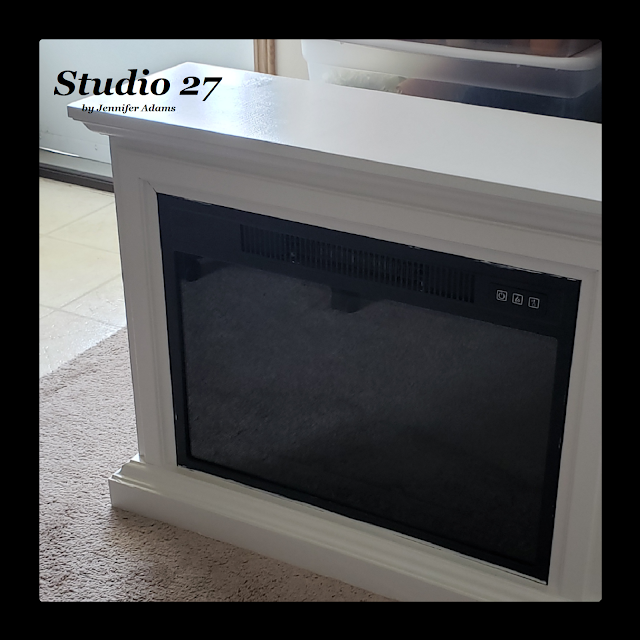
I wasn't exactly looking for another faux fireplace; we already have one faux one in the main bedroom and real ones in the family and dining rooms, but at $7.50 I couldn't pass this one up. Originally priced at $30, then marked down to $15 (which was the color of the week at Good will and netted another 50% off), the final price was just seven dollars and fifty cents!  After cleaning and painting it now lives in our front room.


Home Decor
Home Decor
$27

This dresser is another breakfast room piece and I use it to store all of my cookie cutter collection.


Home Decor
Home Decor
$48

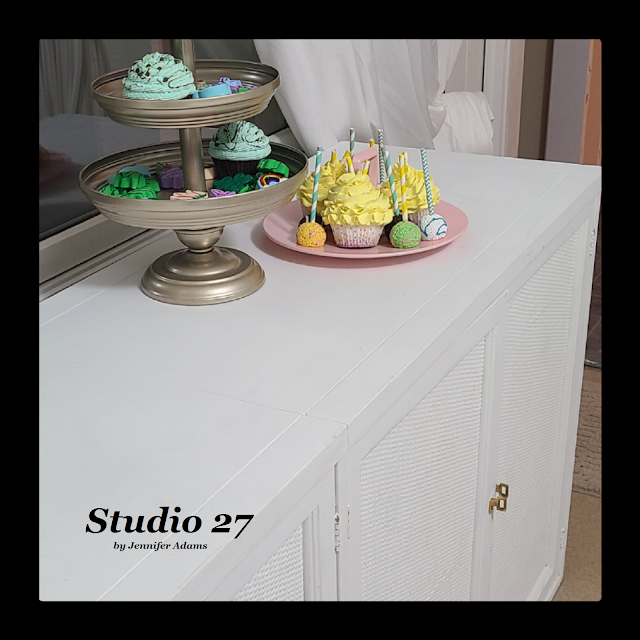
Again with the breakfast room, I use this display cabinet for my.....faux breakfast foods!  Well, the top anywayπŸ˜‰  The open area I like to change out  seasonally and the storage cabinets house my collection of cake stands and plates.  I'll have a faux breakfast food post in the future.


Home Decor
Home Decor
$50

Our front hall has enough room for a display cabinet that this time I filled with faux ice cream treats.  My Husband was kind enough to bring it home in a recent snowstorm, hence the frostiness in the top pic πŸ˜„  Also, if you peek to the left side of the cabinet and in to the front room, you can see that after 5 months I still have boxes yet to unpack. Sigh.


Home Decor
$17

Off to the side of our front hall is a large storage closet that I turned into what I call my 'bakery' 😊  Primarily it's where I store all of my off season fake bake decorations, but I thought why not make it cute too?  This $17 bookshelf with drawers (that I painted white) made the perfect spot to display some faux bakery items as well as lending a bit more storage.


Home Decor
$34

Last time with the breakfast room, I promise!  This vintage piece used to be a record player cabinet, with top storage on one side and front cabinets on both sides.  It was gray when I found it and I painted it fresh white, of course, and use it to store cake pans and all of my silicone molds.


Home Decor
$80

This buffet was getting a little expensive at $80, but was perfect for housing all of our home office needs, computer games and school supplies.  It was dark brown at first but after a coat of white I placed it next to the desk area in the front room.


Home Decor
$25

In between the fireplace and a door to the kitchen in our dining room is the perfect spot for a small cabinet.  This one was wood colored veneer that I painted white and filled with faux pies and puddings.
My favorite part about this cabinet is the gold detailing that I added around the glass with some hot glue and a bit of ribbon.

*I took this pic while the floors were still being worked on.  The tile in the kitchen is new but we are keeping the vintage parkay in the dining room, front room and front hall.  I have a lot of scrubbing and polishing of the wood yet to do and floor transition pieces will go down as well.


Home Decor
$100

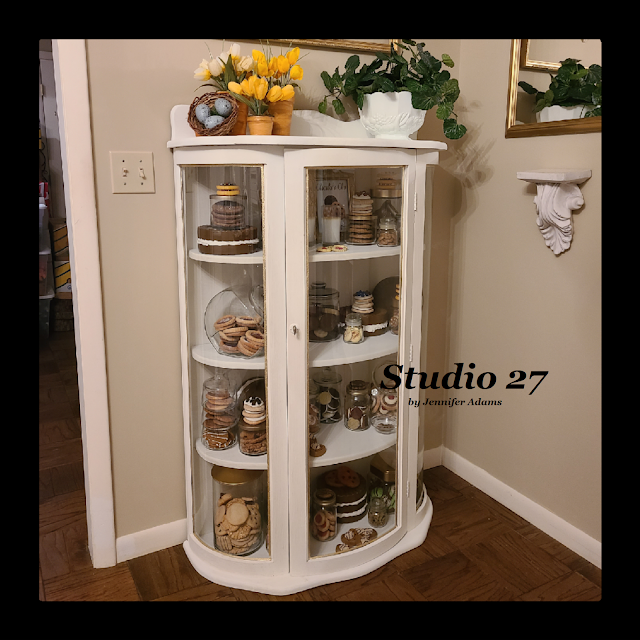
I still can't believe that I spent $100 on a piece of furniture, it's just not my way!  But I had received money as a Christmas gift and decided that after saving so much on every other piece, it was ok to splurge a bit.  Still crazy though, since I'm so used to finding display cabinets for under $50 😎

After painting the cabinet white, I used it to display my faux cookie collection.  I don't know how well it shows up, but I added some of that gold ribbon to the windows on this piece too.  I'll have a post in the future where I show what's inside.


Home Decor
$35

I was looking for a display piece for the dining room where I could put all of my faux cakes as well as store extra sets of dishes.  This cabinet/ book shelf was perfect for storage and display, but didn't have the glass doors that I wanted (I hate dust).  I'll share posts in the future both featuring how I made the glass fronts as well as the pretty cake collection inside.

And there you have it, a whole bunch of examples of how thrift store shopping can furnish your home!

**********

Want to see more of my furniture restyles?


Friday, March 18, 2022

Fake Bake Faux Lollipops

Candy Decor


When I came across a few silicone lollipop molds, 
I couldn't resist making up another set of faux treats πŸ˜‹
Here is how easy it was to complete:

**********


Disclosure - This post may contain affiliate links.  If a purchase is made through an affiliate link then (at no additional cost to you) I will receive a commission.  You can read more about affiliate links here


Candy Decor

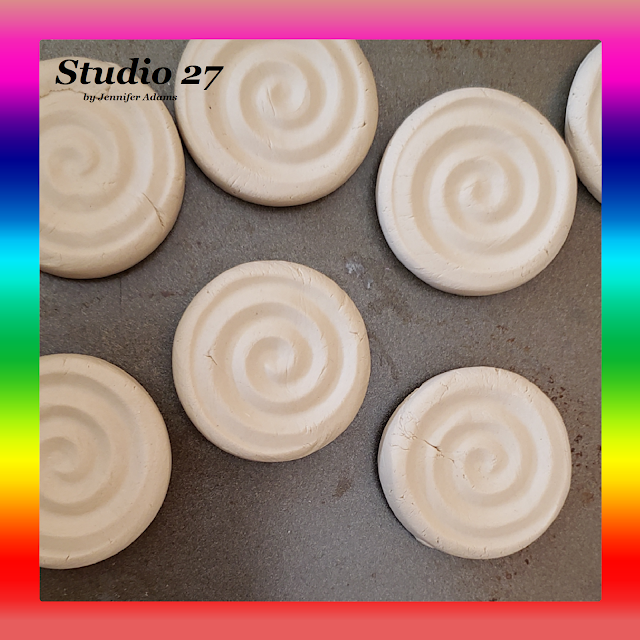
Using the molds pictured here and Hobby Lobby's air dry clay I made a large batch of lollipops.
You can find the flat mold and the swirl mold on Amazon.

Inserting the lollipop sticks into the clay can be a little tricky as you want to make sure to completely secure the stick without poking it through the front of your design.  Plaster of Paris can be substituted for this project if you find working with liquid easier.

Note:  I was trying out the Hobby Lobby clay for the first time with this project.  It smells a bit when wet (like natural clay) and you have to work it more as it's not as refined as other brands, but you can't beat the price!  It dried well and held acrylic paint just fine too.


Candy Decor

When I ran out of lollipop sticks, I decided to make a few candies as well.
If you need more sticks you can find some  here.


Candy Decor

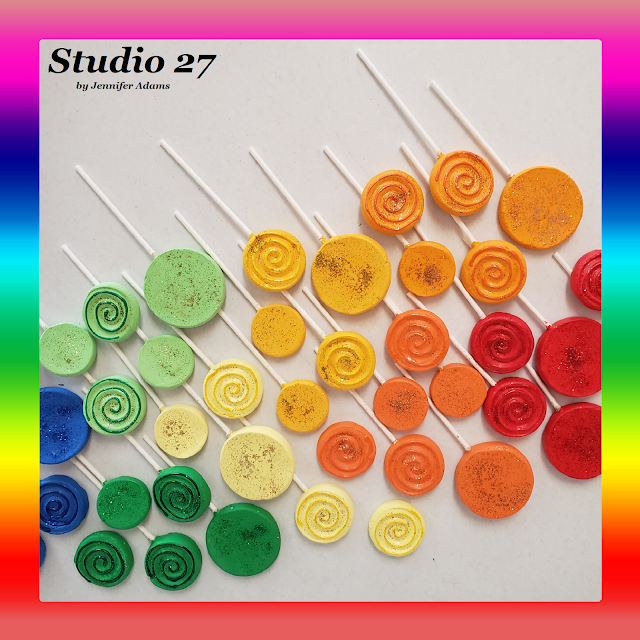
Once the clay had fully cured (I waited 24 hours) I used acrylic paint to add color.


Candy Decor
Candy Decor
Candy Decor

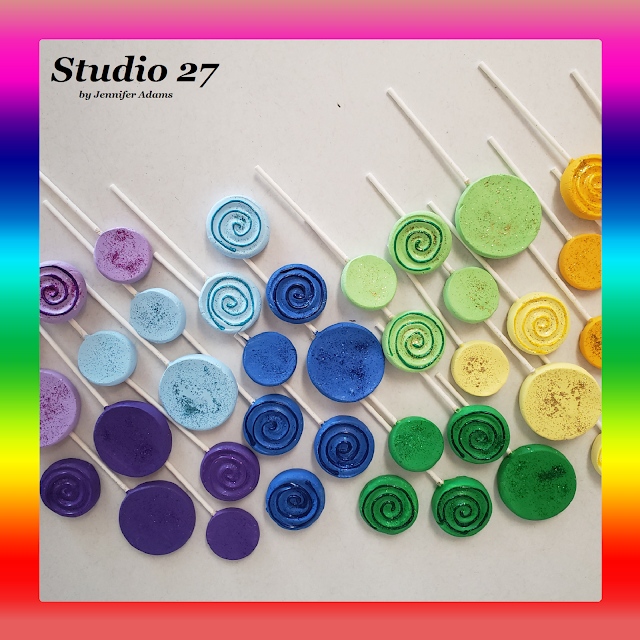
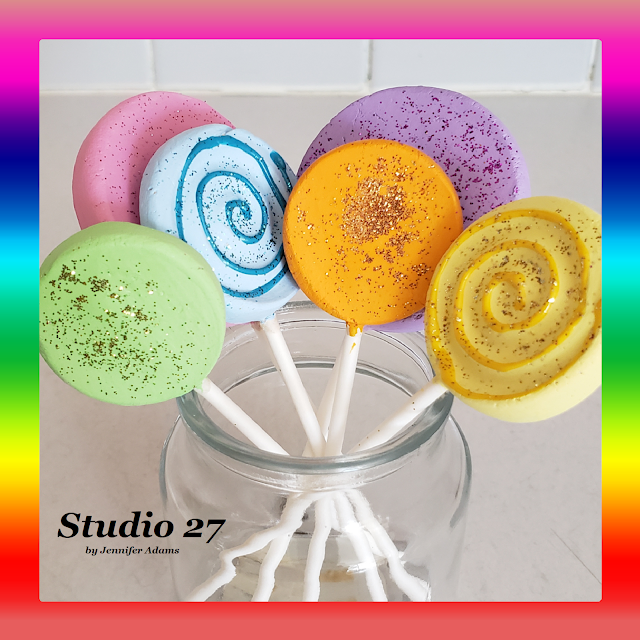
When the acrylic paint was dry I added swirl details with puffy paint to about half and then coated all with glitter.  I like to add my glitter by applying a nice layer of spray adhesive, sprinkling the glitter and then finishing up with another coat of the spray adhesive.

I like to stock up on my spray adhesive and glitter at  Dollar Tree.

**********

A couple more pics of the rainbow lollipops:


Candy Decor
Candy Decor

**********

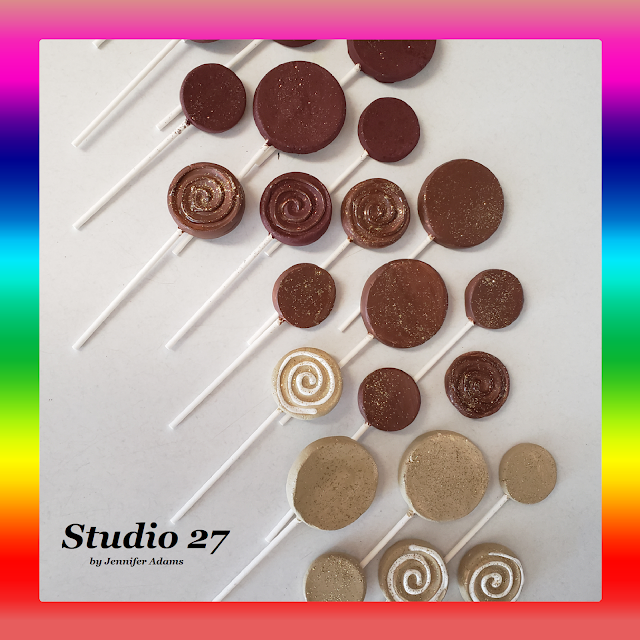
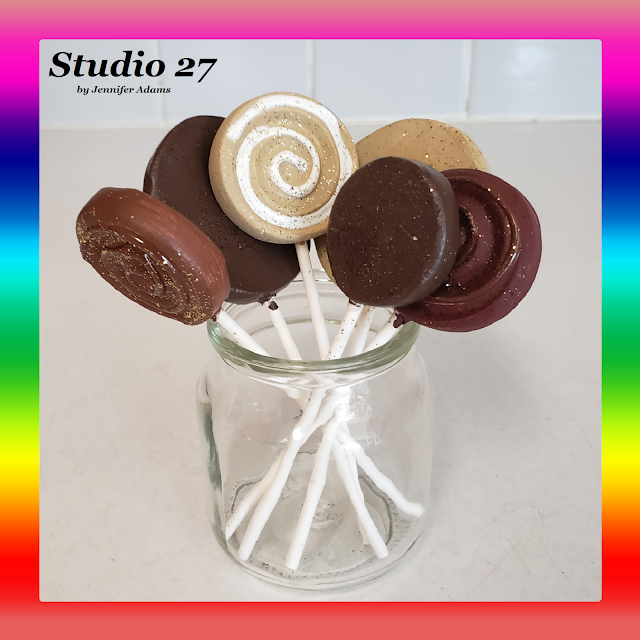
In addition to my rainbow series, I did a chocolate collection as well:


Candy Decor
Candy Decor
Candy Decor

And there you have it; cute and fun faux lollipops.  I'm going to incorporate mine into my Christmas candy decor next holiday season, how about you?  Let me know in the comments 😊


Friday, March 11, 2022

Fake Bake Breakfast Cereal

 Kitchen Display

After moving into our new home I ended up with a breakfast room that's big enough for a display cabinet that I filled with....my faux breakfast food!  I'm going to share pictures of the entire cabinet eventually, but it's looking like it will be September before I get there 😏  In the meantime though, I'm sharing how I put together my fake cereal.

Want to add a faux bowl of cereal to your fake bake displays?

Here is how easy it is to do:


**********


Disclosure - This post may contain affiliate links.  If a purchase is made through an affiliate link then (at no additional cost to you) I will receive a commission.  You can read more about affiliate links here


Kitchen Display

For this project I used a couple of thrift store glass bowls, a Dollar Tree candle and this mini doughnut mold from Amazon.


Kitchen Display

Using Crayola Air Dry Clay in the mini doughnut mold, I made a whole bunch of tiny cereal pieces.  If you look closely you can see some cracking in my finished product.  I didn't mind since it's supposed to look like cereal, but if you wish to avoid this spend more time working your clay.  The longer you smush it, the smoother it gets.  Also my freezer was a big help with this project.  By popping the clay filled mold into the freezer for a few minutes I was able to get the pieces out without distorting their shape.  Freezing you clay helps any time, but definitely with smaller or more detailed pieces.

Note:  I did make a few actual doughnuts too, you can see those here πŸ˜


Kitchen Display

When the clay pieces had fully dried (I like to give overnight to a full week depending upon size - these were overnight), I painted them in a khaki color and arranged them in the bowls.


Kitchen Display

Then it was time to pour in the melted wax and let cool.  Try to get as many pieces of the cereal to be touching the wax as you can as this holds them in place.  If there are any loose ones you can always use a bit of hot glue after the wax has fully set up.

(You can read a tutorial where I show how I melt down the candles by clicking the 'faux milk' link at the end of this post)


Kitchen Display
Kitchen Display

And there you have it, a couple of faux bowls of cereal!


Friday, March 4, 2022

Moss Cork Board DIY

Garden Themed Decor


Last spring I was working to clean, pack and organize for our upcoming move (fall 2021), as well as working on a ton of projects for our new home.  One of my goals is to have an outdoor 'garden' shed where I can store all of my faux florals and I want to decorate the interior with a garden theme.  This moss covered cork board will fit right in, check out how easy it was to put together:

**********


Disclosure - This post may contain affiliate links.  If a purchase is made through an affiliate link then (at no additional cost to you) I will receive a commission.  You can read more about affiliate links here


Garden Themed Decor

Anytime I run into Walmart I always check out the clearance aisle.  They had some bags of moss available, but it wasn't the real or even realistic looking kind, it was more like Easter basket grass.  The packages however had this really cool craft idea where someone had taken the grass and covered a cork board.  I thought, "Neat idea, but would look way better with sheet moss"  and kept shopping.  

Fast forward to later that week when I was out at garage sales and I found a huge grocery bag of the sheet moss you see here for only $1.  I was excited because I had several more faux flower pots that I wanted to put together and really needed more moss.  I went home and was working on this when I remembered the Walmart craft project and *ding* thought "Hey I can do that now!"

So even though I was in the middle of one project, I ran to find a frame and started a second project!

You can click here to read about those flower pots.

Side Note:  If you look in the background of the photo you can see that my china cabinet is full of faux potted plant (I had already emptied and packed the cabinet contents, and was using it as temporary storage).  In prep for the new house I wanted to have faux plants for every season that I could switch out as I change decor.  We have since moved, but it's only been about 4 months now that we have lived in the new home.  I'm still waiting on that garden shed, but it's one of my goals for this summer!  In the mean time I am really enjoying all of the crafty prep work that I did and currently have faux spring plants all over 😍

Now on to that cork board:


Garden Themed Decor
Garden Themed Decor

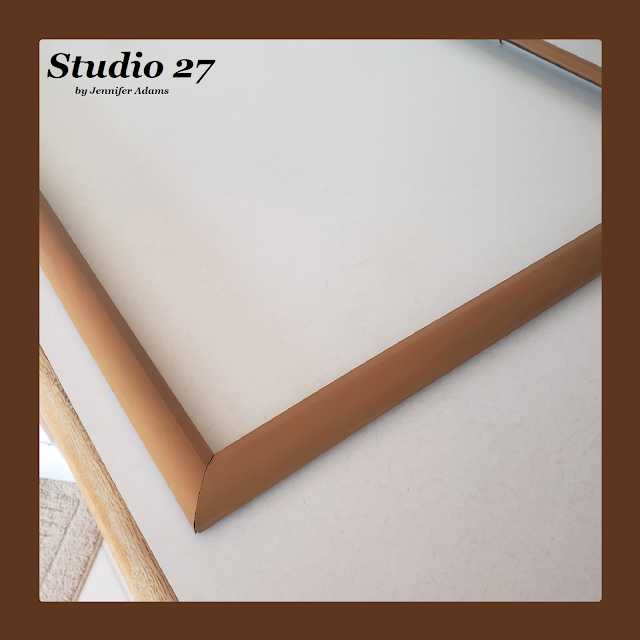
Starting with a cardboard backed poster frame I took out the acrylic 'glass'.  Since it was scratched up I tossed it out, but you might be able recycle it for another creative project if it's in good condition.  

Using some acrylic paint I changed the color of the frame so it looked more like Terra Cotta.  If I remember correctly, this color is cinnamon.

(You can find similar poster frames, sheet moss and acrylic paint  on Amazon)


Garden Themed Decor
Garden Themed Decor

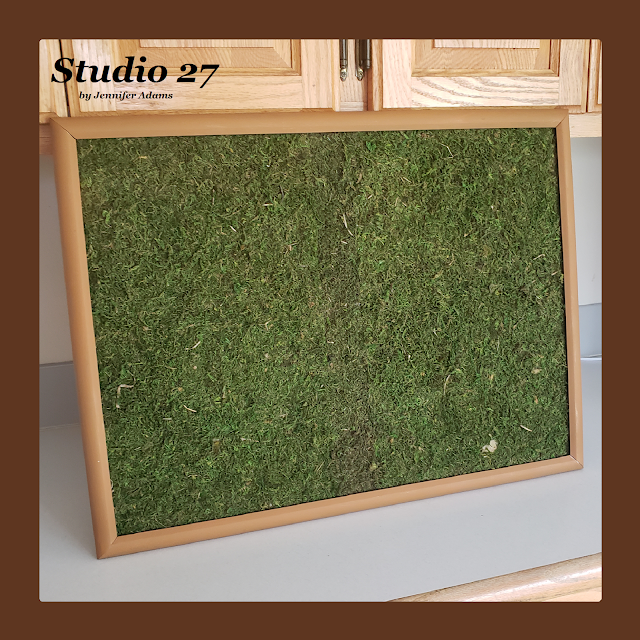
Making sure to keep the hanging hardware in place, I glued the sheet moss down to the front of the cardboard with hot glue.  This was super easy to do even when the moss had to be cut (my sheets weren't big enough to cover the entirety and I had to use more than one piece).  Just butt the pieces up close together and they blend right in 😎


Garden Themed Decor

Pop the board back into the frame and there you have it, an easy to make moss covered cork board!

**********