Thursday, July 30, 2015

Treasure Hunting (Summer 2015)

Want to see what I found treasure hunting? Check out these goodies:

(New to the blog?  Click here to read about the tradition of treasure hunting)


White Ceramic Vase $1

You may remember this vase from previous posts as I purchased and used it for my Sister's Welcome Baby Party.

(You can click here or here you want to see it filled with flowers.)
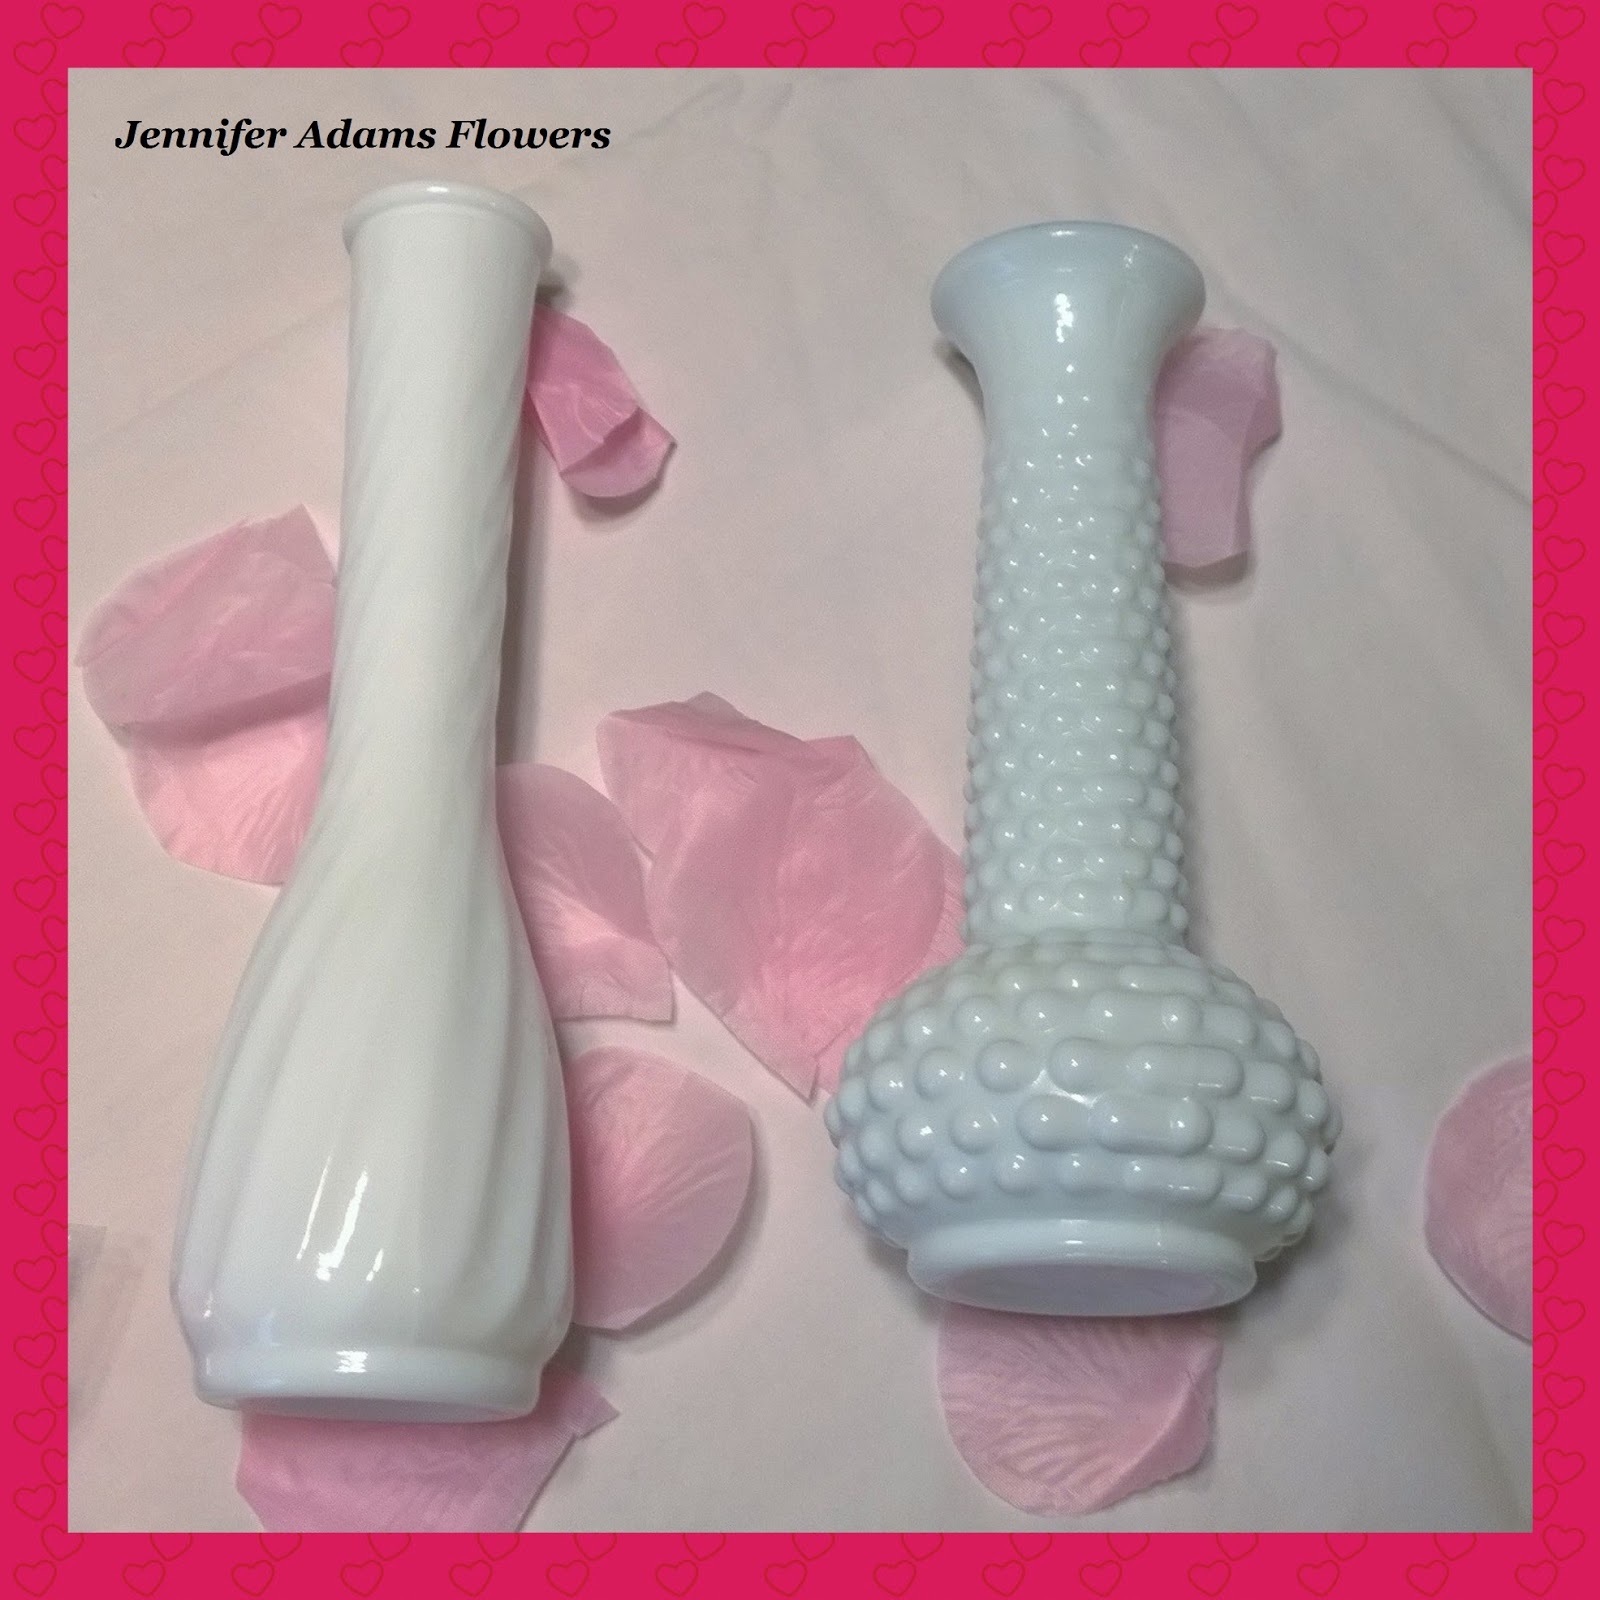


 Glass Vase .50

After gifting my Sister with the vases from the party, I decided to start a collection of my own.  This one is the first to come home with me so far!


Milk Glass Candle Holder .25

I'm not really a big fan of taper style candles, but for a quarter I thought I would give this piece a chance.  I'm not sure how I'll use it yet!


Peppermint Shakers .50

I don't change out my salt and pepper shakers, but since these were shaped like candy I decided to buy them.  I won't actually use them as shakers, but I'm sue they will look adorable with the rest of my candy decor this Christmas!


Candy Cane Vase $1

I found this candy cane vase the same day that I found the peppermint shakers, it was a Christmas kind of day!

Like the white platter as a backdrop?  Keep reading!  ;)


Gold Ornaments $1

You might remember me talking about upgrading my living room tree.  Of our three holiday trees, the living room tree is the one that provides home to our collection of yearly ornaments.  I'm going to keep it that way but I would like to add a base of chocolate and gold ornaments as well.  These will make a great start!

(You can read about our  living room treedining room tree, or our kitchen tree by clicking these links.)


White Ceramic Platter $1

You may remember seeing this platter as part of my summer decor update post - it looks fantastic with my artificial strawberries!

(You can click here if you missed the post.)


Milk Glass Plate $1

I loved the detailing of this small plate, couldn't pass it up!


Faux Carrots .50

These artificial carrots have been safely tucked away with the rest of my Easter decor.  Look, there is that white ceramic platter again!  :D

(You can click here to read more about my Easter decor.)


Pirate Treasure! .25

If you read my Halloween decor post, you remember that I have a couple of pirate chests filled with faux bones.  I have been wanting to add pirate 'treasure' to these chests forever!  Yay!!!

(You can click here to read more about my Halloween decor.)


 White Ceramic Bowl  $1

This looks to me like a giant ramekin...or a dog food bowl...hahaha!  Either way I liked it!  If you look at the close-up photos on top, you can see the crackle finish.

  I'm not sure how I'll use it in the future, but for not it's propping up one of my cupcakes (photo below).


 Giant ramekin turned cupcake stand...because why not?

:D :D :D


 Set of Ramekins  .25

I'm pretty sure I will never, ever bake in these...but tiny things are cute...so now they are mine!  The ceramic pie lady (that lives in my cupcake cabinet) is making good use of one of them, so the purchase was necessary! :D

(You can click here if you want to read more about my cupcake cabinet.)


That's all the treasures I have for now, I hope you enjoyed the post. Thanks for stopping by!

-Jennifer

© Jennifer Adams Flowers 2015

Wednesday, July 29, 2015

Upcycle: Party Decor Turned Keepsake Wreath


I was all set to hit you guys with a treasure hunting post today when I logged in and realized that I still had this wreath post hanging out in my dashboard.  Oops!

(We won't discuss the other 25 or so posts that are waiting there as well..hahaha!)

Anyway, read on to see how I turned leftover party decorations into an adorable keepsake wreath:


Leftover Flowers

Here are the flowers I used to decorate the Welcome Baby Party that I have blogged about recently.
I wanted to re-purpose them in some way and got the idea to recycle them into a wreath.

(You can click here to see the flowers in use at the party)


I looked through my stash of crafting supplies and found this partially decorated wreath.  

The wreath was a treasure hunting find from earlier this summer.  It came as you see it here: with greenery, purple flowers and a few seashells.


You can also see that it cost me quite a bit.....;)


The first thing I did (after washing the wreath) was to remove everything but the greenery.  I wanted a nice clean base for the pink flowers.


These purple flowers are pretty so I tucked them away into a supply bin.  Who knows where they might come in handy?  :)

*The seashells I threw into the trash, they were chipped up and nasty.


I used hot glue to place the white roses on first...


...and then followed behind with the pink roses.

I only had three each of the white and pink roses, so I started with them first.  That way I could make sure that they were evenly spaced apart.


After that I began filling in the greens pace with the pink daisies.

Overall I liked the way it was going, but one thing was bugging me: The white roses looked too stark, almost out of place.  

I decided that somehow they needed to be toned down a bit...


...and got out these light pink fabric rose petals (also left over from the party).


I used the pink rose petals as filler, and glued them in among the white rose petals.  You can see that they really helped to soften the look of the bright white.


A Close-Up


After 'fixing' the white roses, I continued to add in pink daisies to fill out the wreath.  I also decided to add in a few more rose petals here and there, just for kicks :D

And there you have it, a simple way to turn leftover party supplies into a beautiful keepsake.

I hope you enjoyed the post, thanks for stopping by!

-Jennifer

© Jennifer Adams Flowers 2015

Friday, July 24, 2015

Summer Decor Update (2015)

I've added a few things to my summer decor.

Keep scrolling to take a look, or see the rest of my summer goodies by clicking here


Peaches

I thought these faux peaches looked pretty in a glass trifle bowl...


Pears

...as did these pears, in another glass trifle bowl :D


White Geranium

I was excited to find this artificial white geranium, and even more excited to display it with part of my strawberry collection.  Very summery looking, don't you think?!

You can click here to read the treasure hunting post detailing the peaches, pears and geranium


Ceramic Plate

 I thought this white plate would make a nice resting place for a few more berries and a potted strawberry plant in my kitchen.

The plate is another recent treasure hunting find, I'll be posting about that soon ;)


Seaside Duck

This little duck is all ready fort the beach with her shovel and sand pail.  I found her at Wal-Mart for $1 and she lives in the kids bathroom with the rest of our ducks.

You can click here to see our bathroom duck collection.


A Couple More Ducks

I also picked up these ducks at Wal-Mart.  The little fisherman was $1 and the lifeguard was $2.50.  I love the fun they add to the kids bathroom!

That's our summer decor update for this year.
I hope you enjoyed the post, thanks for stopping by!

-Jennifer

© Jennifer Adams Flowers 2015

Wednesday, July 22, 2015

Welcome Baby Party: Party Baking (2015)


I'm back today with one last post about the Welcome Baby Party - I can't help it, I love this stuff!
Today I'm sharing all the baking info, check it out:


Supplies

For the cake I used Betty Crocker cherry chip cake mix and pink cherry frosting.  I used Wilton sparkle gel in white and white candy sprinkles for the decorations.

For the cupcakes I used Pilsbury dark chocolate cake mix and frosting, with pink sprinkle candies for the top.


Icing

After covering the cake in the pretty pink cherry icing, I turned to my sparkle gel and sprinkles.  The white sparkle gel is really pretty as is, but I wanted this cake to be a bit more colorful. I decided to color the sparkle gel a bright pink.......


Adding Color

...so I added a bit of red food coloring to the sparkle gel.  Once colored I used a plastic sandwich bag to apply the icing in pretty swirls.

You can click here to read a former post where I discuss this technique.


Swirls

I added the swirls to the top of the cake first...


White Candy Sprinkles

...and then followed up with a light layer of sprinkles.


The Finished Cake

Because I wanted to keep with the pink and white party theme, I chose to use this white ceramic cake stand (instead of my usual glass cake stand).  

It looked great, but this stand doesn't have a cover.  I needed to somehow keep the cake fresh until the party without smudging the frosting.  I was worried that plastic wrap would ruin the icing, so I froze the cake before wrapping it up and quickly stuck it back in the freezer.  When it came time for the party, I made sure to remove the wrap before the cake thawed out.  It worked perfectly!


Chocolate Cupcakes

These were very simple to make; chocolate icing with a few pink candy sprinkles on top.

Want to see these cakes at the party?  Click here to see the party decor post.
And that's it, you finally have all the details for this party!

In case you missed anything:
You can click here to see the invitations.
Click here to see the candy bar favors.
Or click here to read all about the flowers.

I hope you enjoyed the post, thanks for stopping by!

-Jennifer

© Jennifer Adams Flowers 2015

Thursday, July 16, 2015

Independence Day 2015: How We Celebrated!

Now that it's july 16, I'll go ahead and share how we celebrated for the 4th...:D


Blueberries & Pancakes

When I looked through my leftover stash of party plates and napkins, I found these red ones that worked perfectly for the holiday.  I didn't have anything blue though, so I decided to make pancakes with whip cream and blueberries.  How's that for pulling a design theme together in about 20 minutes?  (I kind of sort of maybe forgot to plan this one out! Haha!)


Smoothies

I make smoothies every weekend, but this time they featured red and blue sprinkles!

(These were made with vanilla yogurt, strawberries, mandarin oranges and a couple of bananas)


Pretty Popsicles

The kids spent the afternoon playing outside and had patriotic Popsicles for a treat.  I had one too, they were really good actually.

After a quick dinner I  made popcorn for the kids and we headed to the fireworks.  (We saved our BBQ dinner for Sunday night when we wouldn't have to rush out anywhere.)

That was our holiday weekend, how was yours?

Thanks for stopping by!
-Jennifer

© Jennifer Adams Flowers 2015

Wednesday, July 15, 2015

Welcome Baby Party: The Flowers (2015)


Remember the flowers from the Welcome Baby Party post?  Come with me today for a look behind the scenes at how I put everything together!


Materials

I started out with a few hot pink fabric daisies, light pink fabric rose petals.  For containers I used a couple of white vases and baby food jars that I saved from the Little Man.


Pretty White Vases

Both of these vases were treasure hunting finds from this summer.  Once I had settled upon a design theme for this party, I started looking for pretty glassware.

The vase on the left is white ceramic and was priced at $1.

The vase on the right is milk glass and was in a box that said 'FREE'...yep :D

Both of these vases went home with my sister to keep.  I think I'm going to look for a couple more though, to add to my own collection!


Baby Food Jars

You might remember these jars from this post last summer.  

I love these Beechnut jars, they are so cute!  When the Little Man was done with baby food I decided to keep a few in my candle cabinet.  Yes, I wanted them as keepsakes...but I also had a specific idea in my mind.  I kept seeing them filled with flowers for my sister's new baby.  I should point out that this was before any of us had any idea that a new baby would be coming..hee hee hee!

Fun Fact:  That's something that happens to me a lot, I get very clear visual images of future events.  I can't control it and they typically only involve people I am really close to.  (I actually dreamed my Husby's face and name in 7th grade, but that's another story!)  ...And no, I can't predict the lottery.  Believe me, I have tried!  :D :D :D

Ok, Moving on.....


Fabric Petals

These pink rose petals are from Dollar Tree and are only $1, of course!


Work

The first thing I did was to toss this big white sheet over my dining table.  We have had so much rain this summer, and this particular day was no different.  My poor little kiddos were starting to get a bit stir crazy, and I had to get these arrangements done.  So I threw a sheet on the table to make a wonderfully distracting tent.  They played underneath and I worked on top.  ...I also spent about half an hour picking goldfish crumbs out of the carpet afterwards, but everybody was happy!


Pink & White

A few clusters of pink daisies were very pretty in these white vases, but something was missing.


Finds from the stash.

I went through my supply bins to see what I could find.  I thought these pink and white roses would be the perfect addition to the flowers I was already using.


Much Better!

Adding just one pink rose to each vase gave the arrangements so much more dimension.  The roses also served to bring the pink color of the rose petals (not pictured here) up from the table top.  

(I planned on using the fabric rose petals as confetti during the party)

I thought it was important to point out that designers don't always have every detail worked out in advance.  I start with a general plan, but it's very common for me to add or change things here and there as I become inspired.  Don't be afraid to let the process unfold, even if you feel 'blocked'.  By jumping in and playing around with your materials, you may find yourself coming up with all sorts of ideas!


Tiny Bouquets

I wanted half of the baby food jars to be filled with tiny bouquets.  I quickly realized that such short stems were not going to stay put on their own, so I added a bit of florist's tape.

I also added one white rose to each arrangement, to play off the larger white vases containing pink daisies with one pink rose. That's another detail that came about as part of the work process, originally these jars were going to contain solid bouquets of the pink daisies.


Every jar needs a lid!

How was I going to add the lid to the arrangements?  The white roses ended up being the perfect spot to glue them on, the visual contrast was perfect!


A couple of completed jars.


Rose Petals

Remember how I said that I only added bouquets to half of the baby food jars?  The remaining jars I filled with fabric rose petals.  I just thought it was a cute idea :)


Continue scrolling for more pictures of the completed arrangements--


Those were the flowers from the party, I hope you enjoyed!

In case you missed anything:
You can click here to see the party decor,
  here to see the candy bar favors
or here to see the invitations.

Thanks for stopping by!
-Jennifer

© Jennifer Adams Flowers 2015