Friday, August 26, 2022

Thrifty Finds: Milk Bottle Makeover

 Fake Food Decor

Isn't this collection of fake milk bottles cute?  Today I'm sharing how I made them from a set of glass drinking bottles, check it out:


**********


Disclosure - This post may contain affiliate links.  If a purchase is made through an affiliate link then (at no additional cost to you) I will receive a commission.  You can read more about affiliate links here


Fake Food Decor
Fake Food Decor

Here is the set of drinking bottles as I found them, $6.99 at the thrift store.  

I knew I wouldn't be needing the straws so I pulled them out and tucked them away in my craft stash.  Unfortunately, that left the lids with big holes in the middle, but not to worry...


Fake Food Decor
Fake Food Decor
Fake Food Decor

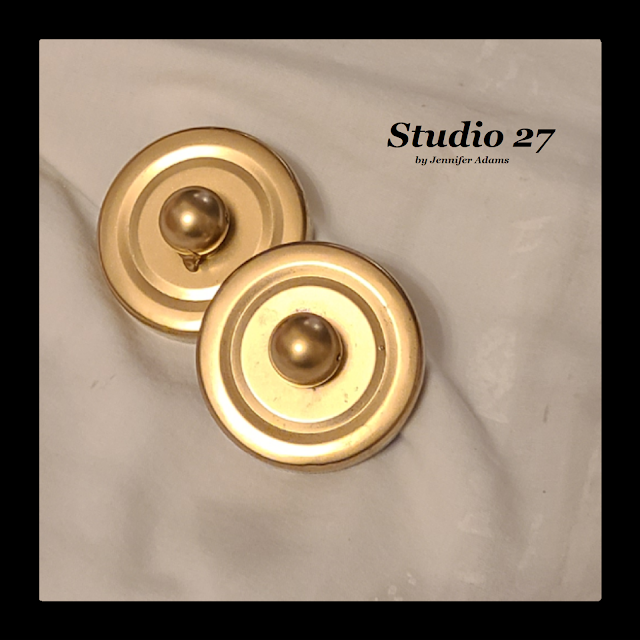
...I glued some large plastic pearls on top of the holes to cover them up, and then sprayed the lids in gold paint.  Such an upgrade!


Fake Food Decor
Fake Food Decor

After that it was as easy as pouring a bit of paint into the bottles and carefully rolling them until they looked like they were full of milk.  For this I used about a quarter cup of paint per bottle and left them open until dry.

Note:  Sometimes the paint separates when drying and starts to look a little funny.  You can either put on the lid and carefully shake the bottle, or just add a little more paint and go from there.  Depending upon the quality of your paint it could work perfectly the first time or need a few touch ups 😉


Fake Food Decor

And there you have it, faux bottles of milk ready to display!


Friday, August 19, 2022

New House Makeover: Bathrooms

 Renovations


Hello readers!  Continuing on with my new house makeover tour posts, today I'm sharing what we did with the bathrooms.  Take a look:


**********


Disclosure - This post may contain affiliate links.  If a purchase is made through an affiliate link then (at no additional cost to you) I will receive a commission.  You can read more about affiliate links here


**********

If you have missed any of the other new house room tours, you can check out these links:


Not on to those bathrooms...😄


**********


Kid's Bath:

RenovationsRenovations

Here are a couple of pics of the kid's bath before.  The top one shows that the cabinetry originally was dark wood and the bottom photo lets you see up close, the very old linoleum!


Renovations
Renovations
Renovations

My Husband was quick to change out the floor and installed  new ceramic tile and replaced the ceiling fan/ light unit with help from his Dad.  The walls are now beige and the cabinetry has been refinished with a bright white.  We added pipe style towel hangers (Husband is a pipefitter 😎) and I picked up the shelving at a yard sale.  A few accessories later and this room had been restyled!


**********


Master Bath:

Renovations

At the time of purchase the master bath had the same yucky flooring and needed new paint.


Renovations
Renovations

Similar to the kid's bath, the master received the same flooring and wall color update.


Renovations

The shelf is a yard sale find that I picked up for $5 and repainted, then filled with baskets for storage and shells/ photos from vacations.


Renovations

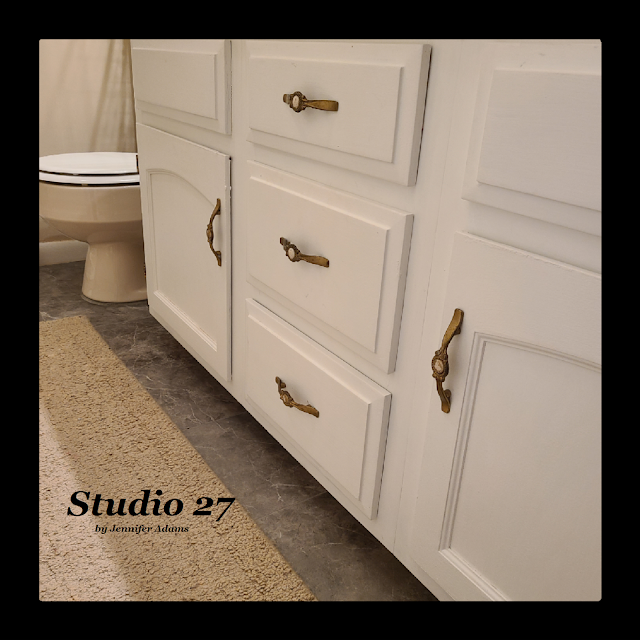
Here you can see the cabinetry, I painted it out white of course!


Renovations

More shells are on the counter.  I love lidded jars because it eliminates dusting!


Renovations
Renovations


I covered the window with privacy cling (tutorial here) and hanging from the frame is a stained glass piece that my father in law made himself.

**********


Half Bath:


Renovations

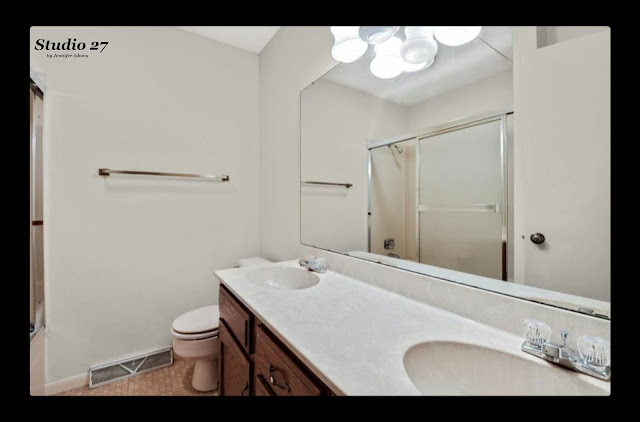
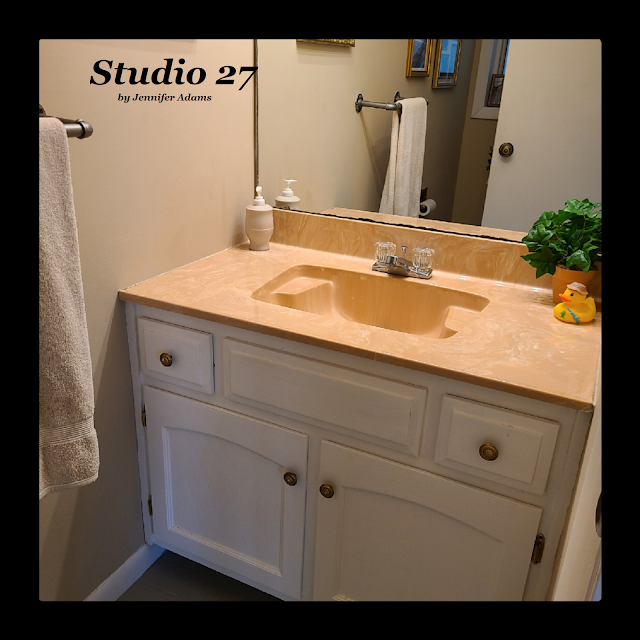
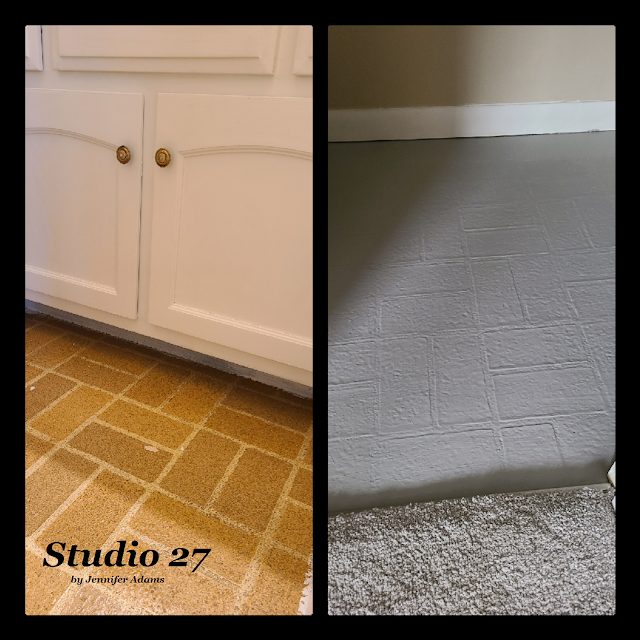
Though in a different style, the half bath also featured old linoleum and dark cabinetry.


Renovations
Renovations

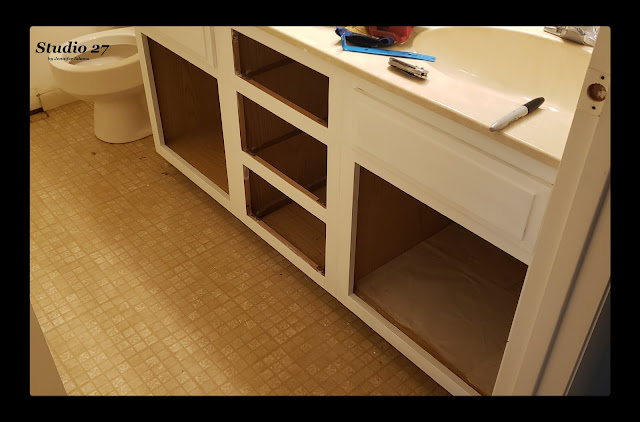
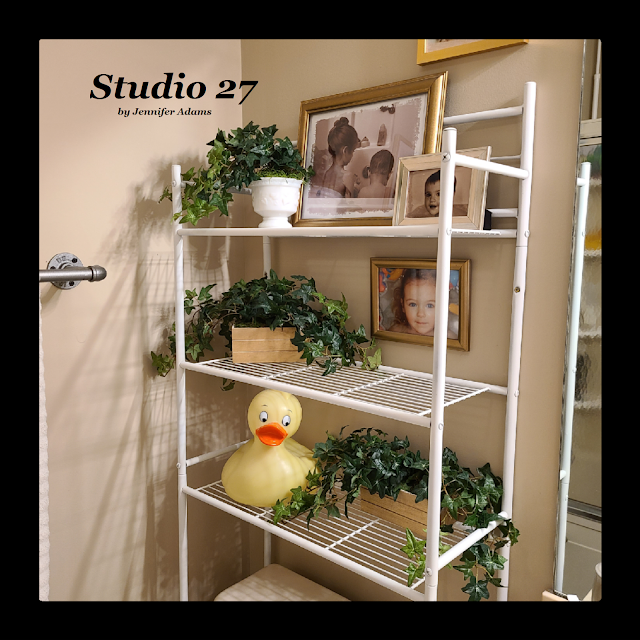
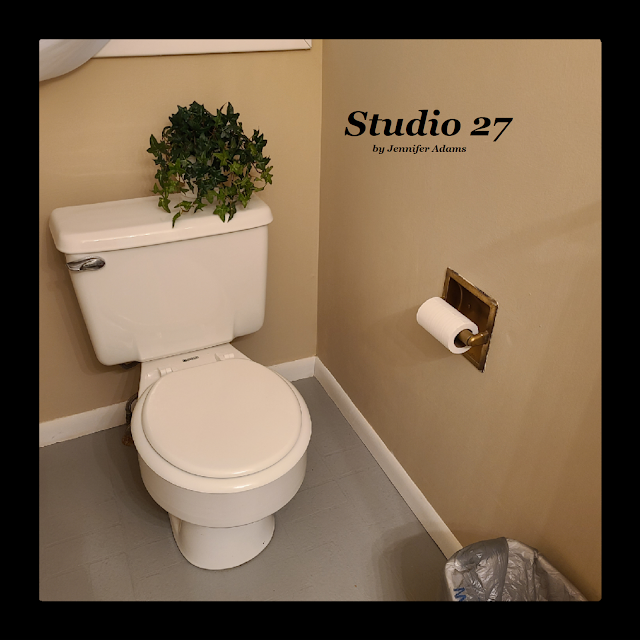
I refinished the cabinets in white, painted the walls beige and painted the floor using Kilz Garage Floor Paint.  I love that stuff!  We purchased it so that my Husband could refinish the concrete floors in both the garage and back porch.  Since we had some left over -and it was going to be awhile before my Husband could resume with the tile- I decided to experiment using the Kilz.  It went on easily and I love how the texture of the linoleum still shows through.  It has held up so well that I went ahead and used it in the breakfast room too (post coming soon)!


Renovations

It's such a cleaner and more updated look now!


Renovations

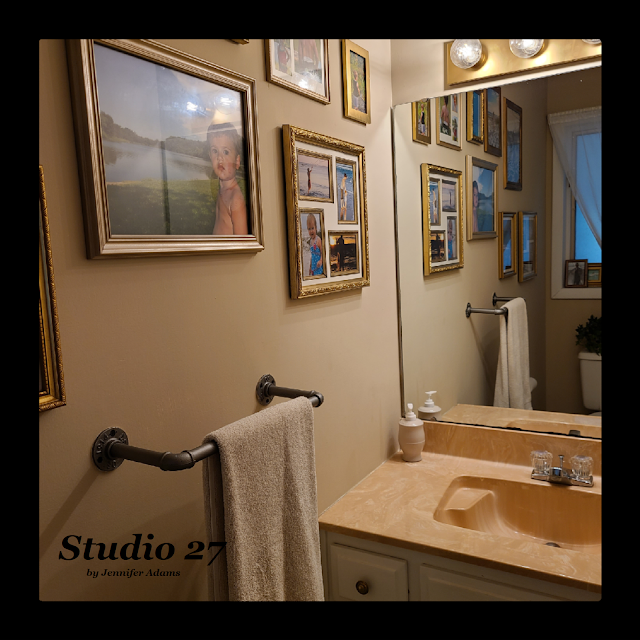
Another pipe towel rack and a gallery wall of photos, and this room was complete!

Eventually I think I'd like to change out the faucets and maybe frame the mirrors, but for now I'm calling the bathrooms done 😎


**********

And that wraps up the bathrooms tour.  
I hope you enjoyed this home makeover post, thanks for stopping by!
-Jennifer


Friday, August 12, 2022

Glass 'Door' DIY With Photo Frames

Display Cabinet

Recently I shared my faux cake storage/ display cabinet.  In the post I mentioned that I found the cabinet while thrifting and it came with open shelving.  I took the photos for that post before closing up the shelves, but definitely wanted to ensure that my faux cakes could remain as dust free as possible.  Read on to see how I used Dollar Tree photo frames and hot glue to create a DIY 'door' that encloses the space:


**********


Disclosure - This post may contain affiliate links.  If a purchase is made through an affiliate link then (at no additional cost to you) I will receive a commission.  You can read more about affiliate links here

**********

(You can click here if you want to see the faux cake post)


Display Cabinet
Display Cabinet

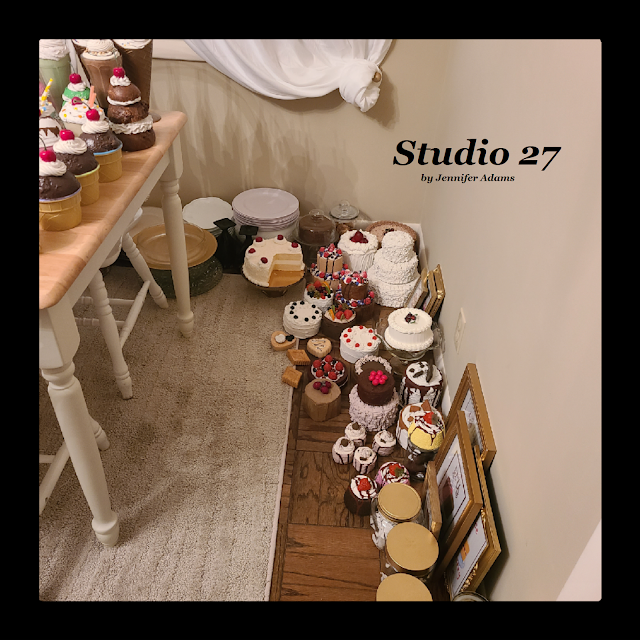
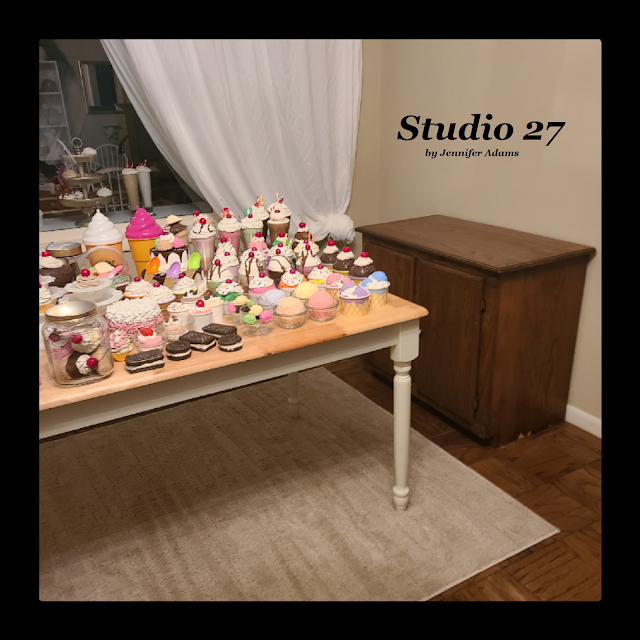
But first, let me show you how things looked when we first moved in - all my faux ice creams were on the dining table and my faux cakes were on the floor in the corner.  It was killing me!  

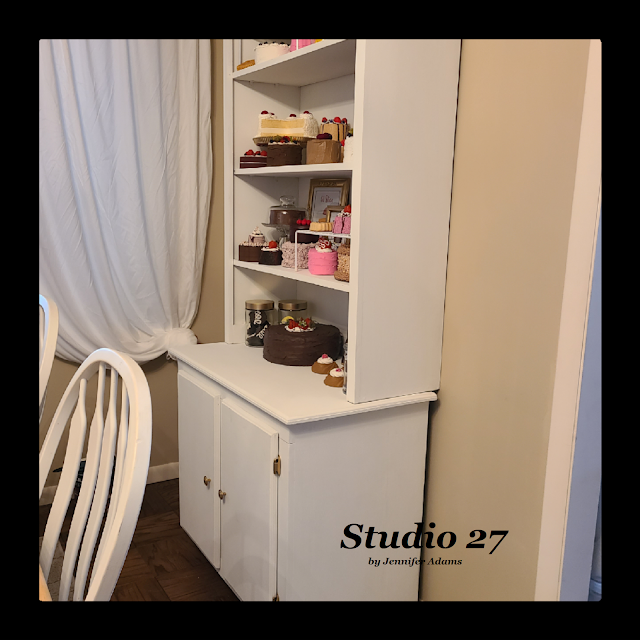
I did what I do though, and thrifted until I found cabinets that would house both displays.  This cabinet was only $35 and came in a dark wood stain.

(you can click here to read more about my thrifted furniture finds or here to see my ice cream cabinet)


Display Cabinet

After painting the cabinet white and loading it up with my goodies, I was ready to close it up.
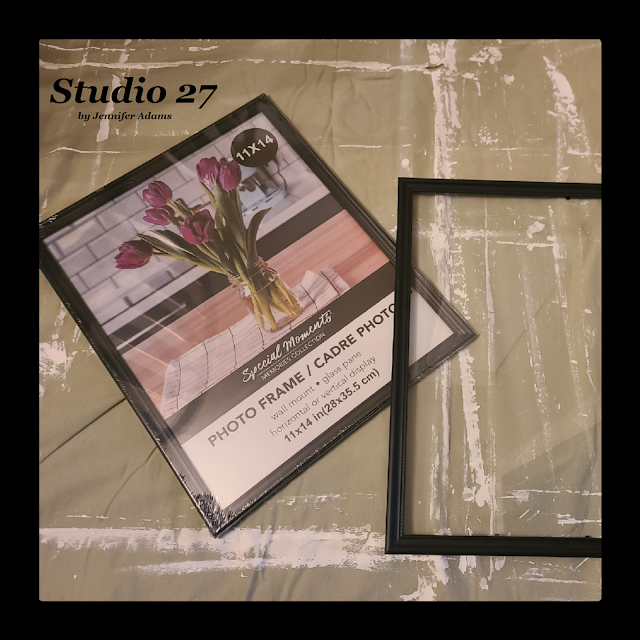
I decided to do so by purchasing 11x14 Dollar Tree frames, removing the backing, painting them, securing the glass to the frame with glue and then gluing the frames to the shelf.  Here are some pics:


Display Cabinet
Display Cabinet

Using scrap wood from the garage, my Husband attached a couple of slats for me that I also finished in white.  The slats allow more surface area so that the photo frames could be attached.


Display Cabinet
Display Cabinet

After buying the frames I removed the backing and the glass so that I could repaint them to match the cabinet.  I used 9, 11x14 frames, but that is strictly related to the dimensions of the shelf.  A larger piece may require more frames while a smaller less.  Also, using a different size photo frame will change things too.

Since I bought my frames before the Dollar Tree price increase went into effect, the project cost me around $10 with tax.  But even now it would only be around 13!

After the paint was dry I put the glass back in and secured it with glue.  I used hot glue here, but you could absolutely go with something stronger if you prefer.  I then used more hot glue to attach the frames to the shelf.  This time the use of hot glue was intentional - it's strong enough to safely hold the frames in place but flexible enough that I can pull the frames back down if I want to.  This came in handy as I've already added more faux cakes to the display.  It was easy to carefully take down the frames and then glue them right back up again.  

Sound crazy?  That my friends is how much I hate dust 😄
But let's also be cautious - just because I got away with using hot glue, doesn't mean it will work for everyone.  If your house gets really hot the glue could loosen.  Or if you have small children/ curious pets then this might not be the safest option.  It would be much better to go with a more permanent glue or actual doors if you think the frames could come loose and hurt someone.


Display Cabinet

Note that my frames don't go completely to the bottom.  I decided that I'm ok with this and left it as is, but you could certainly get creative with smaller frames.


Display Cabinet

And there you have it, a clean and dust free display!
Want to see the completed dining room?  I've got a link for that too 😍

I have a similar cabinet in my bakery that I left open.  The closet in which I keep it doesn't have any venting and I keep the door closed, so dust isn't a problem 😎


Friday, August 5, 2022

Faux Food Storage & Display: Pies & Puddings

 Fake Food


Hello and welcome back for another faux food storage and display post!

Today I'm sharing my pie and pudding cabinet.  I have more than what's pictured here that are specific to holidays and seasons, but those I keep in my bakery storage when not in use.  These however are out all of the time and can be found in my dining room. 

Scroll on to see a photo of each shelf individually coupled with close-ups and descriptions:


**********


Disclosure - This post may contain affiliate links.  If a purchase is made through an affiliate link then (at no additional cost to you) I will receive a commission.  You can read more about affiliate links here


**********

(In case you missed it, here is a post with all of my faux ice cream, here is one featuring my bakery, here is one all about my fake cakes and here is one with my cookies.)

Now on to that pie & pudding cabinet- 


Fake Food

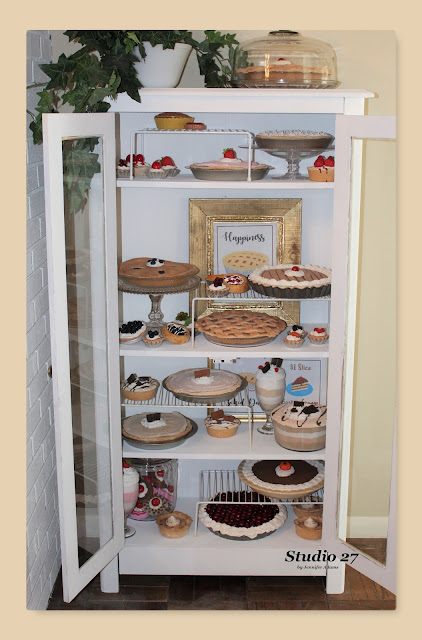
Here is the cabinet with the doors opened.  I found the cabinet at a thrift store and refinished it as my "pie safe".  You can read about the cabinet here or see the rest of the dining room  here.


Fake Food

On the very top of the cabinet is a faux cherry pie that I made out of salt dough.  I keep in in a glass cake dome to avoid dust gathering in the lattice crust.  

You can read a step-by-step tutorial of how I made this pie .


Fake Food
Top Shelf

On the top of the wire rack are a couple of food toys that I found at yard sales.  I thought they were cute so I stuck them in here 😁


Fake Food
Fake Food

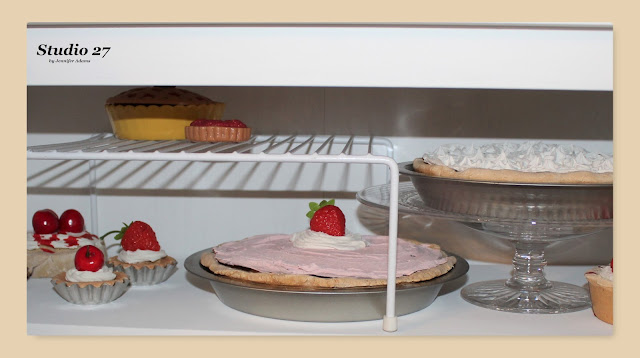
The rest of the top shelf features pies and tarts that are all variations of salt dough with light weight joint compound used as filling/ whip cream.  Sometimes I mix in acrylic paint with my spackle to give it color, like with the strawberry pie.  Other times I use acrylic paint to drip over the top of my finished pieces, like with the cherry and strawberry tarts.

There are a lot of faux fruits on every shelf of this display, so I'll put all of their links here:


**********


Fake Food
2nd Shelf


Fake Food
Fake Food

Again with the salt dough and spackle!  
The three large pies on this shelf can be found in that cherry pie post.  The tiny tarts are just salt dough in mini tins that I found at a yard sale and topped with spackle/ faux fruit.  A couple of the tarts I found already completed at a garage sale and are the ones without tins.  I think they are also salt dough, but coated in some sore of resin.

Both of the printables are from my Etsy shop.  The blueberry can be found here and the "happiness is homemade" here.

**********

Fake Food
3rd Shelf


Fake Food
Fake Food

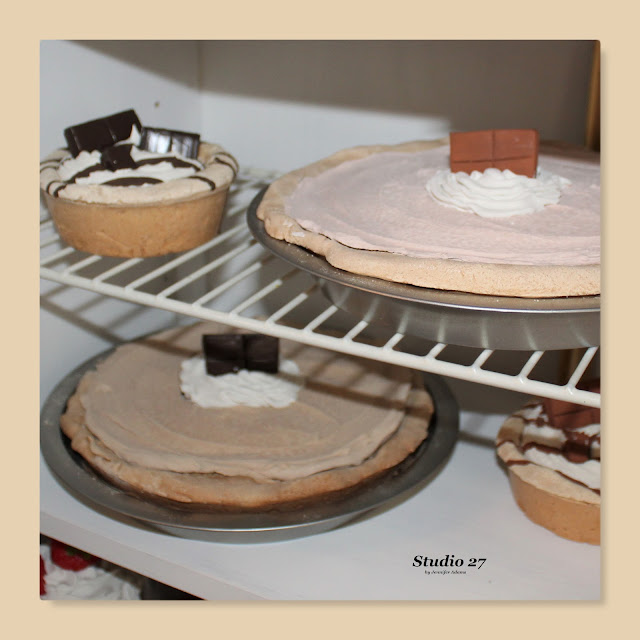
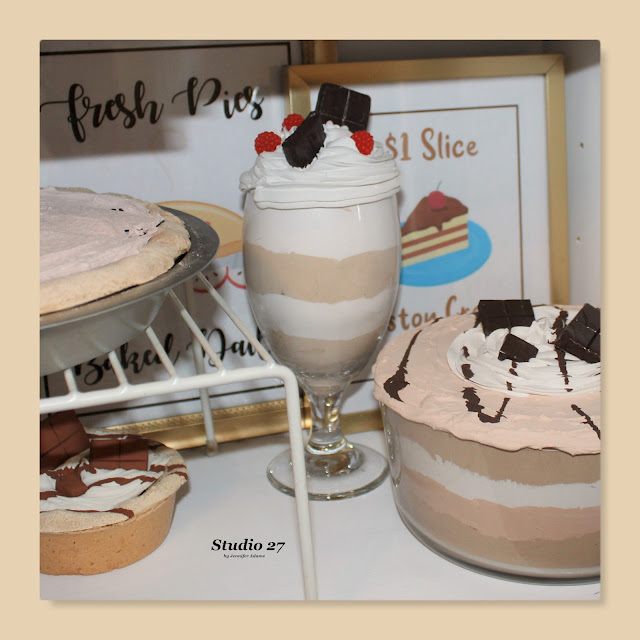
Not much difference here (salt dough & spackle) other than I included a couple of puddings.  The puddings are made by layering different colors of joint compound tinted with acrylic paint.  Check out this post for more details.

You can purchase the "fresh pies" printable here or the Boston Cream printable here.

The faux chocolates are more that I made by using up some oven bake clay.  I talked all about that in my faux cake post, if you want to check it out 😊

**********


Fake Food
Bottom Shelf


Fake Food
Fake Food

The only difference on this shelf would be the jar of tarts which I made with clay in these molds before painting with acrylic and topping with spackle.  

The mini pumpkin pies are salt dough shells that I baked inside of tiny cake tins and filled with colored joint compound.  The cinnamon sprinkling is real and makes the cabinet smell great!

In order to get the nice coloring on the cranberry pie, I painted the salt dough base before hot gluing the berries in place.  The large pumpkin pie is another in which I painted afterward.  I wanted the spackle to be a darker color that it looked after just mixing the pant in, so when it dried I painted  over the top.

And there you have it, my faux pies & puddings!