Friday, January 26, 2024

DIY Giant Faux Cookie

Fake Bake Tiered Tray Decor

Want to make your own giant faux cookie?  Here's how easy it is using salt dough and a vintage pan:


**********


Disclosure - This post may contain affiliate links.  If a purchase is made through an affiliate link then (at no additional cost to you) I will receive a commission.  You can read more about affiliate links here


**********


Fake Bake Tiered Tray Decor

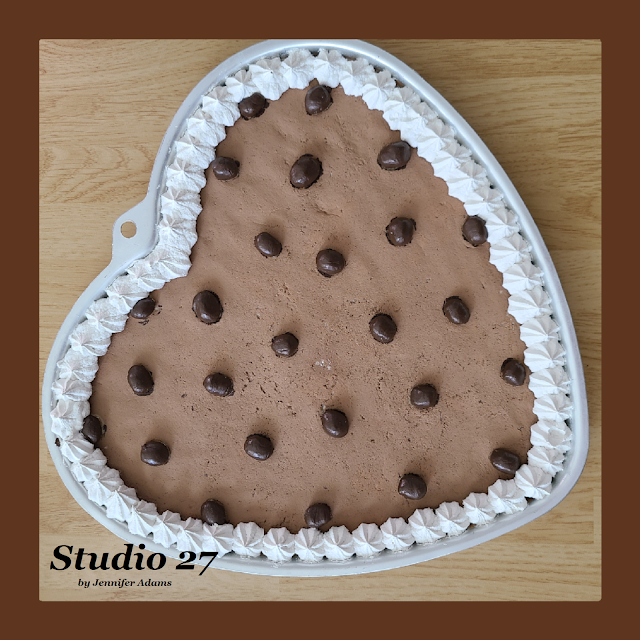
Here is the pan that I started with - a large heart shaped cookie sheet that I found at the thrift store for just a couple of dollars.


Fake Bake Tiered Tray Decor

Using salt dough I filled in the cookie sheet as evenly as possible and let dry.  

You can air dry for a couple of weeks (or so) or you can use your oven at 250 for a few hours to speed things up.  The important thing is to make sure that the dough is as thoroughly dry as possible.  As salt dough dries it shrinks. This will cause it to pull away from the pan and any other embellishments that you add and things can fall apart.  By drying first, if the dough does loosen from the pan, you can simply hot glue the underside back into place.

(This post will tell you all about salt dough)


Fake Bake Tiered Tray Decor

Using Crayola Air Dry Clay I made my chocolate chips.


Fake Bake Tiered Tray Decor

Just roll the clay into small lumps and let dry, then hot glue into place on your cookie. 


Fake Bake Tiered Tray Decor

I painted the surface of the cookie in Territorial Beige.


Fake Bake Tiered Tray Decor

And then painted the chocolate chips using Chocolate Sprinkle.  You could paint your cookie base and chocolate chips separately, then glue together if you wanted.  


Fake Bake Tiered Tray Decor

After the paint was dry, a bit of light weight spackle in an icing bag made an easy fake icing border.


Fake Bake Tiered Tray Decor

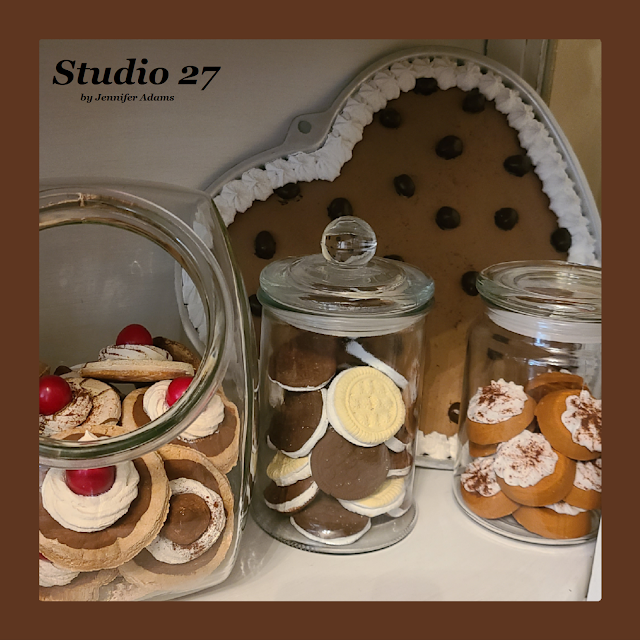
And there you have it, a giant faux cookie!

I keep this cookie in my fake bake cookie cabinet.  You can click here to see what else is in there.


Friday, January 19, 2024

Tiered Trays From Thrift Store Glass

DIY Tiered Tray

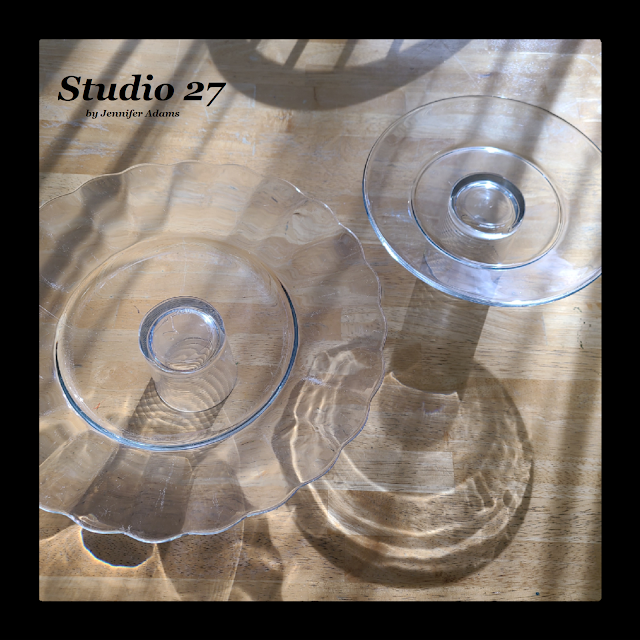
You all know how much I love to display my fake bake pieces (and other seasonal decor) using glass cake stands and tiered trays, right?  Well it didn't take long for me to use up everything I had on hand!  As an avid thrifter I was keeping my eye out for more, but getting impatient with the wait.  After seeing someone in a Facebook group mention the use of E600 for adhering glass together, I decided to follow suit and make some more on my own.  Here is how you can do the same:


**********


Disclosure - This post may contain affiliate links.  If a purchase is made through an affiliate link then (at no additional cost to you) I will receive a commission.  You can read more about affiliate links here


**********

DIY Tiered Tray

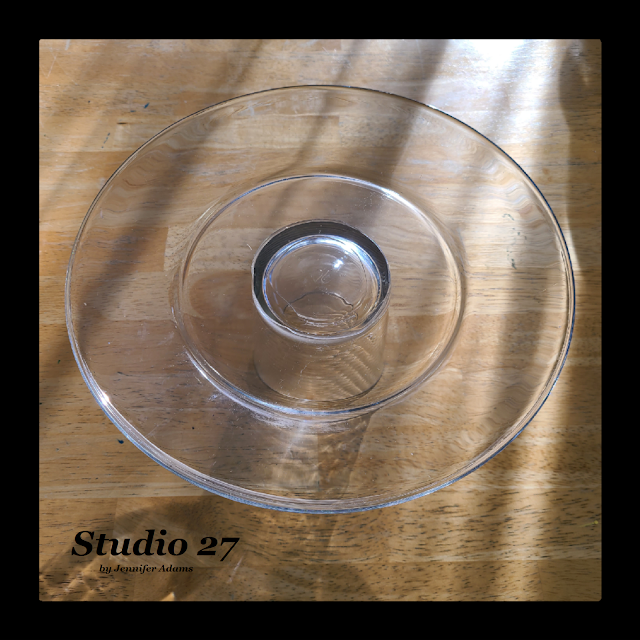
The supplies that you need for this project are E6000 industrial strength glue, plates and cups.  I chose to go with clear glass, but any pattern can be used.  You can also use plastic or other materials if you wish.  The important thing is that the bottoms of your plates and cups are flat, so that they can be glued together evenly.  I picked up my glassware at the thrift store, but you can certainly shop your favorite store or even your own cabinets if you like!  Just make sure that any drinkware you choose is sturdy enough to support the plate that it's going to hold.

Only have clear glass that you want to make colorful?  This post will show you how I've used spray paint to transform glass trays.


DIY Tiered Tray
DIY Tiered Tray

Starting with a glass turned over, I applied the glue evenly around the rim.


DIY Tiered Tray

Right after applying the glue I put the plate in place.  Press gently to make sure that the surfaces of the cup and plate are in full contact and make sure that you have them as centered as possible.


DIY Tiered Tray

The glue has a 24 hour drying time and 72 hours until fully cured.  Make sure that you work in a well ventilated place because it gives off some pretty strong fumes, and protect your work surface from any spills.  I wash my glued pieces by hand as I'm not sure how they would do in the dishwasher.


DIY Tiered Tray
DIY Tiered Tray

You can leave your pieces separate as cake stands, or glue two or more together to create a tiered tray.  I opted not to glue the separate cake stands together so that I can move them around as I wish.  And there you have it, easy to make cake stands and tiered trays.


I hope you enjoyed this how-to post, thanks for stopping by!
-Jennifer


**********

Do you like the convenience of crafting with instantly available digital downloads?
Check out this week's features from my Etsy shop:

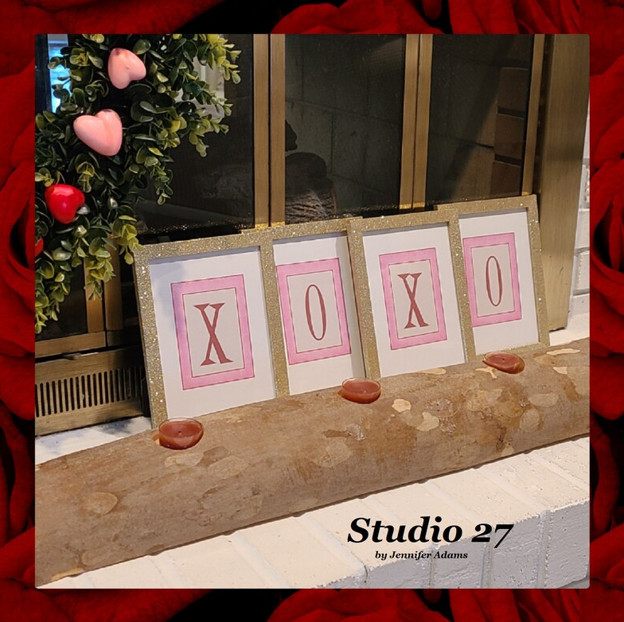
XOXO Pink Printable Valentine Decor

**********

Valentine Cricut Crafting


Friday, January 12, 2024

Baking Pan Makeover: Triple Layer Bundt

 Fake Bake Tiered Tray Decor

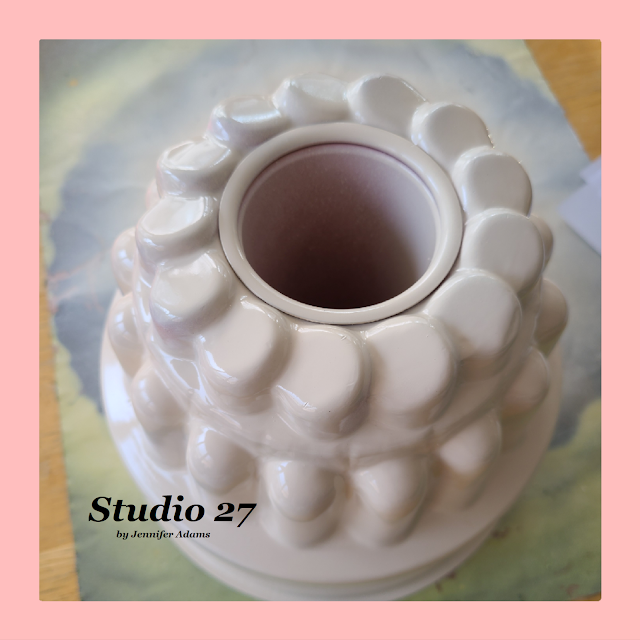
Today's fake bake layer Bundt was made from a vintage mold, check it out:


**********


Disclosure - This post may contain affiliate links.  If a purchase is made through an affiliate link then (at no additional cost to you) I will receive a commission.  You can read more about affiliate links here


**********


Fake Bake Tiered Tray Decor

Starting with a thrifted vintage mold that I found for a couple of dollars, I sprayed it with white paint.


Fake Bake Tiered Tray Decor

Once dry I went over it again using an off white color and a sponge brush, just to give it more texture.


Fake Bake Tiered Tray Decor

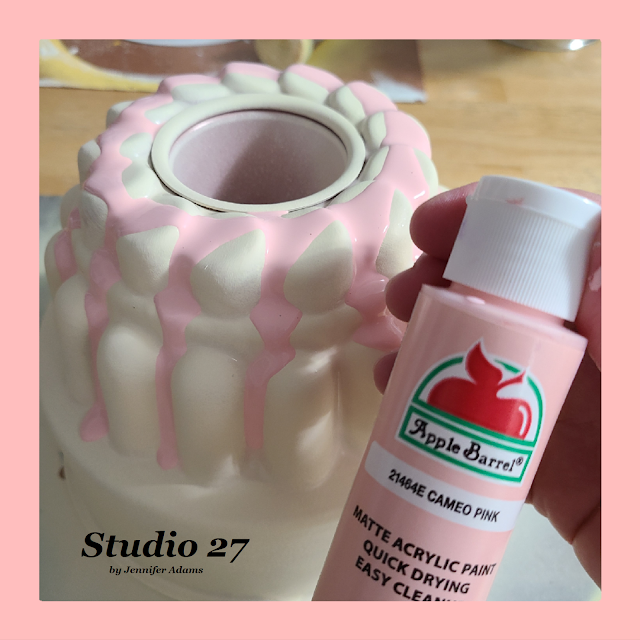
I then used Apple Barrel acrylic in Cameo Pink to add a drizzle of color from the top.

The cavity in the top of the mold can be filled with a bit of foam or you can cut a bit of poster board and glue it over the hole.  That will give you a nice surface to apply your icing/ topping.  Another round of something stronger (cardboard, foam board or even a plate) can be glued to the bottom.  I like to use one just a bit bigger than the mold itself so that I have a spot to pipe on the border icing.


Fake Bake Tiered Tray Decor

I used light weight spackle in an icing bag to pipe on the faux icing, and added fake cherries while it was still wet.

  You can see how covering the top of the mold and adding a circular bottom created nice spots to work with.  This post has pictures of these steps, so you can see exactly what I'm talking about.

And there you have it, a faux triple layer Bundt!


Friday, January 5, 2024

Fake Bake Birthday Decor

 Tiered Tray Fake Food


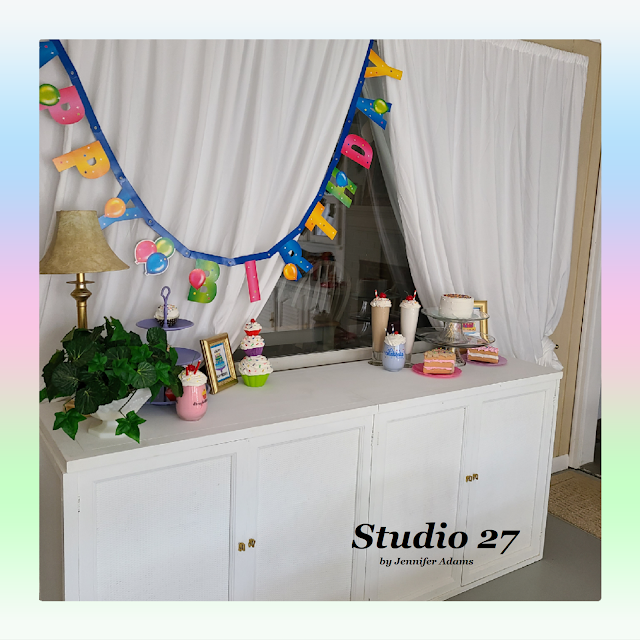
A couple times a year I like to pull out the birthday fake bakes for my kid's birthdays.  
Read on to see them all:


**********

Disclosure - This post may contain affiliate links.  If a purchase is made through an affiliate link then (at no additional cost to you) I will receive a commission.  You can read more about affiliate links here


**********


Tiered Tray Fake Food

Starting with the breakfast cabinet from left to right-


Fake Food Tiered Tray

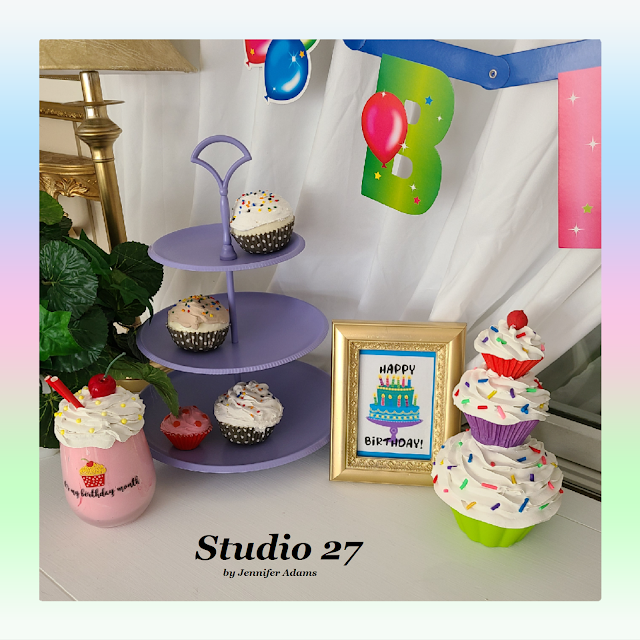
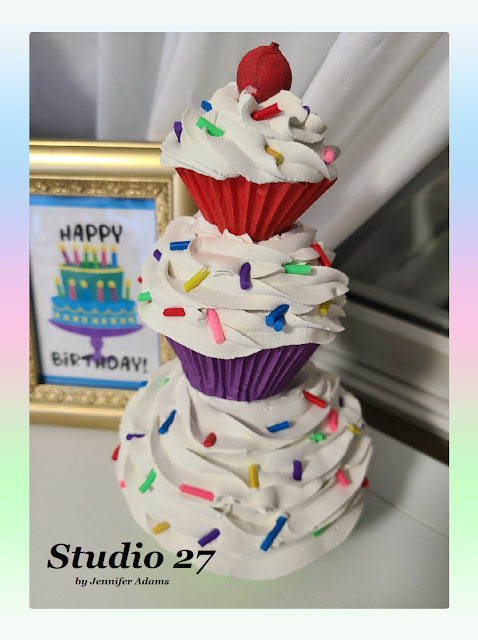
Don't you love the cupcake tower?  You can create the same by using this cupcake tutorial tutorial to make your cupcakes in graduated sizes.  Once the foam is dry use a wooden dowel (or toothpicks) to join the cupcakes together and secure in place with hot glue.  When your tower is the size that you would like, then add on the spackle icing and any embellishments.

The wedge cake slice is actually three pizza shaped chew toys from the pet section of Dollar TreeThis post will walk you through how I did it.

The layer cake printable is no longer available in my Etsy shop, but you can see the rest of my birthday selection here.


Fake Food Tiered Tray

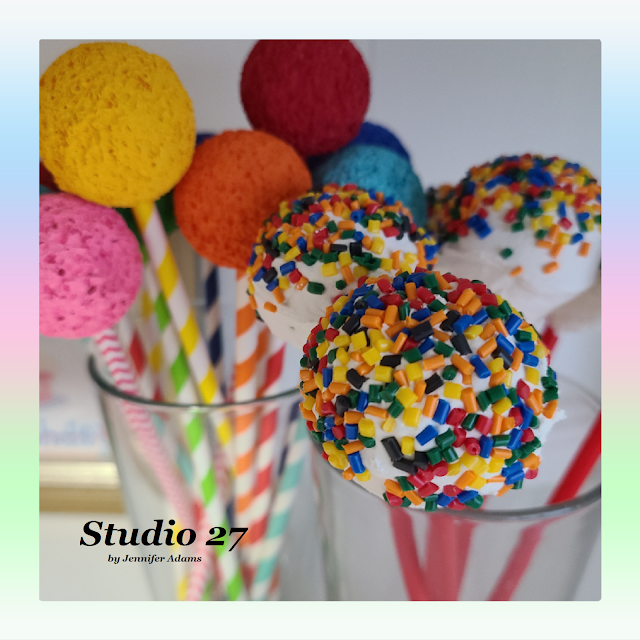
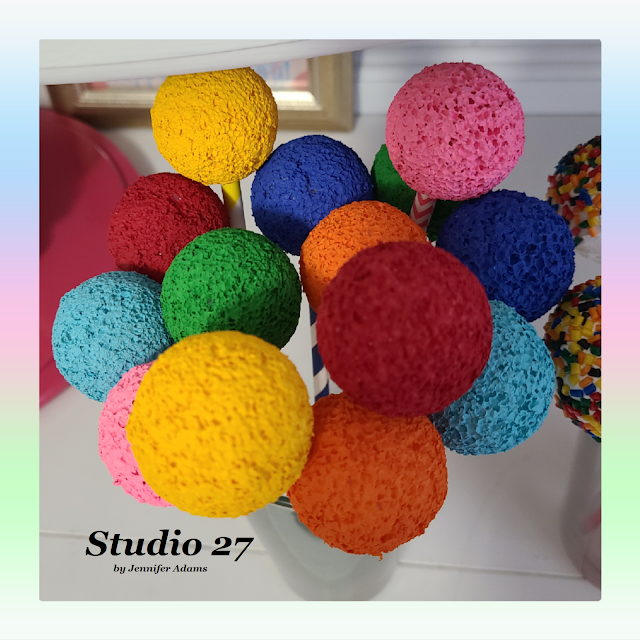
The cake pops were made like this.  Just skip the step where you trim the bottom of the foam ball and you can display them upright like those pictured here.


Fake Food Tiered Tray

More of the cupcake towers here, this time stacked two high.  The chocolate cake is foam rounds glued together and coated in spackle that was colored with acrylic paint.  The sprinkles on the towers are clay made with an extruder while the sprinkles on the cake are tiny beads.  The cake slice printable can be found here.


**********


Fake Food Tiered Tray

Over on the buffet is a bit more:


Fake Food Tiered Tray

The drink can be made like this (glass from Dollar Tree) and the birthday cake printable is available here.


Fake Food Tiered Tray

On the right of the buffet are more drinks, cake wedges and round cakes.  This birthday cake printable can be found here.


**********


Fake Food Tiered Tray


Lastly, the dresser:


Fake Food Tiered Tray

More cupcakes and drinks, but also some snow cones.  I'll share a tutorial for those in an upcoming post.  The hanging banners and small plastic plates are also Dollar Tree.  The larger colorful glass plates and tiered trays are those that I recolored like this.


Fake Food Tiered Tray

The make a wish printable is no longer available, but again, you can view the rest of my birthday items here .


Fake Food Tiered Tray

These close-ups show you the difference between sprinkles with the small beads being on top and the clay extruder ones on the bottom.  I actually took the small beads out of a seek-and-find toy, check out this post to see what I mean!


Fake Food Tiered Tray

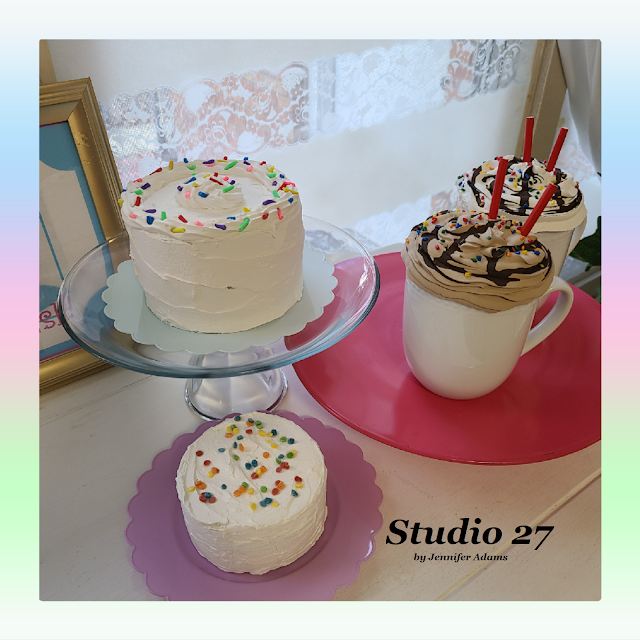
One last shot of some faux whipped drinks.
And there you have it, my birthday fake bake collection 😍


I hope you enjoyed this fake bake post, thanks for stopping by!
-Jennifer

© Studio 27 by Jennifer Adams 2024


**********

This post was added to the following link parties:


**********
Do you like the convenience of crafting with instantly available digital downloads?
Check out this week's features from my Etsy shop:


Fake Bake Tiered Tray Decor

**********
Birthday Gift Cricut Crafting SVG
Birthday SVG Bundle