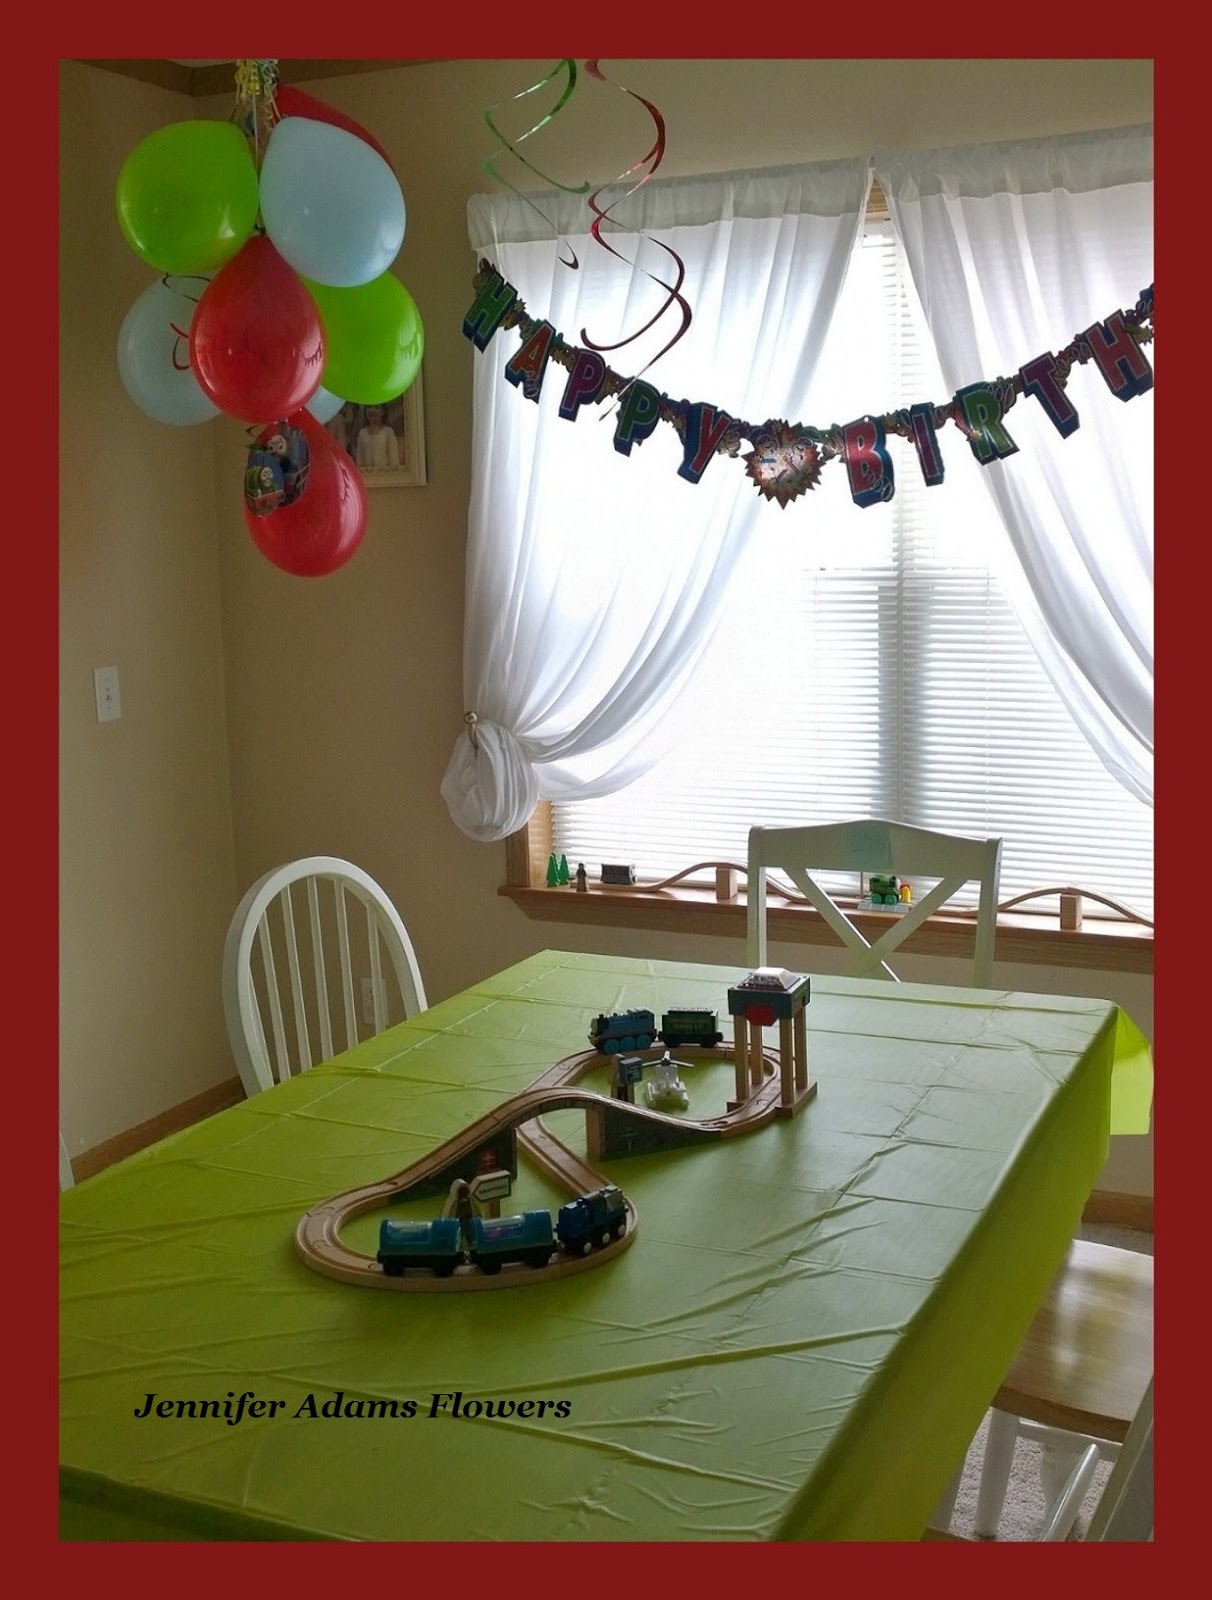
Come with me today and read all about how I made the
desserts for our Thomas the Train birthday party:
Train Cake Supplies & Pans
For the Thomas cake I used two boxes of white cake mix, two containers of blue icing, piping icing in black and red, Oreo cookies and one large marshmallow.
The pans I used were one standard sheet pan, a loaf pan, a mini loaf pan and two mini rounds. My large white platter would serve as the base of the cake.
Step 1
I used the largest cake (standard sheet pan) first and cut the cake in half to create two smaller rectangles.
Step 2
After applying a bit of icing to the large white platter, I placed on of the newly cut rectangles directly on top of the icing. The icing helps to anchor the cake in place and keep everything stable.
Step 3
I iced the top of the first rectangle and then added the second on top.
Step 4
Next I cut triangle shaped sections form one side of the cake to create a tapered end (this end will be the front of the train, aka the buffers) and then followed up with another layer of icing.
**Time out**
Ok, so I know that these photos look all nice, neat and perfectly pretty,
but you all can't see what's off camera!
This pic is just some of the mess that was created each time I would trim a section or ice a layer. It seemed like every step would cause a ton of crumbs and spilled icing all over my lovely white base!
Don't worry if your cake looks like a disaster in the middle of your work, just keep cleaning as you go and eventually everything should come together. I won't tell anybody if you mumble a few curse words here and there, sometimes that's the secret to getting through a task 😀😂😄
Tip: A dampened paper towel works wonders for catching every crumb or bit of misplaced icing 😉
Step 5
For this step I used the cake that was baked in the loaf pan. After trimming it down to the size I wanted, I placed it opposite the end of the cake that has the buffers. This part of the train will represent the rear of the engine where the conductor would be.
Step 6
Using the cake from the mini loaf pan, I trimmed again and added it perpendicular to rear section. Now we are building up the stack for the funnel.
Step 7
I ended up adding a smaller section (trimmed from the loaf pan cake) to the top of the back. This wasn't planned, I just thought the cake could use a little height.
I also added a marshmallow here, but just for the photo. I wanted better illustrate where the funnel of the train is going to be so that these photos would make a little more sense 😉 I'll show you in a minute how to permanently attach the funnel.
Step 8
Top: Again, this photo just helps to make sense of where we are going with all of these layers of rectangles! It's important to note though that the cake was starting to get a little wobbly. I decided to use a few straws to serve as dowels and help firm things up.
Last year, when I made the pirate ship cake, I used large pretzels for the dowel rods. It worked, but the pretzels did begin to soak up moisture from the cake and started to expand. The straws worked out much better, but you can click
here to read about my technique.
Step 9
This is where things began to get fun and I started to relax a bit!
Using the cans of piping icing, I first applied red to create the buffer and then used the black to highlight the base for the funnel and the top of the back.
When applying the icing, it goes on in a styled form (depending on the tip you use). I used the round tip to outline the section and then filled in with the wider tip. This looked really messy, but I smoothed it out with a butter knife.
This was my first time really using decorative icing tips so I kind of learned as I went. My Bubby came in and out while I was working and was very encouraging with his complements. I figured that as long as he was grinning with happiness, it was all good 😎
Step 10
Now for that funnel! I used a toothpick in the bottom of a large marshmallow to serve as a pick that I could anchor into the funnel stack. But before inserting it, I applied black icing and again used a butter knife to smooth it out.
Side Note: I've heard that adding a bit of water to your butter knife will make smoothing out icing even easier but I was to chicken to give it a go. If you have any experience with this, let me know!
Step 11
Now I wasn't planning on adding a face to this cake, because how in the world was I going to make that happen? But when Bubby commented that Thomas the train is supposed to have a face, my Baby Girl came up with a brilliant plan. She instructed me to use black icing on a slice of marshmallow and it worked! She's a creative genius 😍
Face in Place
I applied a bit of icing to the back of the marshmallow and
stuck it on the front. Bubby loved it!😁
Step 12
Using more of the piping icing, I added a few details here and there to
make the cake more Thomas-like.
Step 13
Lastly, a few Oreo cookies served as wheels.
Again, I used icing as adhesive to secure them in place.
Now on to the mini cake and cupcakes...
Mini Cake
Bubby's miniature cake was made from the same white mix as the train. I covered it in blue icing and topped it with an Oreo and a few M& Ms.
Cupcake Supplies
Our cupcakes were baked with a confetti cake mix (Wal-Mart's version of Funfetti) and iced with blue and green icing. I had a container of red as well, but after baking them in my red silicone liners, I decided that red on red would have been too much. For toppings I had M&Ms and sprinkles in red, yellow, green and blue.
Cupcakes
It seems like any time I make cupcakes, I develop my plan as I go along.
This time I ended up using a few Oreo's and blue candles to add fun and interest.
Tip: If you are visually picky like I am, turn your M&Ms upside down so that the logo isn't showing. Little details like this can make a big impact on your overall look 😉
**********
I hope you enjoyed this behind the scenes look into my party baking, thanks for stopping by!
-Jennifer
© Jennifer Adams Flowers 2018
**********
This post was added to the following link parties: