Saturday, July 28, 2018

Mermaid Birthday: The Invitations


August is nearing and that means my Baby Girl will be celebrating her 9th birthday very soon.
This year she chose a mermaid theme so we put together the following invitations:
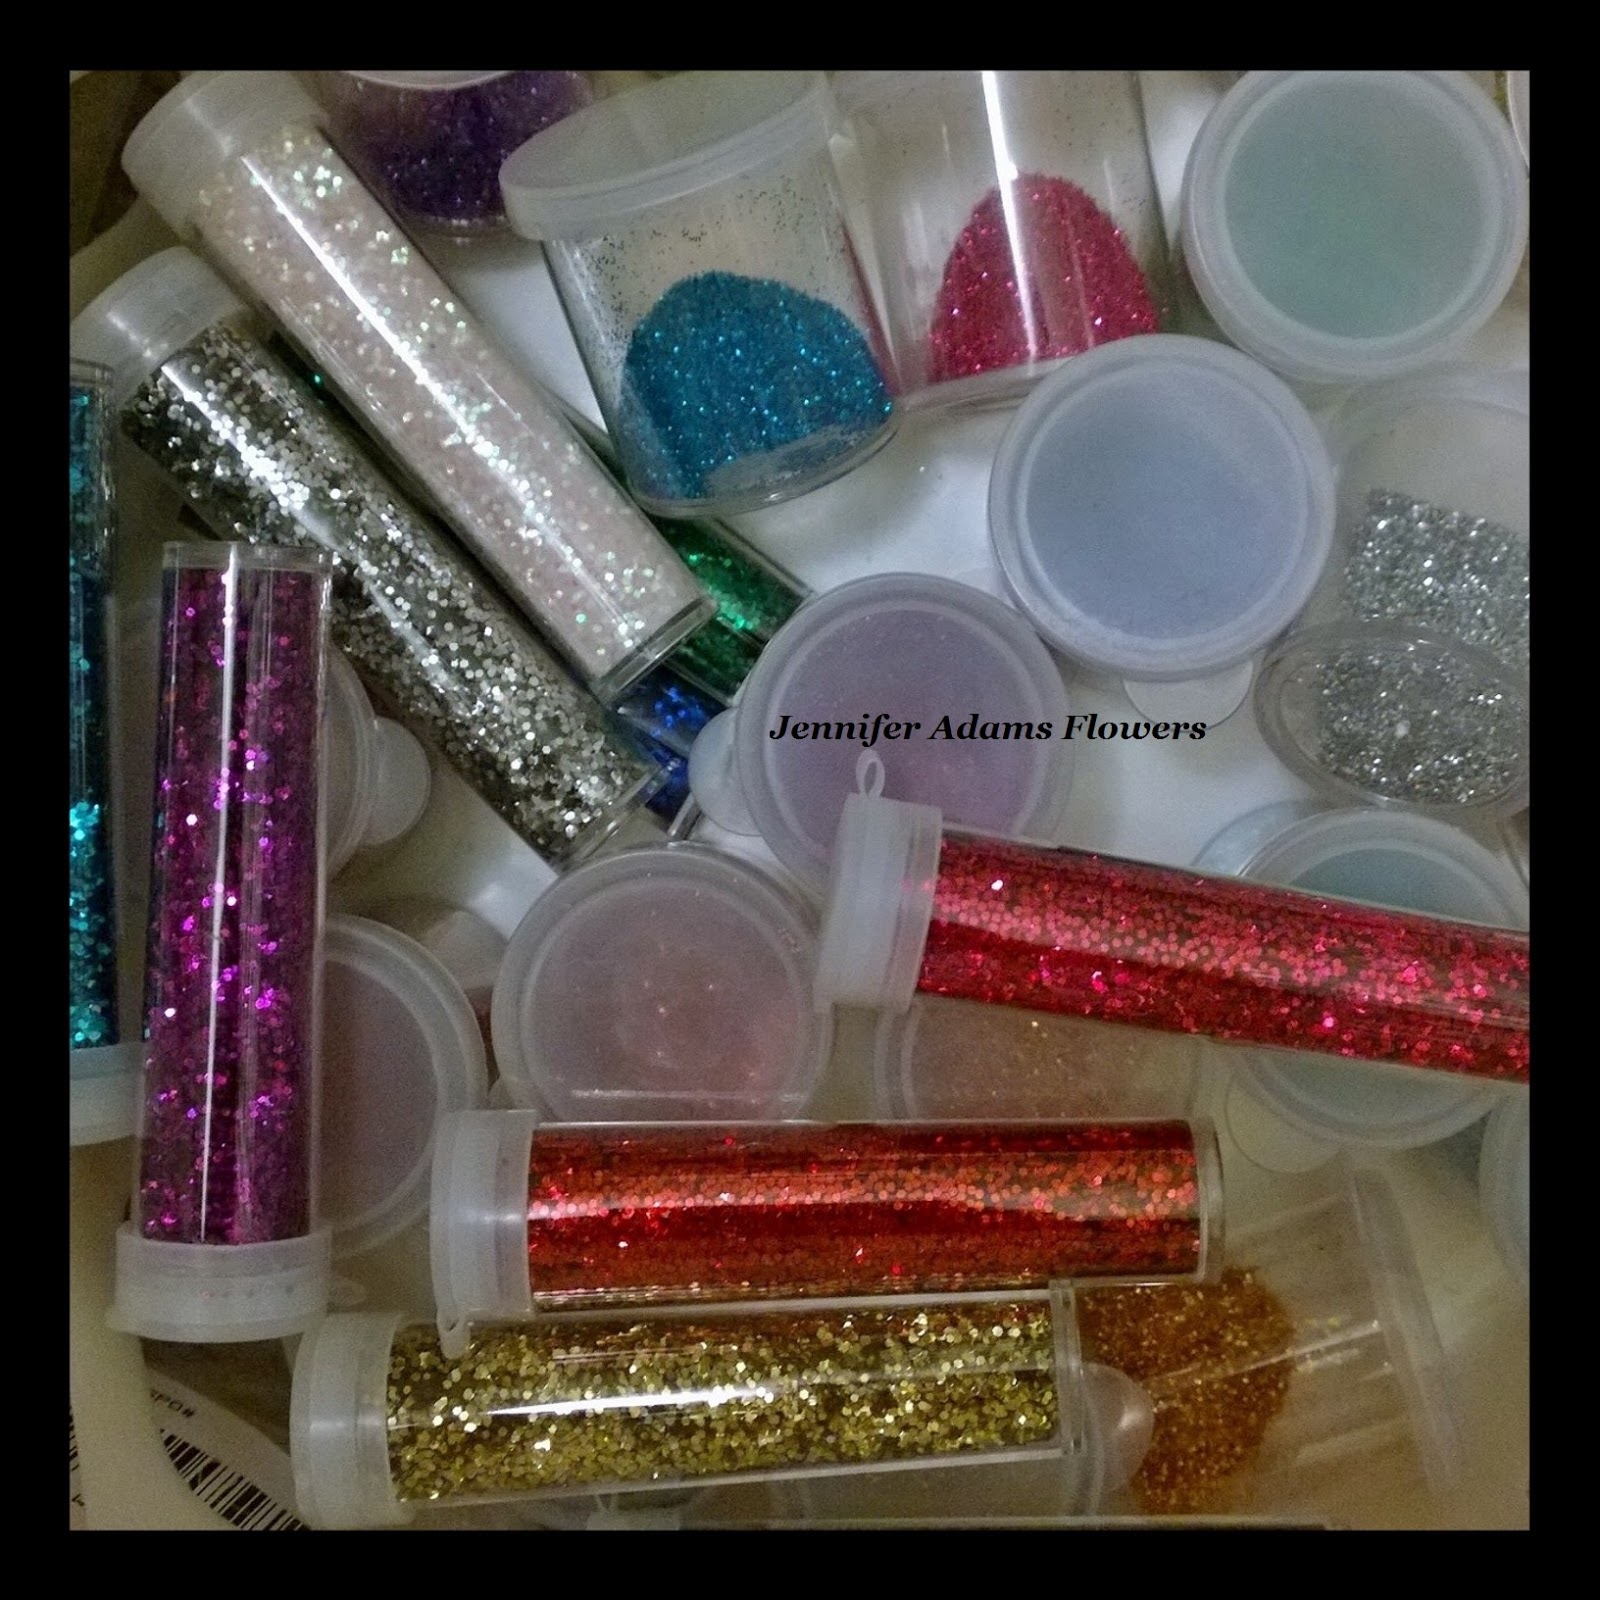


Supplies

After pulling paper and pre-cut fish shapes out of my scrapbooking supplies, the only thing we had to purchase were the seashell stickers.


Seashell Stickers

I wanted to give a close-up of these stickers because they were so pretty.
I found them at Goodwill for a total of 59 cents!  Not bad, not bad 😊


Mermaid Tail

Though the stickers were a great start, I knew I wanted a nice mermaid tail featured on the invitations as well.  I was going to sketch one out from scratch when I came across these fish cut-outs in my stash.  They were such a pretty color and I liked the nice, full fins so I figured, why not just cut the tails from here?  After sketching a 'body' I cut the tails and added a few ink details to the fins.  I left a bit of length on the body as it would end up being trimmed from the finished invitation anyway.


Cut Paper & Add Detail

I trimmed down the sheets of scrapbooking paper (some blue, some purple) into envelope size and then used a bit of the pink paper to add color to the corners.


Add Tail & Sticker

Next I added a tail to the top left corner (you can see how the excess paper was trimmed) and then a sticker to the top right corner.  Normally I add my stickers last, but since these were so larger I put one on before the text.


Add Text & Sticker

I then completed the invitations by adding the text and then layering a second sticker on top of that.

In case it's hard to read, here is the text:
-Splish Splash, it's a mermaid bash-
Join us for (child's name here) birthday party
(Date, time and location here)
*Lunch and dessert to be served*


And there you have it, easy to create invitations for a mermaid birthday party.

**********

I hope you enjoyed this how-to post, thanks for stopping by!
-Jennifer


© Jennifer Adams Flowers 2018


Saturday, July 21, 2018

Treasure Hunting & Thrifting - Summer Glassware 2018

Half of the treasure hunting season has passed without an update, so I'm going to fix that today with a few pretty glassware finds:


Milk Glass Lamp

I finally found a cute little lamp for the top of the refrigerator  (Goodwill, $5) and I love the soft glow that it provides in the evenings.

(You can click here to read more about my lamp obsession)


Milk Glass Dish & Bowl

Both thrift store finds and $2 apiece.  The dish will end probably up organizing small items in my crafting space and the bowl has been added to the rest of the mixing bowls in the kitchen.


Glass Cake Stand

I decided to pick this stand up even though it is without a dome - that's me 'branching out' and 'broadening my horizons' 😁  I found it treasure hunting for $5.


Free Vases

I'm telling you, it happens.  Every once in awhile I happen upon somebody so intent on purging their home that they are giving away things for free.  This was one of those times so I ended up with two more vases from a yard sale.


Black Milk Glass

Yay, yay, yay!  I finally found some colored milk glass!  This set of black plates and one dish were $7.  Not bad considering they are vintage Arcoroc from France 💗

You all know I love my milk glass.  While I have tons of white and two jadeite (beautiful green) pieces, I would like to expand my collection to include black, pink, red and blue.  I probably won't display all of the colors at one time though.  Maybe black with Halloween decor and red for Valentine's Day...or maybe just have the pieces on hand for various party themes...I'm not sure yet.

(You can click here to read more about my collection)

**********

I hope you enjoyed this treasure hunting and thrifting post, thanks for stopping by!

-Jennifer

© Jennifer Adams Flowers 2018

Sunday, July 15, 2018

My Life in Pictures: Fun With Supplies - Affiliate Post


You may remember this photo from last week's post about organizing a shared space.  Since I was already in the photo taking mood and had just completed the photos for the organizing post, I thought I'd go ahead and share some of my supplies as well....that's code for "I wanted another excuse to play with my collection" 😁😁😁

As you saw last week, currently everything lives within three stacks of bins.  The florals and greens are carefully nestled in piles, but the smaller items (beads, buttons, glitter, etc) are divided by color and stored within jars and plastic containers.

Eventually, when I have space for a crafting studio, I would like everything to be displayed prettily on shelves that line the room.  With that goal in mind I make sure that all of my storage pieces are similar in style and pleasing to the eye, so that when shelving is available everything is organized and ready to go.

The white lidded glass jars and small storage containers (beads & glitter) can be found at Dollar Tree for $1 each.  The larger storage containers (sequins) can be purchased at various craft supply stores for around $5, but I've been finding mine treasure hunting and at Goodwill for $2.  Seriously, every time I find one it's $2 and usually filled with random odds and ends 😎  But enough with that, read on to see some of my current supply collection:


**********


Disclosure- This post contains affiliate links.  If a purchase is made through an affiliate link then (at no additional cost to you) I will receive a commission.  Affiliate links are noted below.

You can click the affiliate link to shop Dollar Tree online now

**********


Buttons

This is just a small portion of my button collection.  In truth, I haven't really used buttons for anything yet, but I have a hard time passing them up when I see them 😃


Glitter

You can't go wrong with a nice supply of glitter in various colors 😉

Tip:  Look in the nail polish section of Dollar Tree to find a greater selection of glitter colors and textures.  All of the glitter shown in the top photo was found in that section.


Beads

This particular set of beads came already sorted into individual containers, but the rest of my beads are organized (by color) into divided plastic boxes.

You can click here to read more about my bead sorting


Seashells

Every craft room should have a nice supply of seashells, mine are in one of those white lidded jars.


Sequins

I just began my sequin collection, so for now they all live within one divided box (similar to my bead storage), but I can see them multiplying nicely in the future 😉


Faux Gemstones

These items are large enough that I have them stored into separate jars as well.  I keep thinking that I'll make those golden gemstone brackets into some hair accessories for my Baby Girl, but I haven't gotten there yet.

**********

And that's a little bit from my supply collection.  I hope you enjoyed this photo post, thanks for stopping by!

-Jennifer

© Jennifer Adams Flowers 2018

Saturday, July 7, 2018

Make it Work: Organizing a Shared Space


An Old Photo

It's been about five years now since I started creating and selling wedding florals as a way to earn income as a stay-at-home mom.  What began with one small bin of supplies (and a dream) has grown into many bins full of supplies as well as boxes and boxes of finished orders....and the need to find a way in which to store it all!

Which brings me to the photo you see above.  I haven't shown a great deal of my closet room here on the design blog, but when I do, the photos are carefully constructed convey the best overall look.  What I'm trying to say is that what looks like a room completely devoted to clothing storage and getting dressed has become filled with all the necessary items of running a business.  Since I don't currently have a separately defined space to store supplies or work, I've had to resort to stacks and stacks of plastic bins to keep everything organized.  But that's ok and I'm sharing these photos today for two reasons:  One, you can absolutely do a lot in a little space if you organize it well and two, the space can still look great  so long as everything is neat and tidy 😉


(You can click here if you want to read more about the lamp featured in this photo)


Reality

Here is how the closet room actually looks, with stacks of bins tucked in behind the island.  It hasn't taken away from the closet part of the room too much, other than the fact that I can no longer completely walk around the island.  Getting to supplies however is another matter altogether, and takes a bit of juggling 😃


Tower 1

Here we have the first stack.   Starting at the top there is a bin for current projects, bouquet holders, tulle & ribbon and lastly, a bin of business related supplies (the office stuff).  

I recommend bins that are clear as it helps to more quickly identify the items inside.  I still label them however, as you can't always see everything without opening the lid.  I also recommend using bins that match the overall decor of the space that they are being stored in.  For me, that's nice and clean white lids but any color will do.  I will say though, that limiting the range of colors to one or two will minimize the likelihood of things looking overly busy or cluttered.  I prefer simple, so white and clear it is 😊


Side Note:  Can you see Sir Lancelot in the corner there?  Click here if you want to know more about him.


Shuffle, shuffle!

In order to get to the second tower of bins, the first tower gets shoved across the room over by the door.  This happens any time that I need to work (or play 😁).  Once things have been moved all around however, I'm left without any workspace.  For this reason I usually end up working at the dining table or on the living room floor, which isn't all bad - it's a lot easier to keep up with the kids when I'm not shut away.


Tower 2

With the first tower out of the way, I can reach the second.  This stack contains general craft supplies in the top bin, beads, buttons and jewelry making tools in the second and photography supplies at the bottom.  There are two mini bins that usually sit on top of this stack but didn't get pictured.  One of them contains wedding tools (glue gun, glue, wire cutters, floral tape, etc) and the other is my shipping box (tissue paper, tape, tape measure, business cards, etc)


Tower 3

For the third tower, I don't need to move anything around.  Instead I just walk around to the other side of the island.  This stack is organized by season with each bin containing florals that correspond to a different time of year.  The very bottom bin is full of greens.

Side Note:  This closet room has an actual walk-in closet as well.  For me, that's where all of the boxes of completed wedding sets wait until they are ready to ship out.  If you are someone who ends up selling online, I recommend packing every item immediately once it's ready and storing them away in a closed off room or closet.  Our home is free of pets and smoke, but there is always the risk of cooking odors penetrating finished goods.  Sealing your merchandise in plastic bags, boxing them up and keeping the boxes in a closed room will keep everything fresh and protected.


Playtime!

Now that things are all moved about and out of the way I can play with my toys 😆

**********

And that's how easy it is to organize a space for more than one purpose.  I hope you enjoyed this how to post, thanks for stopping by!

-Jennifer

© Jennifer Adams Flowers 2018