Friday, April 28, 2023

Cake Pan Upcycle - Pink Strawberry Layer

 Fake Food

Hello my friends!  I'm posting today with another cake pan upcycle.
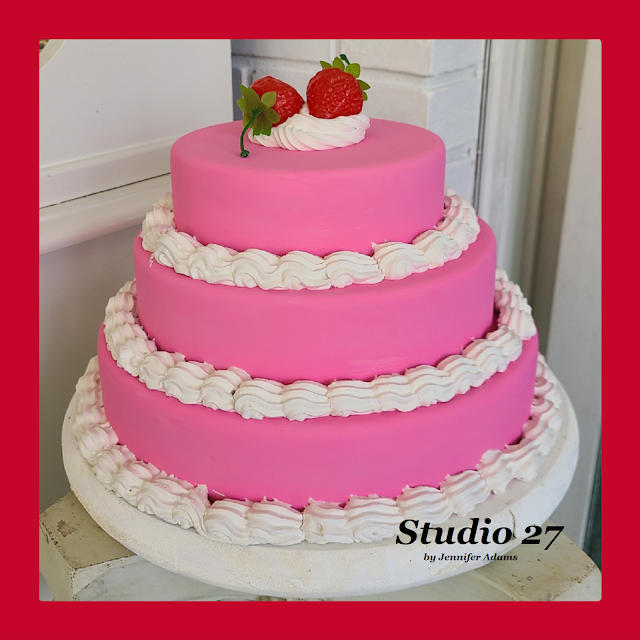
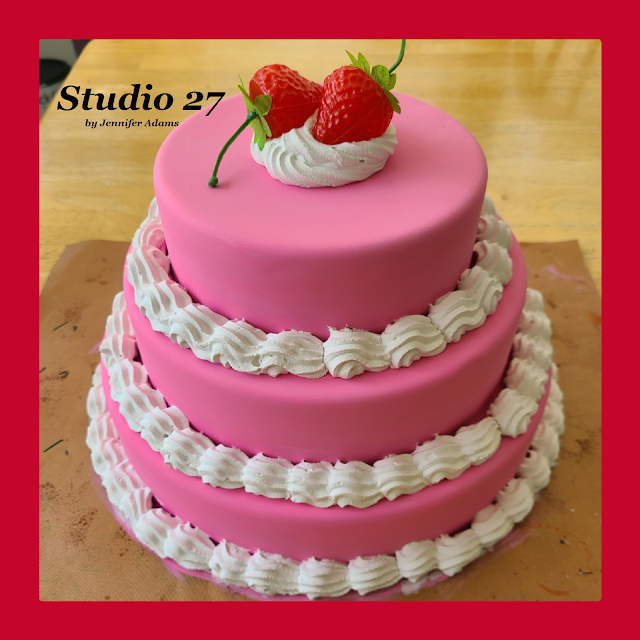
While I have done a lot of fake cakes using foam, sometimes I like the simplicity of using an actual cake pan as my base.  Read on to see how a set of three rounds became this faux strawberry layer cake:


**********


Disclosure - This post may contain affiliate links.  If a purchase is made through an affiliate link then (at no additional cost to you) I will receive a commission.  You can read more about affiliate links here


**********


Fake Food
Fake Food

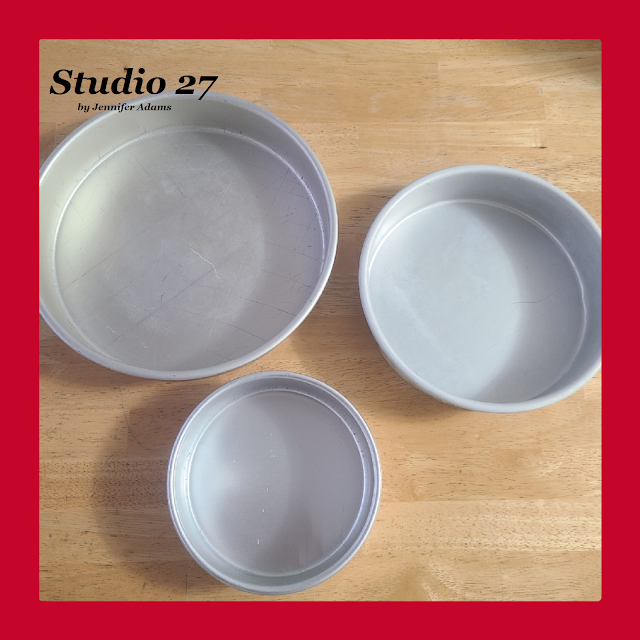
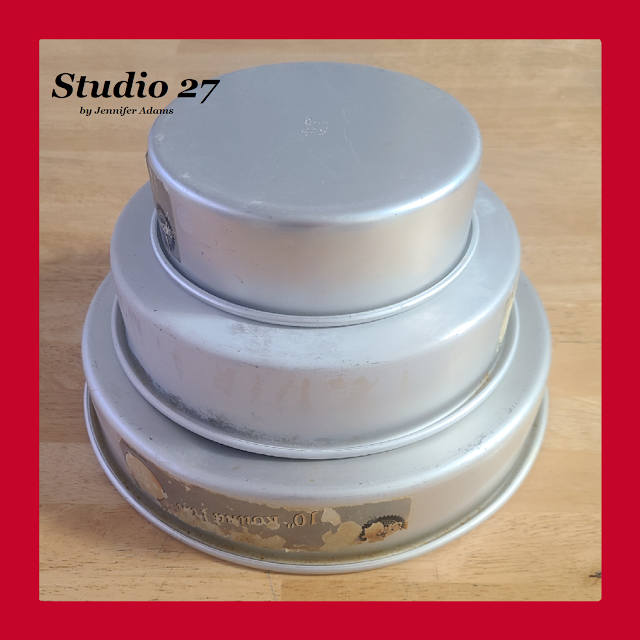
After finding this set of pans for $1 garage sale, I cleaned them and glued them together.  Because the old stickers were flat, I didn't worry about completely removing them.  I knew that I could cover them up with paint.


Fake Food

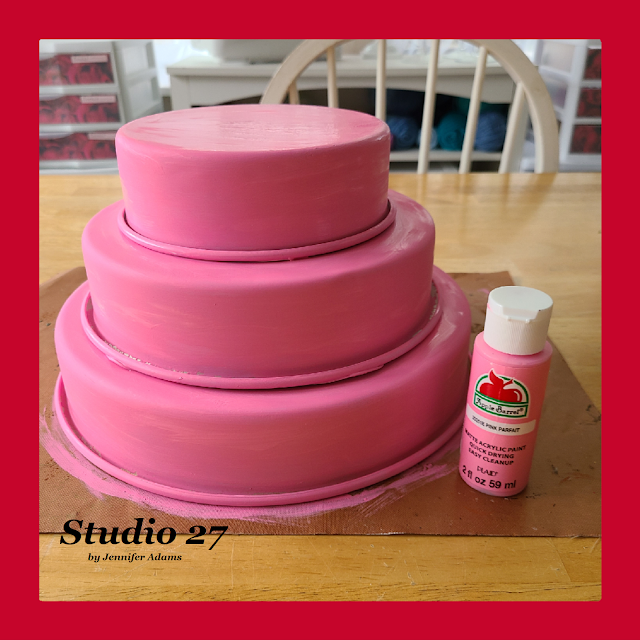
Using Apple Barrell in pink parfait, I gave the pans a couple of coats and let dry.


Fake Food

After painting I used lightweight spackle (in an icing bag) to add decorative borders to the sides and a dollop on top.  These artificial strawberries from Amazon made the perfect topping!


Fake Food

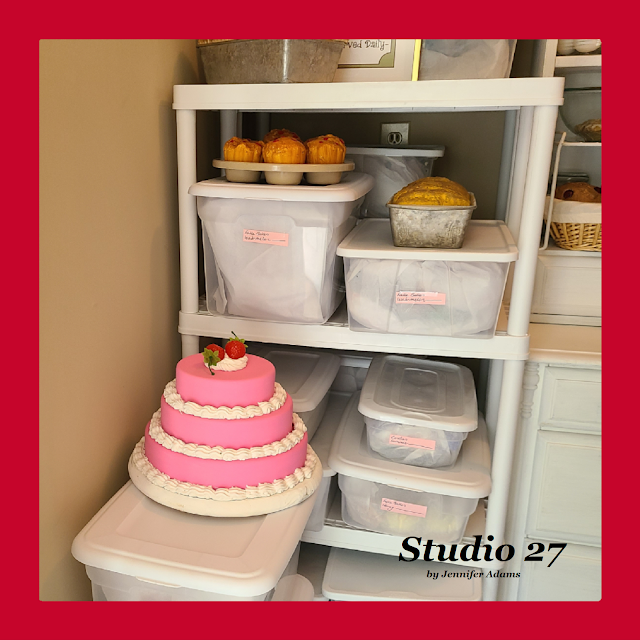
I'm working on adding more decor to the storage closet that I call my bakery.  Mostly this area serves to store my off-season fake bakes, but I want it to be a pretty place to visit as well.  Over time I've been adding more pieces, now including this strawberry layer cake!

If you want to see the rest of the bakery storage and decor, click  here.  The post is mostly dedicated to storage and organization, but it does give a good view of the bakery shelf.  I'll create an updated post soon.  Until then, you can check out these posts to see the rest of my faux food displays:


Fake Food

Didn't the turn faux layer cake turn out nicely?  

I have a couple more mold/ pan upcycle posts that you can check out:
Jello mold strawberry chocolate  here
Bundt pan lemon here

**********



**********

I hope you enjoyed this how-to post, thanks for stopping by!
-Jennifer


Friday, April 21, 2023

Faux Food Storage & Display: Chocolates

Home Decor

Hello my friends!  Today I'm sharing my collection of fake bake chocolates, check it out-


**********
In case you missed any of my previous faux food storage and display posts:


Now on to my chocolates:


Home Decor
Home Decor

In the center of my craft studio is a large table with a couple of faux treats; mini heart shaped cakes and a chocolate strawberry round cake.  The mini cakes I made myself using plaster, acrylic paint and a bit of puffy paint on top. I couldn't find this mold currently for sale brand new, but I did find this Ebay listing.

The large cake came from Hobby Lobby a long time ago.  It's foam covered in paint and silicone caulk, and in some places the caulking is peeling up!  Hobby Lobby doesn't currently offer this item on their website, but I did find another Ebay listing!


Home Decor

One end of the craft room features a wall of shelving, scroll on for close-ups and details:


Home Decor
Left Shelf


Home Decor
Home Decor
Home Decor

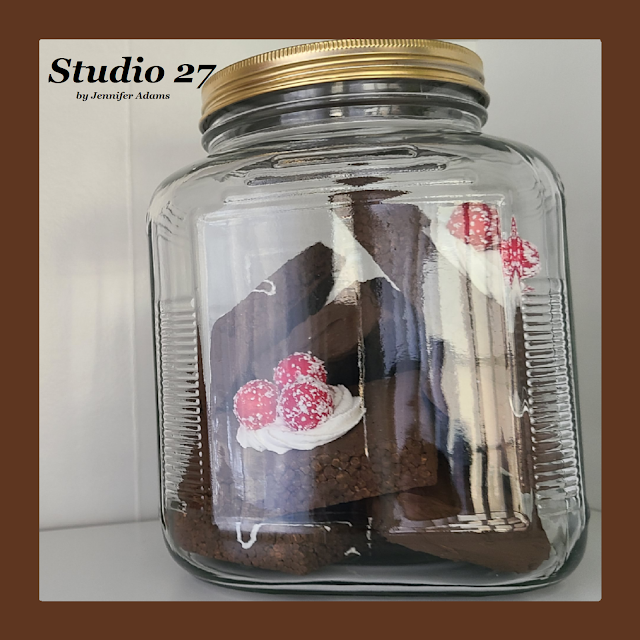
The brownies are foam squares that I cut out from leftover packaging.  I painted them with acrylic, applied light weight spackle on top and stuck in faux berries while the spackle was still wet.

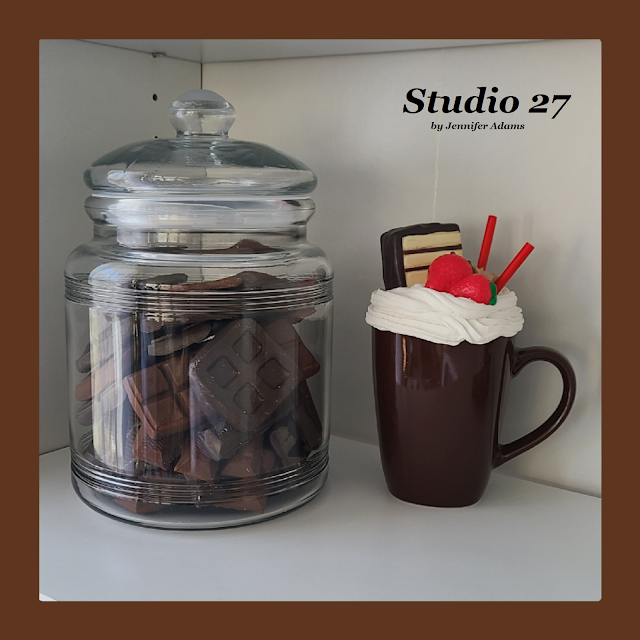
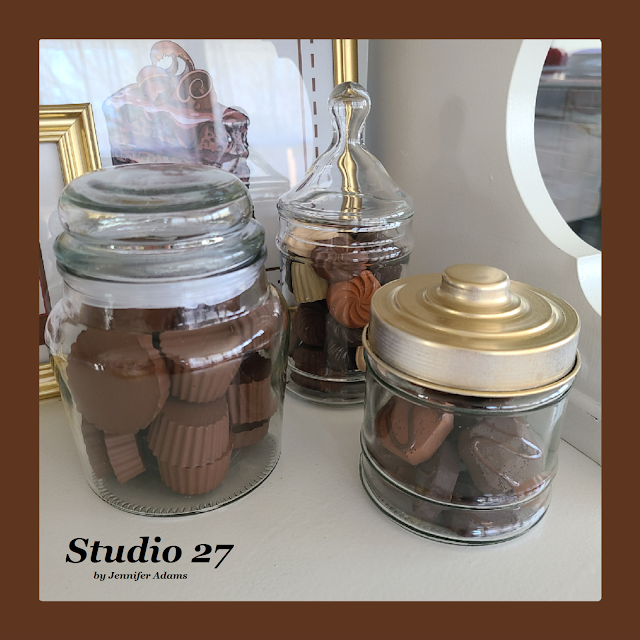
The chocolates in the large jar were made using clay in this chocolate bar mold, this break apart chocolate mold and molds that I made myself using silicone putty.  You can read my full silicone putty tutorial here.  All were painted in various shades of acrylic paint.

This tutorial will show you exactly how you can make your own cocoa mug.  The one pictured here is topped with kids plastic food toys and a couple of paper straws.

The large chocolate bars were made in this mold, again painted in acrylic.  I made these (and the ones in the large jar) with clay before I started experimenting with plaster, so you can see that sometimes they come out looking a little 'wobbly' 😆

I can't remember exactly what mold I used for my tiny chocolates, but here is a similar molds set.


Home Decor
Middle Shelf


Home Decor
Home Decor

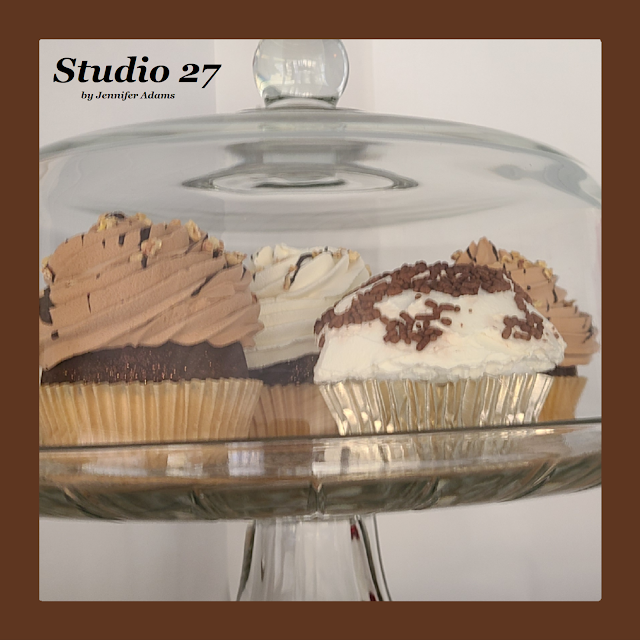
The mini cupcakes I made just like in this tutorial and the confections printable can be purchased  here.

The little cake balls in the golden wrappers are just foam rounds cut in half and painted in acrylic.  

The tall skinny jar is full of  plaster pieces that I made using a square mold like this one and a water bottle ice cube mold like this one.

I know that the Beauty and the Beast rose isn't a fake bake, but in case you are interested, you can see how I made it this 😍


Home Decor
Right Shelf


Home Decor
Home Decor
Home Decor

The large cupcakes and chocolate covered strawberries are from Dezicakes and can be found in their Ebay storefront.

You can purchase the Let's Have Chocolate printable here.

The strawberry brownies were made in the same way as the berry topped brownies from the left shelf, I just added faux strawberries instead of round berries.

The small chocolates I made with hot glue and I have a full tutorial here.

This post is focused on my chocolate collection, but you can see a couple of white cakes in the photos as well.  Those are foam rounds covered in light weight spackle and topped with fabric flowers.


Home Decor
Curio Cabinet Surface


Home Decor
Home Decor
Home Decor
Home Decor

All of the cupcakes in this area are also from the Dezicakes store.  

The Ganache printable can be found here and the Save Room For Desserts printable here.  

The chocolate cup candies were made with plaster in this mold and the rest were made using various molds already pictured or that I made myself with silicone putty.

**********

And that wraps up the craft studio collection of chocolate fake bakes! 

If you are interested in seeing the rest of the craft area, how it's decorated or how my supplies are organized, you can check out these links:


-Jennifer


Friday, April 14, 2023

New House Makeover: Front Room

 Home Decor

Continuing on with my new house makeover series, here is the front room:


**********


Disclosure - This post may contain affiliate links.  If a purchase is made through an affiliate link then (at no additional cost to you) I will receive a commission.  You can read more about affiliate links here

**********

If you have missed any of the other new house room tours, you can check out these links:


**********
Now on to that front room:

Home Decor
Home Decor

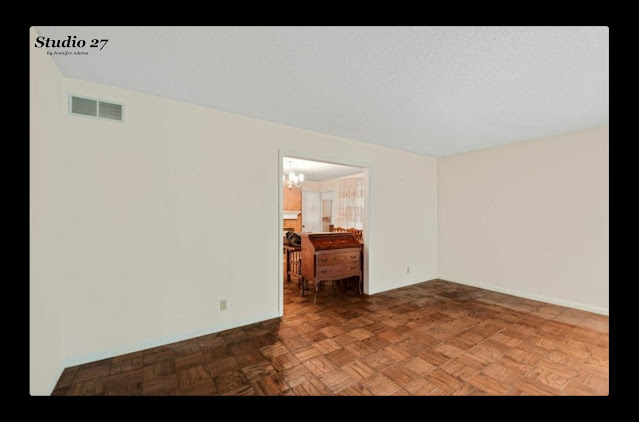
Here is how the front room looked in the listing photos.  I scrubbed and refinished the floors, painted the walls beige and the trim in white.  I also added a couple of storage furniture pieces:


Home Decor
Home Decor

This cabinet I thrifted for $29.99 and repainted in white.  It holds my collection of cake stands, tiered trays and cake plates.  The deer on this wall is Mr. Hollingsworth 😆


Home Decor
Home Decor

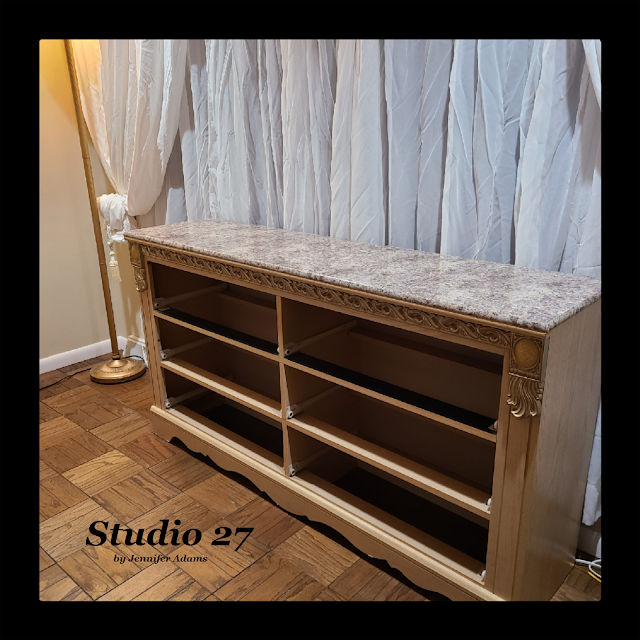
The dresser was a bit higher priced at $49.99, but still a great bargain at the thrift store.  Originally I had it placed behind where the couch goes but then I moved it to get the TV up off the floor.


Home Decor

Inside this dresser is where I store my vintage collection of Sweet Valley Twins, Sweet Valley High and Sweet Valley University novels.  Not only is there enough room for all, but I can arrange them in chronological order.  It's the little things that make me so happy 😍


Home Decor

So here is how things are arranged on that side of the room as of now.  It looks kind of cramped in this photo because there are still boxes behind the couch and in reality, it looks like this:


Home Decor
!!!!

What you are looking at here is my collection of holiday, seasonal and garden decor items.  I have a couple of outdoor sheds that everything will be stored in eventually, but they are yet to be put together.   Once everything that doesn't belong here is cleared out I'll play around a bit more with the furniture placement and add accessories.  For now though, it's my organized mess 😁


Home Decor


The opposite side of the room is my desk area.  I use a TV as a monitor because I like having a big screen for creating my digital products and the smaller PC is where I game.  The main 'desk' is a kitchen table while the nearby surface is a buffet that I refinished.  You can read more about the buffet here and the refinished chair here.  

The gallery wall is a collection of photos and blueprints from my Husband's job as a Pipefitter/Welder for the UA.  You can only see a bit from this picture - there's so much stuff in the room that I can't get back far enough for a proper photo!

**********

And that is my front room so far.