Saturday, November 28, 2015

Don't Eat the Cookies!

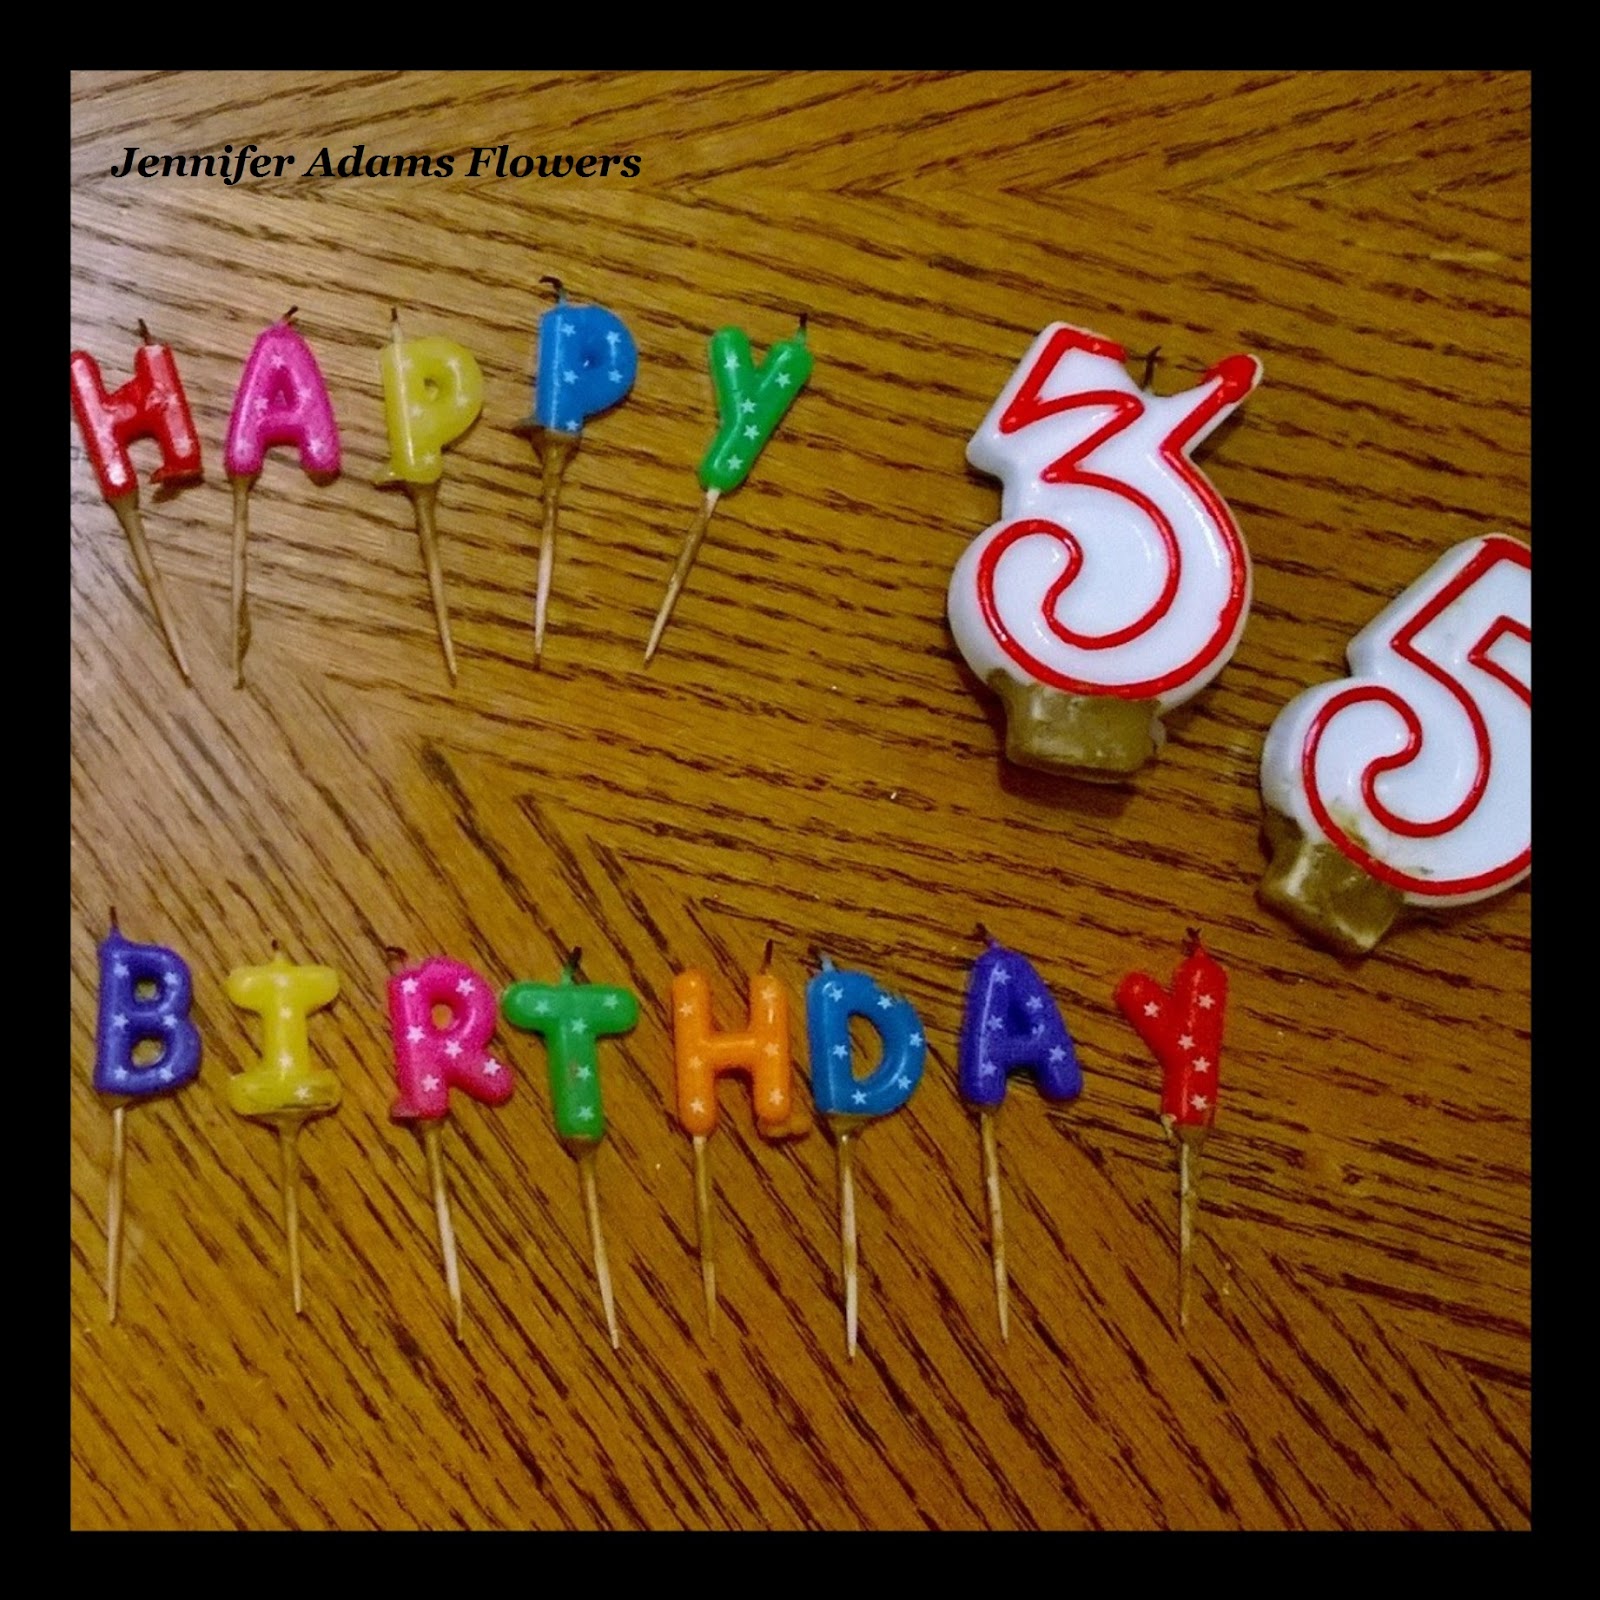
Remember the artificial cookies that I mentioned in my last post?  I picked them out as part of my birthday gift after finding them on eBay.  I love how they look in the kitchen with the rest of my baking decor, check out these photos!

(Afterward, you can visit the Sue at the Oodlekadoodle store to find all sorts of cute decoratives for your own home.  Link to the Oodlekadoodle store is at the end of this post)


New Goodies

I love adding to my baking themed collection!
(You can click here to see the rest of my baking cabinet decor)


Peanut Butter


Molasses


Oatmeal Rasin


One Last Look

The peanut butter cookies I displayed by using one of my small glass cake stands.  The remaining cookies I tucked into a couple of Bath & Body Works candle jars.  I love the clean, simple look and the way they fit right into the rest of my style and decor.

I'm mentioning this because the way they are advertised at the Oodlekadoodle store is in more of a rustic, country/ primitive style- fantastically done, just not my personal taste.   Don't ever be afraid to use or purchase a decorative  item because of the way it's currently being styled, just put your own spin on it. Many decor items can blend seamlessly in to multitude of styles, give it a shot!

I hope you enjoyed my new cookies, thanks for stopping by!
And don't forget to visit Sue's eBay store by clicking here

(This is a non-sponsored post, I just love the cookies that much!)

-Jennifer

© Jennifer Adams Flowers 2015

Tuesday, November 24, 2015

Currently....(November 2015)

Here is a little bit of what's been going on with me lately...


 More Birthday

Husby, the kids and I celebrated a little bit more on Saturday with this yummy ice cream pie.


 Lots of Baking

Thanksgiving for my side of the family will be at our house again this year.  That means that Baby Girl and I spent about three hours baking together this past Sunday!  It was nice to have the quality time together, for which I am thankful.  I am also thankful for extra freezer space so all of these goodies can stay nice and fresh ;)


 Ice Cube Experiments

I found this pumpkin shaped ice cube tray when I was getting out my loaf pans (I bought it at Dollar Tree intending to use it for Halloween and then forgot about it!)  I decided to mix up some food coloring and see how a few 'pumpkins' would look in the ice bowl (I have my extra ice ready to go for our holiday feast on Thursday).  So far it looks pretty cute, but I have a feeling they might quickly turn into an orange, melt-y mess.......:D


 Gathering & Labeling

This is a photo of my dining room table, full of dishes to be used.  How do I pull off any party?  By breaking all of the tasks into separate days.  This is most important for Thanksgiving when such a large meal is involved.  I don't have the time (or the sanity) to create a feast in one day.

My other trick?  Write everything on post-it notes.  Not only do I know which plate/ bowl/ platter is intended for what, but I also have a note for each side dish containing the cooking information.  All I have to do on Thursday is pull each prepped dish out of the fridge and either cook or reheat.

And the best secret of them all???  Have your Dad cook and bring the turkey :D :D :D

In case you are curious, here is my holiday prep breakdown by day:
Sunday - Baking and freezing (remember to wrap it tight!)
Monday - Cleaning and gathering/ labeling.
Tuesday - Casserole prep/ make post-it instructions for the cooking of each prepped dish.
Wednesday - Decorate, set tables and visit Husby's family
Thursday - Pull out the pre-made desserts, prepped casserole sides and cook/ heat where needed.


Important Information

 When you live with a quirky collector like me, this is the kind of message that has to be relayed from time to time.  As part of my birthday gift, I got a dozen very realistic looking prop cookies for the kitchen.

Now, would Husby actually pick one up and take a bite?  No - they are hard and obviously not edible, but from across the kitchen they look really yummy!  I thought I would save him from disappointment and shoot him a little text before he came in :D

I'll be back later this week with a post all about my new cookies.  Until then, enjoy the holiday and thanks for stopping by!

-Jennifer

© Jennifer Adams Flowers 2015

Friday, November 20, 2015

My Life in Pictures: Birthday Fun!

It's birthday week for me and I've been having a great time!

I started off my celebration by having a lunch date with my Grandma, Mom and the Little Man.  After we finished eating, Mamaw (my Mom) took the Little Man back to her house so that my Grandma and I could do some shopping....where I ended up purchasing another Christmas tree!  This one is small at three feet and will be going in the kids room - post coming soon!

Yesterday the Little Man and I met up with Husby for another lunch date before heading to my parents house for a birthday dinner.  Check out the photos below:


 Candles!

 Baby Girl had a lot of fun helping Mamaw put these birthday candles on my cake and she didn't even need help with the spelling ;)


 Ariel Bag

The gifts that my parents purchased for me came wrapped up in this reusable Ariel tote!  Yay!


 Ariel Puzzle

One of the gifts included in the bag was this 3D Ariel puzzle.  After Baby Girl, Mamaw and I put it together, Baby Girl decided that she should keep it in her room.  Ok, fine, but I'm keeping my Ariel bag!!! :D

Tomorrow Husby and I have plans for a date day including dinner, a movie and a little more ice cream.  After that I'm going to be finishing up the weekend by starting on my Thanksgiving baking!

I hope you enjoyed this birthday post, thanks for stopping by!

-Jennifer

© Jennifer Adams Flowers 2015

Wednesday, November 18, 2015

Baby Girl's Memory Quilt

It has occurred to me that while I have shared numerous posts mentioning my holiday memory quilts, I've never shared the one I made for Baby Girl!

These 'cheat quilts' are something that I found on Pinterest when I was looking for a way to re-purpose a pile of Baby Girl's blankets and clothing.  Basically all you do is take an existing comforter and sew your patches right on top.  You can hem your patches first to keep them smooth and straight, or leave them raw to fray over time.

I'm still in the process of gathering outgrown clothing for the Little Man's memory quilt but today you can take a look at Baby Girl's.  Enjoy!


If you look closely you can see that bibs, blankets, jammies and even her newborn hat made it onto the quilt.  I tried to keep buttons and pockets intact whenever possible, and placed smaller patched onto larger sections to create more visual interest.

How did I choose what items to include?  I went through all of her clothing/ bedding and if there was any item that made me go, "Awwwwwww" and had a specific memory attached, it went on the quilt!

Lesson Learned:  This particular comforter is a queen size, so once everything was added it became very heavy!  While it's certainly able to be washed and folded, it's can be quite the task.  Because of this I have scaled the Little Man's down to a twin size.  Remember you can still add just as many different fabrics this way,  just in smaller sections.,

Scroll on for more photos of this quilt!

*And please excuse the wrinkles, not only did I pull the quilt out of storage for the pictures, but a couple of somebodies ran across it a few times as I was working! ;)


Want to see more of my memory quilts?
You can click here to see my Halloween quilt.
You can click here to see my 4th of July quilt.

(My Christmas quilt is still in patches, but pics of my Valentine quilt will be up in February!)

I hope you enjoyed these photos of Baby Girl's memory quilt, thanks for stopping by!

-Jennifer

© Jennifer Adams Flowers 2015

Friday, November 13, 2015

Thanksgiving Decor (2015)

It's time for another holiday decor update post this time: Thanksgiving!
Come on in and see what's happening....


 Thanksgiving in the Kitchen

I added the pumpkin bowl and fall plate (from my recent fall treasure hunting haul) to the pumpkin pie plate that I already had.  I thought they looked nice grouped together with their similar coloring.

You can click here to read more about that 'Fall Haul' post.


 More in the Kitchen

I also swapped out my orange pumpkins for this gold one and added in one of my Thanksgiving printables.

You can click here to see how this nook looked before.
You can click here to see my Thanksgiving printables.


 Pumpkin Cupcake

I had to keep one of my hand-painted cupcake pumpkins, it now lives in the kitchen on a cake stand.

You can click here to read more about these pumpkins.
You can click here to see the rest of my kitchen cupcake decor.


Framed Onesie

I cut out the design from the Little Man's 1st Thanksgiving Onesie (last year) and popped it into a frame.  It looks pretty cute next to a photo of him at his very first Thanksgiving dinner.

You can click here to read a similar Onesie-turned-decor post.


 Glowy Pumpkin

A couple of weeks ago Mamaw gifted me with this adorable pumpkin that she has had for several years now.  One side is plain and the other features a jack-o-lantern face.  I used it in the kitchen for Halloween, then turned it around and moved it into the dining room for Thanksgiving.  Thanks Mamaw!

You can click here to see the rest of my Thanksgiving decor.

I hope you enjoyed this update post, thanks for stopping by!
-Jennifer

© Jennifer Adams Flowers 2015

Wednesday, November 11, 2015

Designing a Holiday Table (How to)

It's almost time to set and decorate those Thanksgiving tables!
Today's post will take you step-by step through how I pulled together last year's holiday look.


Materials that I used:

Linen table covering
Satin table runner
Large beaded pumpkins
Medium orange pumpkins
Small beaded pumpkins
Artificial fall leaves
Faux berries

(You can click here to read more about my tableware)


Place your table covering.

For this look I re-purposed chocolate colored linen curtains into table cloths.

(You can click here to read about another event when I used these curtains)


Add the coordinating table runner.

You can lay a table runner out straight and smooth, or twist it up for more texture like I did here.


Place your largest items first (large beaded pumpkins).

When creating a tablescape, it's easiest to start with the largest items first.  Think of it as building your foundation with each 'layer' becoming smaller and smaller.

Side Note:  I'm writing this tutorial from the perspective of the items that I actually used, but you could easily substitute with items of your choice.  Just follow the steps in terms of size instead of description and you'll be good to go ;)


Add your medium sized items next (medium orange pumpkins).

I placed my pumpkins somewhat evenly but without perfect symmetry.  What I mean is, I wanted the items to be evenly dispersed, but not look 'arranged'.  

I was going for a more natural, overflowing look and achieved this by making sure that while I divided the pumpkins evenly (a large one at each table, for example) I placed them randomly without order or pattern.


Accent with the smaller items next (small beaded pumpkins).


Fill in the nooks and crannies with your fall leaves.

Instead of just dropping my leaves, I like to tuck them in here and there.  This gives a cleaner and more natural look, as if the centerpiece grew into it's position.


Sprinkle in a few artificial berries......


....and set the table!

And there you have it, and easy way to create a beautiful Thanksgiving  table.

I hope you enjoyed this how-to post, thanks for stopping by!

-Jennifer

© Jennifer Adams Flowers 2015

Thursday, November 5, 2015

How We Celebrated: Halloween 2015

We had a fun Halloween weekend this year, here is how we celebrated:


Plates & Napkins

Our fun started with a holiday party for Baby Girl's classroom.  I brought these plates and napkins along with some candy, a favor and ....dum dum dummmmmm (scary music)....a busy toddler who had refused nap time that day...ahhhhhh!  Yes, he was invited, but still! :D


Classroom Favors

The Little Man was happy to help pass out these favors to Baby Girl's classmates.  He was also happy to try and steal scissors or M & Ms from anybody that wasn't watching :D 

It was a really fun and cute party, but man was I glad when the hour was up and I could get my tired sweetie home and into his bed! ;)


 Pumpkin Carving

These are the pumpkins we carved this year.  Baby Girl's pumpkin is on the left.  She drew six eyes and a scary mouth so her pumpkin would look like Raven from Teen Titans Go (I guess Raven is half demon and sometimes has a monster face).  

On the right is the pumpkin face I carved for the Little Man.  I'm laughing now as I type this because of my complete lack of effort when it comes to pumpkin carving.  Sorry folks, I just can't get in to it!  :D :D :D


 Pumpkin Seeds

We saved the seeds from carving and Husby baked them into a yummy treat.


Trick-Or-Treating!

A football player and a Lalaloopsy braved the pouring rain this year in search for treats.

Jewel Sparkles (the Lalaloopsy) stayed nice and dry with her own pink umbrella.  I too had an umbrella, but you know, there was a toddler to chase so I also got pretty wet.  Speaking of the toddler, he pretty much refused to stay under my umbrella so  his little candy pumpkin had to be emptied of water.  ...And then there was Daddy...who got completely and totally soaked in his efforts to help keep us dry by walking ahead and getting the truck on each street.

It was a great weekend with lots of fun and soooo much candy!  How did you celebrate?  Let me know and I might feature some of your ideas in a future post!

Thanks for stopping by!
-Jennifer

© Jennifer Adams Flowers 2015

Wednesday, November 4, 2015

Fall Harvest

Happy November!

The amazing fall weather inspired me to create this harvest themed wedding package, check it out!


This package features a combination of red roses, orange and red mums, fall foliage, artificial berries and a handful of miniature faux gourds and apples.


Bridal Bouquet


Maid of Honor & Toss Bouquet


Bridesmaid's Bouquets


Boutonnieres/ Pin-On Corsages


Front View of the Boutonnieres/ Pin-On Corsages


17 Piece Package


This 17 piece package is available in my eBay store now!

Want to see what else is currently available?  Check out my eBay store here

Thanks for stopping by!
-Jennifer

© Jennifer Adams Flowers 2015