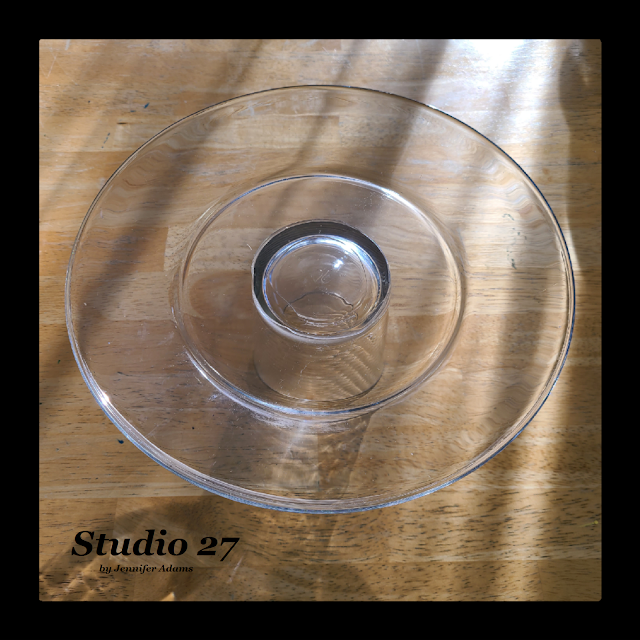
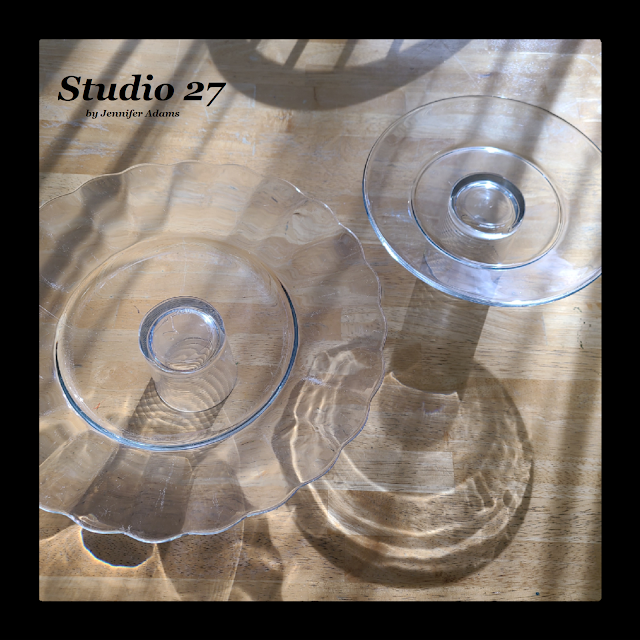
You all know how much I love to display my fake bake pieces (and other seasonal decor) using glass cake stands and tiered trays, right? Well it didn't take long for me to use up everything I had on hand! As an avid thrifter I was keeping my eye out for more, but getting impatient with the wait. After seeing someone in a Facebook group mention the use of E600 for adhering glass together, I decided to follow suit and make some more on my own. Here is how you can do the same:
**********
Disclosure - This post may contain affiliate links. If a purchase is made through an affiliate link then (at no additional cost to you) I will receive a commission. You can read more about affiliate links here
**********
The supplies that you need for this project are E6000 industrial strength glue, plates and cups. I chose to go with clear glass, but any pattern can be used. You can also use plastic or other materials if you wish. The important thing is that the bottoms of your plates and cups are flat, so that they can be glued together evenly. I picked up my glassware at the thrift store, but you can certainly shop your favorite store or even your own cabinets if you like! Just make sure that any drinkware you choose is sturdy enough to support the plate that it's going to hold.
Only have clear glass that you want to make colorful? This post will show you how I've used spray paint to transform glass trays.
Starting with a glass turned over, I applied the glue evenly around the rim.
Right after applying the glue I put the plate in place. Press gently to make sure that the surfaces of the cup and plate are in full contact and make sure that you have them as centered as possible.
The glue has a 24 hour drying time and 72 hours until fully cured. Make sure that you work in a well ventilated place because it gives off some pretty strong fumes, and protect your work surface from any spills. I wash my glued pieces by hand as I'm not sure how they would do in the dishwasher.
You can leave your pieces separate as cake stands, or glue two or more together to create a tiered tray. I opted not to glue the separate cake stands together so that I can move them around as I wish. And there you have it, easy to make cake stands and tiered trays.
I hope you enjoyed this how-to post, thanks for stopping by!
-Jennifer
© Studio 27 by Jennifer Adams 2024
**********
This post was added to the following link parties:
**********
Do you like the convenience of crafting with instantly available digital downloads?
Check out this week's features from my Etsy shop:
**********


That looks fab and you've probably saved yourself a fortune making your own.
ReplyDeleteThanks so much for sharing with #MMBC. Hope to see you again next week. :)
Thank you Jayne!
DeleteThis is brilliant. I love that there are so many possibilities for sizes with this approach, and how you get exactly what you want! :) Thanks for sharing this post at the Will Blog for Comments #22 linkup! Hope to see you there next time, too.
ReplyDeleteThank you Jennifer!
Deletewonderful and thanks for sharing on craft schooling sunday, great to "meet' you!
ReplyDeleteGood to 'meet' you too!
DeleteVery nice! This post is one of my features for SSPS #295, thank you for sharing with us!
ReplyDeleteThank you for visiting!
DeleteI think your tiered trays would also be great for jewelry; you could easily find what you're looking for and group things by color groups! I love E6000 especially for gluing two different things together--glass/metal, wood/metal, etc.
ReplyDeleteWhat a great idea!
DeleteA clever upcycle. I love how simple it is. You can never have too many tiered trays, they are so useful.
ReplyDeleteI know, right? I ended up buying a couple more glass plates the day after I published this post!
Delete