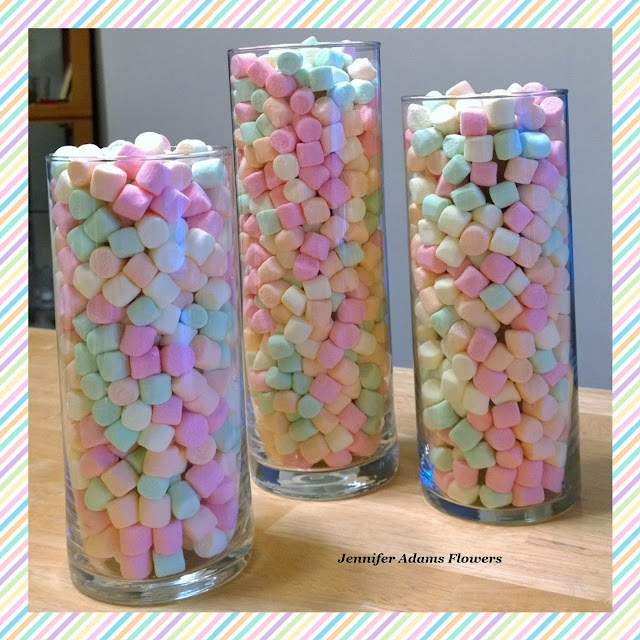
Remember these centerpieces from the candy themed birthday party?
Well here's how easy they are to pull together:
Step 1
I gathered an assortment of clear cylinder vases in different heights. Using the cylinder shape makes for a nice, clean look and varying the heights adds dimension and interest to the table tops.
Tip: Go ahead and give your glassware a cleaning before use. You'd be surprised how much dust can build up, even in a cabinet!
Step 2
Take cardboard tubes (from either paper towels or toilet paper rolls) and cut them down to fit the height of your cylinder vases. You'll want to leave about an inch of clearance between the top of the tube and the opening of the vase. Next fill the center of each cardboard tube (I used wadded up plastic grocery bags).
These tubes are going to sit in the center of your vases allowing you to 'fill' the containers with way less candy 😉
Step 3
Add the cardboard tubes to the vases.
Candy Filling
We chose Skittles, Starburst, gummy bears, lemon drops and mini marshmallows (all based on their coloring) to fill our vases.
Tip: If your kids are helping or your Husby is home, buy extra candy 😉
Step 4
While holding the tube in place from the top, begin filling the space between the tube and glass with the candy of your choice.
Side Note: You can see by this photo that I didn't have enough paper towel tubes to fill all of my vases. No problem, taping a couple of toilet paper rolls together works just as well 😊
Step 5
Continue filling until you get to the top (notice how that inch of clearance space allowed the cardboard tubes to be hidden) and then check the vases from every side for any 'holes'.
You can see that the vases on the left and in the center look great, but the one on the right has a few weak spots. Just keep fiddling with the candies until you get them to settle more evenly. You might need to add a bit more candy as well.
Step 6
Once the vases were all filled, I used decorative napkins to create a covering. Just place a napkin on top of the vase and fold the edges down. Lastly, add a bit of clear tape so that the napkin keeps it's shape.
Note: These are the same napkins that were purchased as part of the party supplies, so they went with the party decor beautifully
Step 7
We can't have visible tape, can we?!?!? 😁
I used a bit of sparkly light blue tulle to cover the tape and finish off the arrangement.
This tulle can be found in the party section of Wal-Mart for $1 per roll. It didn't quite show in the photos, but the tulle features a subtle sparkle and several different colors were available.
All Done
Now you can store these away (someplace where the kids can't reach them) and get on to the rest of your mile long to-do list!
Fun Facts: You know I'm always prepping early, so how did the candy hold up?
The Skittles and Starburst did just fine.
The lemon drops ended up sticking all together in one clump.
The gummy bears and marshmallows all went stale 😆
**********
Did you miss anything from the candy party posts?
You can click here to read about the invitations
You can click here to read about the decor
You can click here to read about the desserts.
**********
I hope you enjoyed this how-to post, thanks for stopping by!
-Jennifer
© Jennifer Adams Flowers 2017


No comments:
Post a Comment